
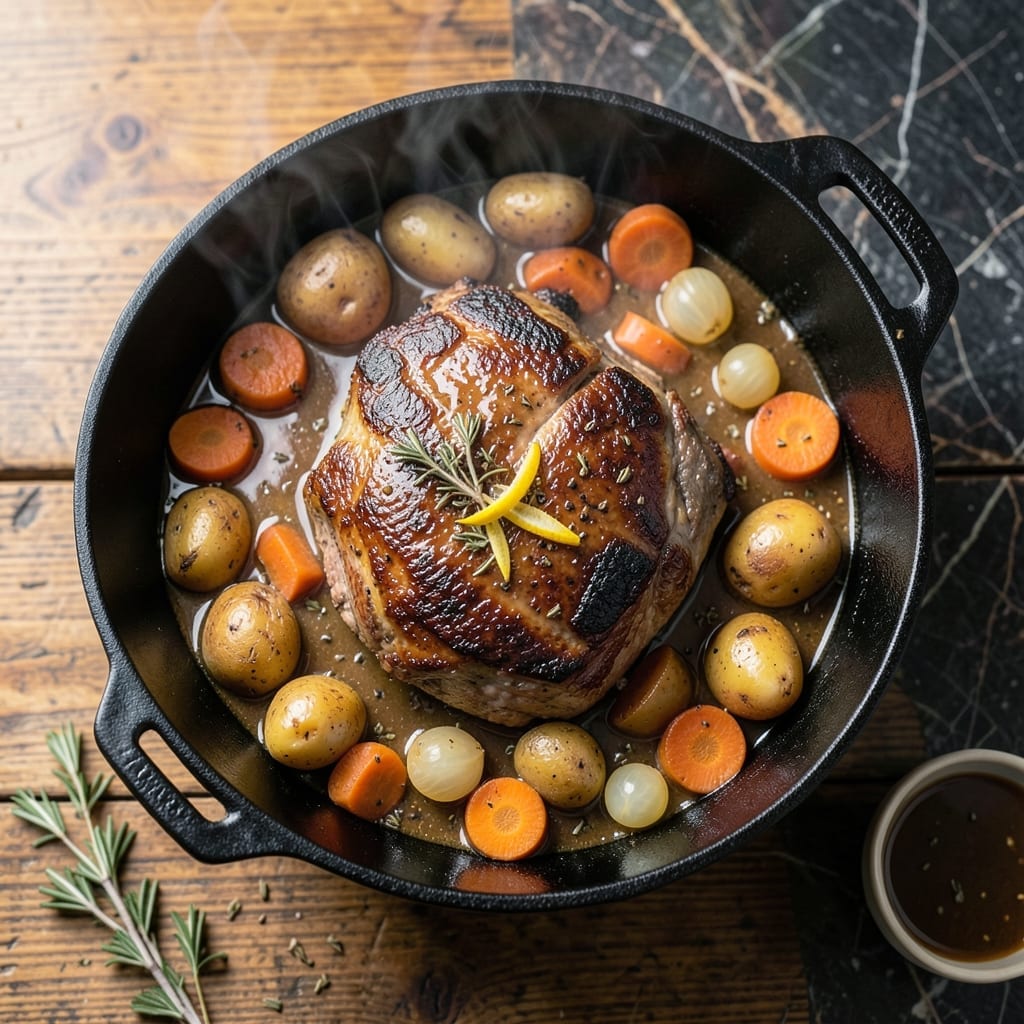
Achieving tender pot roast in a NuWave oven is simpler than you might expect. This countertop method delivers the same slow-cooked results as a traditional oven, with the added convenience of even heat distribution.
The process begins with properly seasoning the beef, then searing it directly in the NuWave oven’s liner. This creates a flavorful crust before the long, slow cooking process begins.
Low and steady heat transforms tough cuts into fall-apart tender perfection. The enclosed cooking environment locks in moisture, ensuring every bite is juicy and flavorful.
With a few simple steps and patience, you’ll have a melt-in-your-mouth roast that rivals any slow cooker version. This method proves that countertop appliances can handle hearty meals with ease.
Ingredients for Nuwave Oven Pot Roast
A well-seasoned chuck roast and hearty vegetables create this melt-in-your-mouth dish with ease.
| Ingredient | Amount | Notes |
|---|---|---|
| Chuck Roast 🥩 | 3 lb | Well-marbled, boneless preferred |
| Kosher Salt 🧂 | 1 ½ tsp | Diamond Crystal brand preferred |
| Coarse Black Pepper 🌶️ | 1 tsp | Freshly ground for best results |
| Garlic Powder 🧄 | 1 tsp | Not garlic salt substitute |
| Onion Powder 🧅 | 1 tsp | Fresh and aromatic |
| Dried Thyme 🌿 | 1 tsp | Rubbed between fingers to release oils |
| Dried Rosemary 🍃 | 1 tsp | Crushed to enhance flavor |
| Olive Oil 🫒 | 2 tbsp | Extra-virgin for searing |
| Yellow Onion 🧅 | 1 whole | Large, sliced thick |
| Carrots 🥕 | 3 whole | Peeled, cut into chunks |
| Russet Potatoes 🥔 | 2 whole | Peeled, quartered |
| Beef Broth 💧 | 2 cups | Low-sodium preferred |
| Worcestershire Sauce 💧 | 2 tbsp | Adds umami depth |
| Tomato Paste 🍅 | 2 tbsp | For richness and body |
| Red Wine 🍷 | ½ cup | Dry variety like Cabernet |
The chuck roast is non-negotiable here—look for abundant marbling at Whole Foods or Costco, which ensures the meat stays moist during the long cooking process. The broth should be low-sodium so you can control the seasoning. Freshly ground pepper makes a noticeable difference in the crust formation. Avoid pre-cut stew meat, as larger pieces hold up better to the extended cooking time.
No red wine? Substitute with additional beef broth plus 1 tbsp balsamic vinegar. Dried herbs can be replaced with fresh at triple the amount. The Worcestershire can be omitted if necessary, though it adds significant depth. Baby carrots work in a pinch, but full-sized have better texture. For the potatoes, Yukon Golds can replace Russets for a creamier result.
Store raw ingredients separately in the fridge until ready to cook. Leftovers keep for 4-5 days refrigerated or can be frozen for 3 months. The flavors actually improve overnight—perfect for meal prep. Always bring chilled leftovers to room temperature before reheating for best texture.
Why You’ll Love This Recipe
- Set It and Forget: I toss the chuck roast with salt, pepper, and those powders, slide it in the NuWave, and walk away—no babysitting required.
- Sunday Dinner Flavor: The garlic and onion powders crust the roast so every bite is packed with that deep, savory richness.
- Feeds the Crew: One 4-pound chuck in the NuWave gives us dinner plus next-day sandwiches for the whole family.
- Budget Hero: Chuck roast stays cheap, and the NuWave uses less energy than my old oven—saves cash and time.
Step-by-Step Instructions for Nuwave Oven Pot Roast
Achieve fall-apart tenderness with this countertop method that delivers consistent results every time.
Step 1: Season and Sear the Chuck Roast
Pat the 3 lb Chuck Roast dry with paper towels. This crucial step ensures a proper sear. In a small bowl, combine the 1.5 tsp Kosher Salt, 1 tsp Coarse Black Pepper, 1 tsp Garlic Powder, 1 tsp Onion Powder, 1 tsp Dried Thyme, and 1 tsp Dried Rosemary.
Rub this mixture evenly over all surfaces of the chuck roast. Heat the 2 tbsp Olive Oil in your Nuwave oven’s compatible pan on the sear setting. When the oil shimmers, add the roast and sear for 4-5 minutes per side until deeply browned. This developes the Maillard reaction, creating complex flavors.
Step 2: Prepare the Aromatic Base
Remove the seared chuck roast and set aside. In the same pan, add the sliced 1 whole Yellow Onion. Sauté for 3-4 minutes until softened and just beginning to caramelize. Add the chunked 3 whole Carrots and quartered 2 whole Russet Potatoes.
Cook for another 2 minutes, stirring occasionally. These vegetables will not only flavor the roast but also serve as a hearty accompaniment. The onions should be translucent with golden edges when ready for the next step.
Step 3: Deglaze and Build the Braising Liquid
Pour the 0.5 cup Red Wine into the pan, scraping up all the browned bits from the bottom. This process, called deglazing, incorporates those flavorful fond into your braising liquid. Add the 2 tbsp Tomato Paste and 2 tbsp Worcestershire Sauce, stirring to combine.
Pour in the 2 cups Beef Broth and bring to a gentle simmer. Return the chuck roast to the pan, along with any accumulated juices. The liquid should come about halfway up the roast. This creates the perfect environment for slow, even cooking.
Step 4: Slow Cook to Perfection
Secure the lid on your Nuwave oven and set the temperature to 300°F. Cook for 3-4 hours, checking occasionally. The roast is done when it shreds easily with a fork and reaches an internal temperature of 195-200°F.
During cooking, the connective tissue breaks down, transforming tough chuck roast into buttery tenderness. The vegetables will absorb the rich flavors of the braising liquid, becoming melt-in-your-mouth tender themselves.
Step 5: Rest and Serve
Carefully transfer the chuck roast to a cutting board and tent loosely with foil. Let it rest for 15-20 minutes before slicing. This allows the juices to redistribute throughout the meat, ensuring each bite is moist and flavorful.
Serve the sliced pot roast with the braised vegetables and some of the rich cooking liquid spooned over the top. The gravy should be thick enough to coat the back of a spoon, with deep, savory notes from the wine and beef broth reduction.
Pro Tips For Making Nuwave Oven Pot Roast
- Preheat the Nuwave: I learned this the hard way—always preheat your Nuwave for 10 minutes before adding the chuck roast to guarantee even cooking and a proper sear.
- Pat the Roast Dry: Skip the soggy crust: thoroughly pat the chuck roast dry with paper towels before seasoning so the salt and pepper actually stick and form that perfect crust.
- Don’t Overcrowd: Resist the urge to pile veggies or other ingredients around the roast—give it space so the hot air circulates and cooks the meat evenly.
- Use a Meat Thermometer: After burning one too many roasts, I finally started checking the internal temp—pull it at 195°F for fall-apart tenderness, not just when the timer dings.
Troubleshooting Perfect Results
Dry or Tough Meat
If your roast turns out dry, it likely cooked too fast or at too high a temperature. Next time, reduce the NuWave to 275°F and extend cooking to 4-5 hours. Also ensure you’re using a well-marbled 3 lb Chuck Roast—leaner cuts dry out faster.
Liquid Not Reducing
If your braising liquid remains thin, remove the lid during the last 30-45 minutes of cooking. This allows excess moisture to evaporate. You can also transfer the liquid to a saucepan and simmer on your stovetop for 10-15 minutes to thicken it. 💡
Vegetables Too Soft
Overcooked veggies usually mean they were added too early. Next time, wait until the last 1.5-2 hours before adding the Carrots and Russet Potatoes. This preserves their texture while still allowing them to absorb the rich flavors.
Uneven Cooking
If parts of your roast are done while others aren’t, your NuWave’s heat distribution may be uneven. Rotate the pan 180 degrees halfway through cooking. Also, ensure the roast isn’t crowded—leave space around it for heat to circulate properly.
Weak Flavor Development
For deeper flavor, don’t skip searing the Chuck Roast for 4-5 minutes per side. Also, use the full 0.5 cup Red Wine for deglazing—it adds complexity. If avoiding alcohol, substitute with additional beef broth plus 1 tbsp balsamic vinegar. 🔥
Sticking to the Pan
If your roast sticks during searing, your oil may not have been hot enough. Heat the 2 tbsp Olive Oil until it shimmers before adding the meat. Also, resist the urge to move the roast too soon—let it develop a crust before flipping.
Nutrition Facts
Frequently Asked Questions
What cut of meat works best for this method?
Chuck roast is ideal due to its marbling and connective tissue. For best results, choose a well-marbled 3 lb boneless cut. Brisket or bottom round can also work but may need slightly longer cooking.
Can I skip the searing step?
No, searing is crucial for flavor development. Sear for 4-5 minutes per side at high heat to create a rich crust. This step builds the foundation for your braising liquid’s depth.
Why does the meat need to rest after cooking?
Resting for 15-20 minutes allows juices to redistribute throughout the roast. Slicing too soon causes valuable moisture to escape, resulting in drier meat. This step ensures every bite is juicy.
How do I know when it’s done?
The roast is ready when it reaches 195-200°F internally and shreds easily with a fork. At this temperature, collagen has fully broken down into gelatin.

- 6 Oz Chocolate Chip Cookie Recipe: Perfectly Balanced Crispy Edges and Chewy Hearts - September 25, 2026
- 6-Inch Coffee Cake Recipe: Vanilla Bean Swirls and Buttery Streusel Topping - September 25, 2026
- 1 Hour Soup Recipe: Velvety Richness Without the Wait - September 25, 2026