
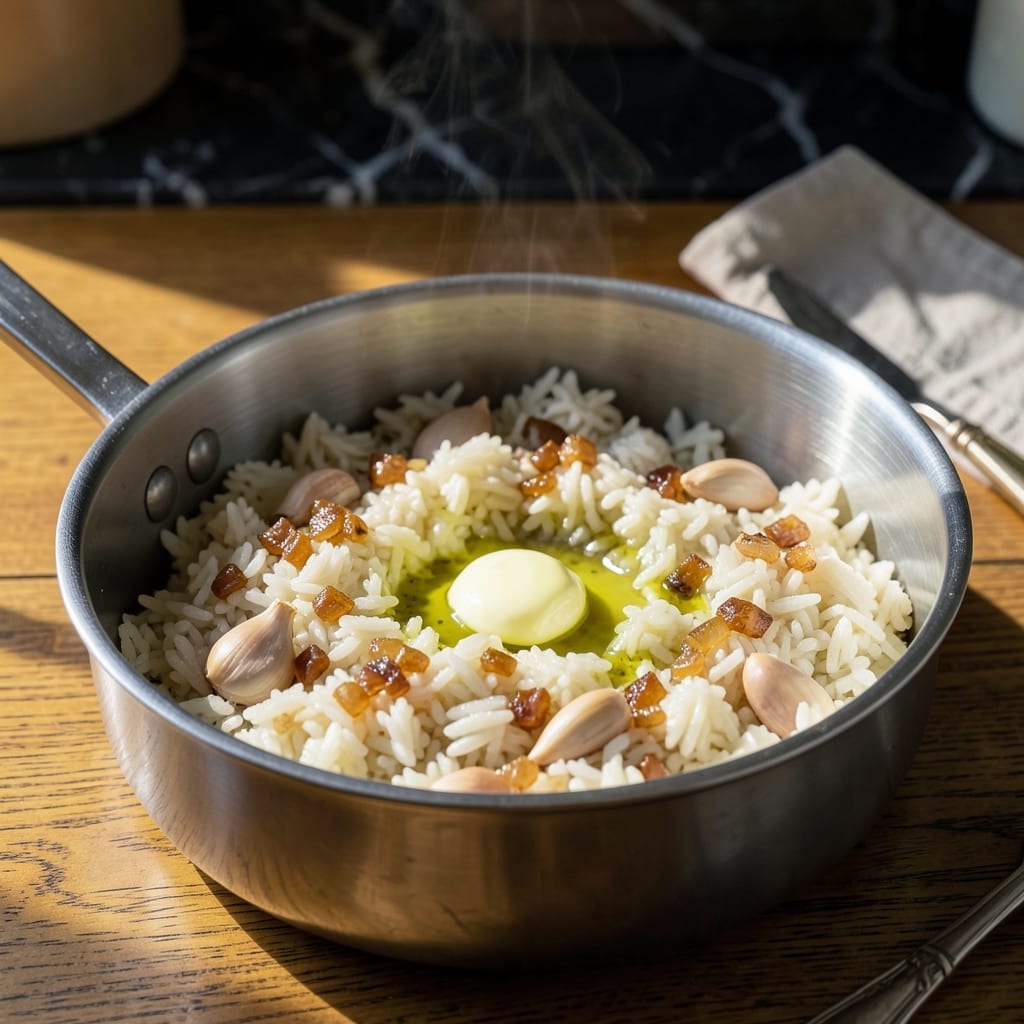
This one-pot method delivers perfectly fluffy rice every time with almost no cleanup. I developed this technique after years of dealing with burnt pots and uneven cooking, and it’s become my go-to for stress-free meals.
The secret lies in the precise ratio of water to rice and a 15-minute simmer with the lid on tight. No stirring, no peeking—just walk away and let the steam work its magic. The result is consistently tender grains without a single crunchy bite.
What you’ll love most is the simplicity: one pot, a few ingredients, and a foolproof process that works with white or brown rice. It’s the kind of recipe that makes weeknight cooking feel effortless.
Serve it as a base for stir-fries, curries, or alongside your favorite protein. This is the kind of dish that earns its place in your regular rotation.
Ingredients for One Pot Rice
Pantry staples and a pot. That is all you need for this.
| Ingredient | Amount | Notes |
|---|---|---|
| Long-Grain White Rice 🍚 | 2 cups | Rinsed until water runs clear |
| Water 💧 | 4 cups | Or substitute chicken broth |
| Unsalted Butter 🧈 | 2 tbsp | Or substitute olive oil |
| Salt 🧂 | 1 tsp | Kosher or sea salt preferred |
| Garlic Cloves 🧄 | 2 cloves | Minced or pressed |
| Onion 🧅 | ½ whole | Finely diced, yellow or white |
| Bay Leaf 🌿 | 1 whole | Optional for aroma |
| Fresh Parsley 🌿 | 2 tbsp | Chopped, for garnish |
| Black Pepper 🌶️ | ½ tsp | Freshly ground preferred |
| Lemon Juice 🍋 | 1 tsp | Freshly squeezed, optional |
The rice is the hero here. Long-grain white rice gives you those separate, fluffy grains—jasmine or basmati work too. I grab mine from Trader Joe’s or the bulk bins at Whole Foods. The water-to-rice ratio is non-negotiable: 2 cups water per 1 cup rice. Use filtered water if your tap has a strong taste (worth the extra minute).
No butter? Olive oil or coconut oil works just as well. Fresh out of garlic? Garlic powder at half the amount in a pinch. For extra flavor, swap the water for chicken or vegetable broth. The onion can be skipped if you’re in a rush, but it adds a nice depth. Bay leaf is optional but highly recommended for that subtle background note.
Leftovers keep 4-5 days in the fridge, reheat with a splash of water to fluff up. Freezes for 3 months—portion into bags for easy meals later. I always make a double batch since it reheats so well.
Why You’ll Love This Recipe
- One Pot Wonder: I just dump everything in, cover it, and let the rice soak up all that garlicky butter flavor—no stirring, no fuss.
- Garlic Butter Magic: The butter and garlic turn the rice into this rich, fragrant dish that smells like home cooking.
- Weeknight Hero: Between us, this is my Tuesday night lifesaver when I need dinner ready before the kids start asking.
- Leftovers Gold: Honestly, it tastes even better the next day, and it reheats like a dream for lunch.
Step-by-Step Instructions for One Pot Rice
Here’s the method that guarantees fluffy grains with almost no cleanup to worry about.
Step 1: Sauté the Aromatics
Melt the 2 tbsp Unsalted Butter in a large pot over medium heat. Add the 0.5 whole Onion and cook for 3-4 minutes until it turns translucent and starts to soften. You want to build flavor here, so don’t rush it.
Add the 2 cloves Garlic Cloves and cook for another 30 seconds until fragrant. Watch carefully—garlic burns easily. Stir in the 1 tsp Salt and 0.5 tsp Black Pepper to bloom the spices in the butter.
Step 2: Toast the Rice
Add all 2 cups Long-Grain White Rice to the pot and stir to coat it in the buttery aromatics. Toast the rice for 2-3 minutes, stirring constantly, until the edges start to look slightly translucent and it smells nutty.
This step is crucial—it enhances the rice’s natural flavor and prevents it from turning mushy. You’ll notice the grains become slightly opaque as they absorb the butter. Don’t let it brown, though, or it’ll taste bitter.
Step 3: Add Liquids and Bay Leaf
Pour in all 4 cups Water and add the 1 whole Bay Leaf. Stir well and bring to a rolling boil over high heat. As it heats, you’ll see the rice plump up and the liquid become slightly cloudy.
Once boiling, immediately reduce the heat to low, cover the pot with a tight-fitting lid, and let it simmer. Don’t peek—every time you lift the lid, you release steam and lower the temperature, which can lead to uneven cooking.
Step 4: Simmer and Steam
Let the rice cook undisturbed for 15-18 minutes. You’re aiming for the liquid to be fully absorbed and the grains to be tender with no hard center. If your pot has a glass lid, you’ll see the water level drop and the rice expand.
Resist the urge to stir during cooking. Stirring breaks the grains and releases starch, which can make the rice gummy. The steam trapped under the lid does all the work for you.
Step 5: Rest and Fluff
Remove the pot from heat and let it sit, covered, for 5-10 minutes. This resting period allows the rice to steam in its own moisture, ensuring even doneness throughout. The grains will finish cooking and absorb any remaining liquid.
After resting, remove the bay leaf and fluff the rice gently with a fork. Stir in the 1 tsp Lemon Juice if using, then sprinkle with the 2 tbsp Fresh Parsley. The rice should be light and separate easily, with each grain distinct and fluffy. Serve immediately while hot.
Pro Tips For Making One Pot Rice
- Toast the Garlic: Cook the minced garlic in the butter for 30-45 seconds until fragrant but not brown—I learned this the hard way after burning three batches.
- Rinse the Rice: Give the long-grain white rice a quick rinse before cooking to remove excess starch, or you’ll end up with gummy, sticky grains instead of fluffy ones.
- Use the Right Ratio: Stick to 1.5 cups water per 1 cup rice for perfect doneness; my grandmother swore by this, and she was right.
- Let It Steam: After cooking, cover and let it sit off the heat for 5-10 minutes—this isn’t the prettiest step, but it guarantees light, separate grains every time.
Flavor Customization for These Flavors
Herb Infusions
Swap the bay leaf for fresh thyme sprigs or rosemary to add earthy depth. I tie 3-4 sprigs with kitchen twine for easy removal. The aroma fills my kitchen and makes the rice taste gourmet.
Citrus Zing
Add 1 tsp lemon zest with the garlic for bright, citrusy notes. A squeeze of lime juice at the end adds a fresh finish. I love how this cuts through the richness of the butter. 🍋
Spice It Up
For a kick, stir in ½ tsp turmeric with the rice for golden color and warmth. A pinch of cayenne or smoked paprika adds subtle heat. These spices toast beautifully with the rice.
Umami Boost
Add 1 tbsp soy sauce to the water for a savory depth. Mushroom powder (1 tsp) is another secret weapon I use for a meaty flavor without actual meat.
Sweet & Savory
Toast ¼ cup diced carrots and celery with the onion for sweetness. A dash of cinnamon (⅛ tsp) adds warmth. This combo reminds me of my grandma’s kitchen. ✨
Creamy Twist
Stir in ¼ cup coconut milk at the end for richness. A sprinkle of toasted almonds adds crunch. This turns simple rice into a luxurious side dish.
Nutrition Facts
Frequently Asked Questions
Can I use brown rice in this method?
Yes, but increase water to 2.5 cups per 1 cup brown rice and simmer for 40-45 minutes. Brown rice needs more liquid and time to soften the bran layer.
Why do I need to toast the rice first?
Toasting for 2-3 minutes enhances the nutty flavor and prevents mushiness. It creates a barrier that helps grains stay separate while cooking.
What if my rice is still crunchy after cooking?
Add ¼ cup hot water, cover, and cook for another 5 minutes on low. This usually fixes undercooked grains without making them mushy.
Can I add vegetables to this recipe?
Stir in diced carrots or peas with the water. For firmer veggies like bell peppers, sauté them with the onion first.

- 6 Oz Chocolate Chip Cookie Recipe: Perfectly Balanced Crispy Edges and Chewy Hearts - September 25, 2026
- 6-Inch Coffee Cake Recipe: Vanilla Bean Swirls and Buttery Streusel Topping - September 25, 2026
- 1 Hour Soup Recipe: Velvety Richness Without the Wait - September 25, 2026