
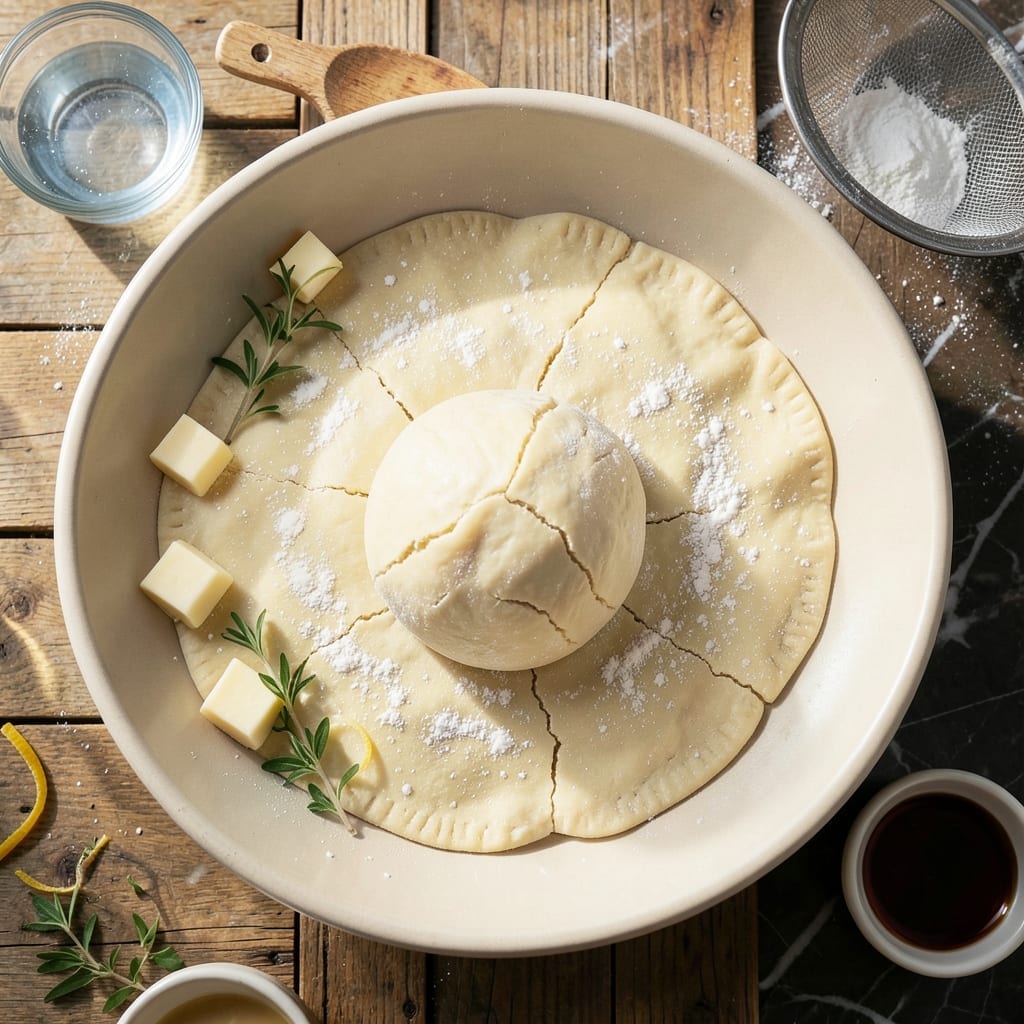
This dough delivers the flaky foundation for Pennsylvania Dutch pot pie, a dish built for hearty comfort. The layers separate beautifully during baking, creating that signature tender-crisp texture we all crave.
With just a few simple ingredients and careful handling, you’ll achieve professional results every time. The key is keeping everything cold and avoiding overworking the dough.
After resting, this becomes the perfect canvas for your filling—whether it’s chicken, beef, or vegetable. The layers will rise and brown to golden perfection in the oven.
No shortcuts here, just proven technique that guarantees flaky results. The process is straightforward but requires attention to detail for that authentic Pennsylvania Dutch quality.
Ingredients for Pa Dutch Pot Pie Dough
Cold butter, lard, and flour create those signature flaky layers everyone loves.
| Ingredient | Amount | Notes |
|---|---|---|
| All-Purpose Flour 🌾 | 3 cups | Plus extra for dusting surface |
| Unsalted Butter 🧈 | 1 cup | Cold, cut into small cubes |
| Lard 🥓 | ½ cup | Cold, traditional for authenticity |
| Salt 🧂 | 1 tsp | Fine sea salt preferred |
| Ice Water 💧 | ¾ cup | Plus extra as needed |
| Apple Cider Vinegar 🍏 | 1 tbsp | For tenderizing dough |
| Baking Powder 🧂 | 1 tsp | For slight lift in layers |
The fat is everything here. Leaf lard gives the most authentic Pennsylvania Dutch flavor—find it at butcher shops or local farms. If you can’t source lard, all-butter works fine (just keep it ice cold). King Arthur Flour is my go-to for all-purpose, but any unbleached brand does the trick. The vinegar might seem odd, but it tenderizes the dough beautifully (don’t skip it).
No lard? Shortening like Crisco is the closest substitute—same texture, neutral flavor. Out of apple cider vinegar? White vinegar or lemon juice works at the same amount. For a richer taste, swap 1/4 cup of the water for buttermilk. The baking powder is subtle but helps create those distinct layers (worth the extra teaspoon).
Dough rests best overnight in the fridge (wrapped tight in plastic)—2 days max. Freeze for 1 month if making ahead. Let it warm slightly before rolling, but don’t let it get room temp (cold = flaky).
Why You’ll Love This Recipe
- Five Ingredients: I love that this dough comes together with just flour, butter, lard, salt, and ice water—no fancy ingredients to hunt down.
- Buttery Crisp: The mix of butter and lard gives it that perfect flaky texture with a rich, savory taste.
- One Dough, Many Meals: I use this for pot pies, hand pies, or even a quick savory tart—it’s my go-to for any comfort food night.
- Budget Friendly: Honestly, it costs pennies to make and stretches to feed a crowd, which my wallet appreciates.
Step-by-Step Instructions for PA Dutch Pot Pie Dough
Here’s the method that guarantees flaky layers in every bite of your pot pie.
Step 1: Combine Dry Ingredients for Structure
In a large mixing bowl, whisk together the 3 cups All-Purpose Flour, 1 tsp Salt, and 1 tsp Baking Powder. I use a fine-mesh sieve for the flour to prevent lumps and ensure even distribution of the leavening agent.
This step aerates the dry ingredients while creating the foundation for those perfect flaky layers. The baking powder gives just enough lift to create separation between the layers without making the dough cakey.
Step 2: Cut in Cold Fats for Flakiness
Add the 1 cup Unsalted Butter (cold and cubed) and 0.5 cup Lard (cold) to the flour mixture. Using a pastry cutter or your fingertips, work the fats into the flour until the mixture resembles coarse crumbs with pea-sized pieces of fat visible throughout.
Here’s the thing—the key to flakiness is keeping the fats cold and undisturbed. The lard adds authenticity to this PA Dutch tradition, while the butter contributes flavor. You should still see distinct pieces of fat; if it looks like wet sand, you’ve overworked it.
Step 3: Bind with Liquid for Tenderness
Create a well in the center of the mixture. Pour in the 0.75 cup Ice Water and 1 tbsp Apple Cider Vinegar. The vinegar tenderizes the dough by relaxing the gluten slightly, preventing toughness.
Using a fork, gently stir the liquid into the flour-fat mixture just until it begins to come together. The dough will look shaggy and loose—that’s exactly what you want. Over-mixing develops gluten, which would make your crust tough instead of tender.
Step 4: Shape and Chill for Success
Turn the dough out onto a lightly floured surface (using some of the extra All-Purpose Flour) and gently press it into a cohesive ball. Divide it into two equal portions and shape each into a 1-inch thick disc.
Wrap each disc tightly in plastic wrap and refrigerate for at least 1 hour (or up to 2 days). This chilling period allows the flour to fully hydrate and the fats to resolidify, making the dough easier to roll out and ensuring those coveted flaky layers in your finished pot pie.
Pro Tips For Making Pa Dutch Pot Pie Dough
- Chill Your Fat: Keep your butter and lard ice-cold until the last second—even freeze and grate the butter if you’re in a warm kitchen. I learned this the hard way after my first few pies came out tough and flat.
- Use Half and Half: The magic ratio is equal parts butter and lard for that perfect flaky-but-sturdy crust. My grandmother swore by this, and she was right: skip the all-butter trend here.
- Don’t Overwork It: Mix the dough just until it comes together—about 10-12 pulses in the food processor. After burning three batches, I finally figured out that overmixing = tough crust.
- Rest 30 Minutes: Give the dough a solid 30 minutes in the fridge before rolling. Sounds weird, but it works: the gluten relaxes and the fat firms up, making it way easier to handle.
Storing and Reheating Leftovers
Refrigerator Storage
Wrap your dough discs tightly in plastic wrap and store in the fridge for up to 2 days. The cold environment keeps the fats solid, preserving that flaky texture we worked so hard to create. I always label mine with the date to avoid any guesswork. ❄️
Freezer Storage
For longer storage, freeze the wrapped dough for up to 1 month. Use heavy-duty freezer bags for extra protection against freezer burn. Squeeze out all the air before sealing to maintain freshness.
Thawing Properly
When ready to use, transfer the dough from freezer to fridge and let it thaw overnight. Never microwave or leave at room temperature—this causes uneven thawing and can ruin the fat distribution. Patience pays off with perfect layers.
Re-Rolling Tips
If the dough cracks while rolling, let it rest at room temperature for 5-10 minutes to soften slightly. Use minimal extra flour to prevent toughness. I keep my rolling pin and surface lightly dusted but not over-floured.
Pre-Baking Prep
Before assembling your pot pie, let the dough sit at room temperature for 15 minutes to make rolling easier. This slight warming helps prevent shrinking during baking while keeping the fats cold enough for flakiness. 💡
Reviving Over-Handled Dough
If your dough feels tough after rolling, fold it into thirds like a letter, wrap, and chill for 30 minutes. This relaxes the gluten and restores workability without compromising texture.
Nutrition Facts
Frequently Asked Questions
Why use both butter and lard in the dough?
Butter adds rich flavor while lard creates superior flakiness, a traditional PA Dutch combination. The lard’s higher melting point helps maintain layer separation during baking. Together they create the perfect texture balance.
Can I make this dough without a pastry cutter?
Use your fingertips or two forks to work the cold fats into the flour. The key is working quickly to keep the fats cold and pea-sized. Avoid overworking the mixture.
What if my dough cracks while rolling?
Let it rest at room temperature for 5-10 minutes to soften slightly. Use minimal flour when re-rolling to prevent toughness. The cracks will seal as you continue.
How thin should I roll the dough?
Aim for about 1/8-inch thickness for the bottom crust and slightly thinner for the top. This ensures even baking and proper layering in your finished pot pie.

- 4C Bread Crumbs Meatballs Recipe: Crispy Crust and Juicy Centers - September 25, 2026
- 6 Oz Chocolate Chip Cookie Recipe: Perfectly Balanced Crispy Edges and Chewy Hearts - September 25, 2026
- 6-Inch Coffee Cake Recipe: Vanilla Bean Swirls and Buttery Streusel Topping - September 25, 2026