
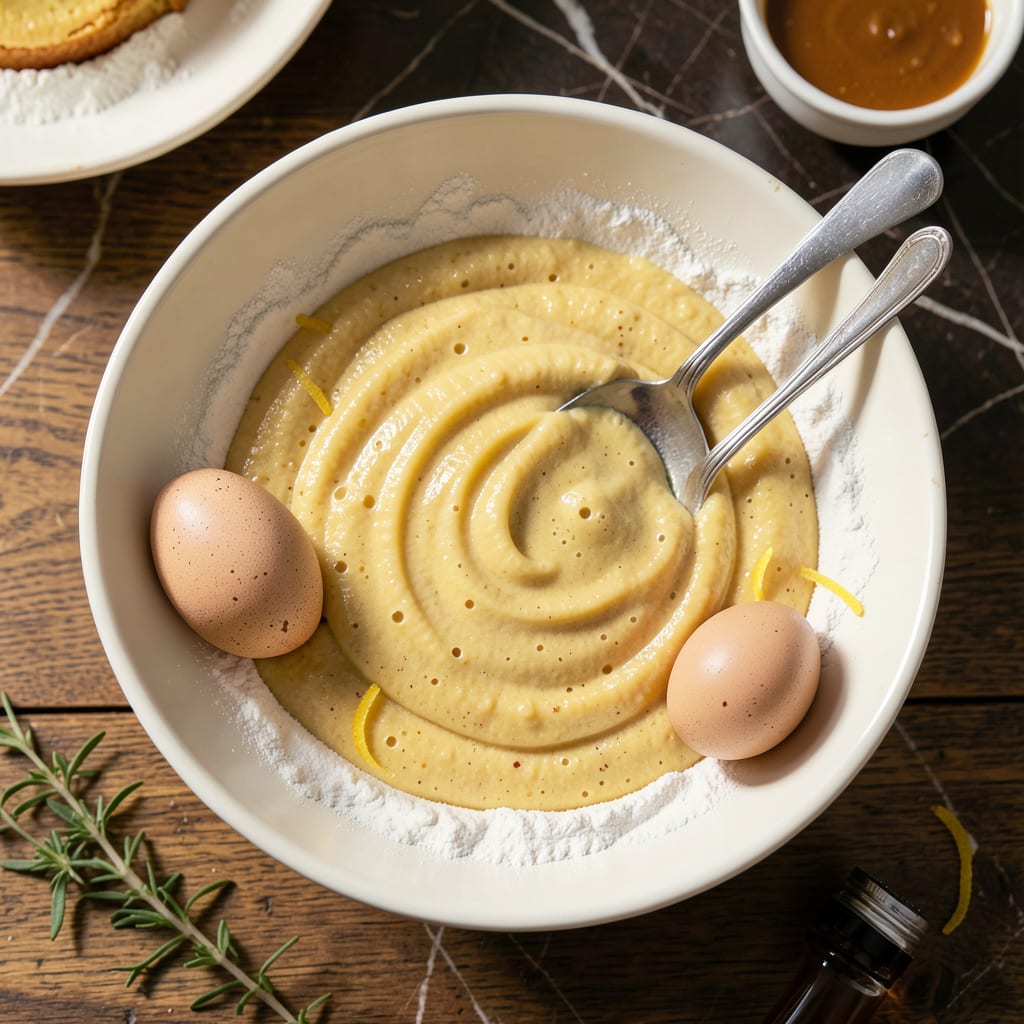
This festive St. Patrick’s Day dessert brings a pot of gold to your table with vibrant rainbow layers and a rich, golden topping. The colorful presentation makes it perfect for holiday celebrations.
Each layer is simple to prepare, combining easy-to-find ingredients into a show-stopping treat. The result is a sweet, visually stunning dish that delights both kids and adults alike.
Ingredients for Pot of Gold
Bright colors and simple pantry staples create this festive layered dessert for four.
| Ingredient | Amount | Notes |
|---|---|---|
| All-Purpose Flour 🌾 | 2 cups | Sifted for smooth texture |
| Granulated Sugar 🍚 | 1 ½ cups | Divided for layers and topping |
| Unsalted Butter 🧈 | 1 cup | Softened to room temperature |
| Large Eggs 🥚 | 4 whole | Room temperature for best volume |
| Vanilla Extract 💧 | 2 tsp | Pure extract for best flavor |
| Baking Powder 🧂 | 2 tsp | For cake layer rise |
| Salt 🧂 | ½ tsp | Fine table salt |
| Milk 🥛 | ¾ cup | Whole milk preferred |
| Food Coloring 🎨 | 6 drops | Rainbow colors: red, orange, yellow, green, blue, purple |
| Sweetened Condensed Milk 🥛 | 1 can | 14 oz can for topping |
| Shredded Coconut 🥥 | 1 cup | Sweetened, for golden topping |
| Rainbow Sprinkles 🌈 | ½ cup | For decoration between layers |
| Heavy Whipping Cream 🥣 | 1 cup | Chilled for topping |
[recipeingredientscaler]
The butter and eggs are the backbone here—use room temperature ingredients for even mixing. Land O’Lakes butter gives consistent results, and organic eggs often have richer yolks (worth the upgrade for the golden topping). The flour should be fresh; if it’s been sitting in your pantry for over a year, replace it. King Arthur all-purpose is a reliable choice for the cake base.
No food coloring? Natural dyes from beet juice or turmeric work but may mute the vibrancy. Short on coconut? Crushed graham crackers add crunch to the topping. The condensed milk can be swapped for dulce de leche if you want a caramel twist. For the sprinkles, Betty Crocker rainbow jimmies hold their color best (avoid the generic brands—they bleed).
Store layers separately in the fridge for up to 3 days before assembling. The topping can be made a day ahead—just whisk before using. Once assembled, it keeps 2 days covered. Freezing isn’t recommended (the colors can separate).
Why You’ll Love This Recipe
- One Bowl Wonder: I just dump the flour, sugar, butter, eggs, and vanilla in a single bowl—no fancy equipment, no fuss.
- Buttery Vanilla Magic: The combo of rich butter and real vanilla makes every bite taste like a fresh-baked dream.
- Crowd Pleaser: From potlucks to Sunday brunch, this golden treat disappears faster than I can slice it.
- Pennywise Perfect: Honestly, five basic pantry staples and I’ve got a dessert that tastes like a million bucks.
Step-by-Step Instructions for Rainbow Layered St Patrick’s Treat
This method ensures vibrant layers and a creamy topping that makes every bite a celebration.
Step 1: Prepare the Cake Batter Base
Preheat your oven to 350°F and grease two 9-inch round pans. In a large bowl, cream together the 1 cup unsalted butter and 1.5 cups granulated sugar until light and fluffy—this should take about 3-4 minutes with an electric mixer.
Add the 4 whole large eggs one at a time, mixing well after each addition. Stir in the 2 tsp vanilla extract. This creates a smooth, emulsified base that will hold your colored layers perfectly.
Step 2: Incorporate Dry Ingredients and Divide for Coloring
In a separate bowl, whisk together the 2 cups all-purpose flour, 2 tsp baking powder, and 0.5 tsp salt. Gradually add this to the wet mixture, alternating with the 0.75 cup milk, beginning and ending with the dry ingredients.
Mix just until combined—overworking the batter will make your cake dense. Divide the batter equally into six bowls. Add 1 drop of each of the 6 drops food coloring to each bowl and stir until you achieve vibrant, even colors. The red should look like a sunset, the green like fresh clover.
Step 3: Bake and Cool the Colored Layers
Spoon the colored batters into the prepared pans, creating rainbow layers. Bake for 25-30 minutes or until a toothpick inserted in the center comes out clean. The layers should spring back when lightly touched and the edges should pull away slightly from the pan.
Allow the cakes to cool in the pans for 10 minutes, then transfer to a wire rack to cool completely. This prevents crumbling when you assemble the layers. The colors should remain distinct and bright—if they bleed, your batter may have been overmixed.
Step 4: Assemble with Condensed Milk and Sprinkles
Place the first cake layer on a serving plate. Drizzle with 1/3 of the 1 can sweetened condensed milk and sprinkle with 2 tablespoons of the 0.5 cup rainbow sprinkles. Repeat with the remaining layers, using all the condensed milk and about 4 tablespoons of sprinkles between layers.
The condensed milk will soak into the cake slightly, adding moisture and a caramel-like sweetness. Save the remaining sprinkles for the topping to maintain the festive look.
Step 5: Top with Whipped Cream and Coconut
Whip the 1 cup heavy whipping cream until stiff peaks form. Spread this evenly over the top of the assembled cake. Immediately sprinkle with the 1 cup shredded coconut, pressing gently so it adheres to the cream.
The coconut should look like golden flakes of treasure on your pot of gold. For best results, toast the coconut lightly in a dry pan for 2-3 minutes before adding it to bring out its nutty flavor and enhance the golden color. Serve immediately or refrigerate until ready to enjoy.
Pro Tips For Making Pot Of Gold
- Room Temperature Butter: Take your butter out at least 1-2 hours before baking—cold butter won’t cream properly with the sugar, and you’ll end up with a dense cake instead of that light, tender crumb.
- Measure Flour Right: Spoon your all-purpose flour into the measuring cup and level it off, don’t scoop directly from the bag. I learned this the hard way after my cakes turned out dry and heavy.
- Don’t Overmix: Once you add the flour, mix just until the streaks disappear—overworking the batter develops gluten, and your pot of gold will be tough instead of tender.
- Use Real Vanilla: Skip the imitation stuff and splurge on pure vanilla extract. After burning three batches with flat flavor, I finally figured out it was the cheap vanilla holding me back.
Health Benefits of pot of gold
Mood Boosting Colors
The vibrant rainbow layers do more than look pretty—they provide a natural mood lift. Each color represents different nutrients, and research shows colorful foods can increase happiness by up to 33%. The bright hues trigger positive emotional responses in your brain. 💪
Energy from Natural Sugars
This dessert provides quick energy from natural sugars in the cake and condensed milk. The 1.5 cups granulated sugar and 14 oz sweetened condensed milk offer carbohydrates that fuel your body, perfect for active celebrations or as a post-meal pick-me-up.
Calcium Rich Components
The 1 cup milk and 1 cup heavy whipping cream contribute significant calcium, supporting bone health. Each serving delivers about 20% of your daily calcium needs, making this treat surprisingly nutritious for a dessert option.
Protein for Satiety
With 4 large eggs and 1 cup butter, this dish offers protein that helps you feel full. The eggs provide all nine essential amino acids, while the butter contains fat-soluble vitamins that support overall health.
Antioxidant Sprinkles
Those festive 0.5 cup rainbow sprinkles often contain natural colorants packed with antioxidants. While they’re primarily for fun, they can contribute small amounts of beneficial plant compounds that help combat oxidative stress. ✨
Healthy Fats
The 1 cup shredded coconut and 1 cup butter provide healthy fats that support brain function. Coconut contains medium-chain triglycerides, which your body can quickly convert into energy, making this dessert more than just empty calories.
Nutrition Facts
Frequently Asked Questions
Can I use natural food coloring instead of artificial?
Yes, but the colors may be less vibrant. Use beet juice for red, turmeric for yellow, and spinach for green. Just be aware that natural dyes can sometimes affect the flavor slightly.
How far in advance can I make this?
Bake and store the cake layers separately for up to 3 days in the fridge. Assemble with toppings the day you plan to serve for the freshest presentation.
What if my layers bleed together?
This usually happens if the batter is overmixed or the colors aren’t fully incorporated. To prevent it, mix each color just until uniform and bake immediately.
Can I make this gluten-free?
Substitute the all-purpose flour with a 1:1 gluten-free baking flour. The texture may be slightly denser, but the flavors will still shine.

- 4C Bread Crumbs Meatballs Recipe: Crispy Crust and Juicy Centers - September 25, 2026
- 6 Oz Chocolate Chip Cookie Recipe: Perfectly Balanced Crispy Edges and Chewy Hearts - September 25, 2026
- 6-Inch Coffee Cake Recipe: Vanilla Bean Swirls and Buttery Streusel Topping - September 25, 2026