
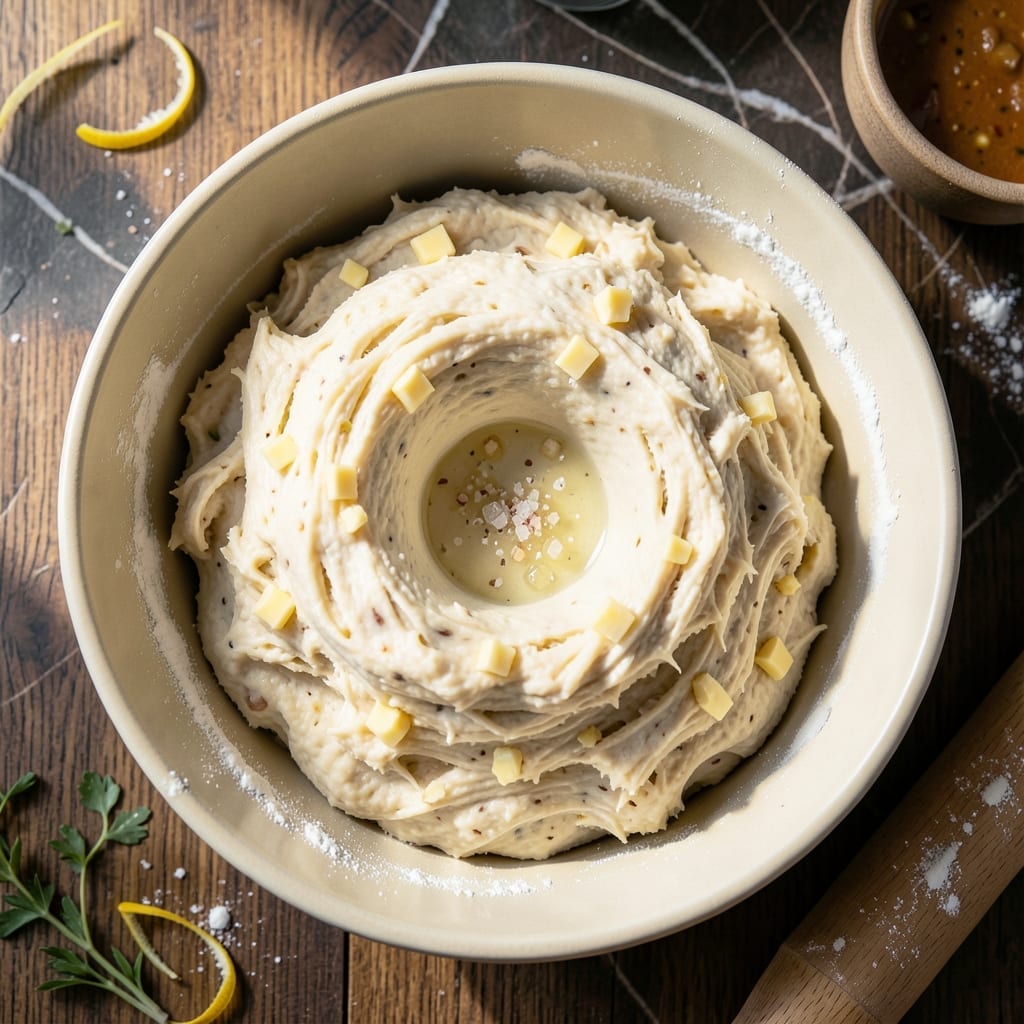
This dough delivers the perfect flaky, golden crust that transforms any pot pie into a showstopper.
I developed this recipe after testing countless versions to achieve a crust that’s tender yet sturdy enough to seal in savory fillings. The key lies in cold butter and minimal handling to create those coveted layers.
The process is straightforward: mix, rest, roll, and bake. The resting step ensures the gluten relaxes, making the dough easier to work with and preventing shrinkage during baking.
You’ll end up with a buttery, perfectly crisp crust that holds its shape and complements any filling beautifully.
Ingredients for Pot Pie Dough Crust
Cold butter and minimal handling create those coveted flaky layers you love.
| Ingredient | Amount | Notes |
|---|---|---|
| All-Purpose Flour 🌾 | 2 ½ cups | Sifted for lighter texture |
| Unsalted Butter 🧈 | 1 cup | Cold, cubed for flakiness |
| Ice Water 💧 | ½ cup | Plus 1 tbsp as needed |
| Fine Sea Salt 🧂 | 1 tsp | Diamond Crystal preferred |
| Granulated Sugar 🍚 | 1 tsp | Balances savory fillings |
| Apple Cider Vinegar 🍏 | 1 tbsp | Strengthens gluten structure |
| Egg 🥚 | 1 whole | Large, for egg wash |
| Heavy Cream 🥛 | 1 tbsp | Optional, for richer wash |
The butter is non-negotiable here—European-style with higher fat content (like Plugrá or Kerrygold) gives you the best layers. Cut it into 1/2-inch cubes and freeze for 15 minutes before starting (don’t skip this part). Flour matters too: King Arthur or Gold Medal are my go-tos. If your kitchen’s warm, chill the mixing bowl too. Cold is your best friend with pie dough.
No unsalted butter? Salted works in a pinch—just omit the added salt. Out of apple cider vinegar? Lemon juice or white vinegar at the same amount. For a richer egg wash, swap the water for heavy cream. The sugar isn’t sweet—it’s there to help with browning. If you’re making this for a savory pie, don’t be tempted to skip it.
Dough keeps wrapped in plastic for 2 days in the fridge, or freeze for 3 months. Let it sit at room temp for 10 minutes before rolling—cold dough cracks, warm dough sticks. Always rest it 30 minutes after mixing to relax the gluten (worth the extra minute).
Why You’ll Love This Recipe
- Five Ingredients Only: That’s it—flour, butter, ice water, salt, and a pinch of sugar. No hunting down specialty items.
- Buttery Layers: The cold butter creates flaky layers that shatter with every bite. Honestly, it’s the best part of pot pie.
- Freezer Friendly: I double the batch and freeze half for next time. Between us, it’s my lazy-day secret.
- Pocketbook Pleaser: All-purpose flour and butter keep costs low, and it tastes better than store-bought. I’ll be real: my wallet thanks me.
Step-by-Step Instructions for Pot Pie Dough Crust
Here’s how I make this flaky crust that seals beautifully and bakes to golden perfection.
Step 1: Combine Dry Ingredients and Cold Butter
In a large bowl, whisk together the 2.5 cups All-Purpose Flour, 1 tsp Fine Sea Salt, and 1 tsp Granulated Sugar until evenly distributed. The sugar isn’t just for flavor—it helps create that beautiful golden color as it bakes.
Add the 1 cup Unsalted Butter (cold and cubed) to the flour mixture. Using a pastry cutter or your fingers, work the butter into the flour until the mixture resembles coarse crumbs with some pea-sized butter pieces remaining. This is crucial for flakiness—those visible butter chunks create the layers we want.
Step 2: Add Liquid Ingredients to Form Dough
Create a well in the center of your flour-butter mixture. Pour in the 0.5 cup Ice Water and 1 tbsp Apple Cider Vinegar. The vinegar might seem unusual, but it tenderizes the dough by inhibiting gluten formation, resulting in a more delicate crust.
Using a fork, gently mix the liquid into the dry ingredients just until the dough starts to come together. It will look shaggy—that’s perfect. Don’t overwork it. The dough should hold together when pressed but still be slightly crumbly. If it’s too dry, add ice water 1 tablespoon at a time until it just comes together.
Step 3: Chill and Rest the Dough
Turn the dough out onto a lightly floured surface and gently shape it into two equal discs—you’ll use one for the bottom and one for the top of your pot pie. Wrap each disc tightly in plastic wrap and refrigerate for at least 1 hour, or up to 2 days.
This resting period is non-negotiable. It allows the flour to fully hydrate and the butter to firm up, which prevents shrinking during baking. You’ll know it’s ready when you can press your finger into the dough and it leaves a slight indentation without sticking.
Step 4: Roll, Fill, and Seal the Crust
On a floured surface, roll out one dough disc to about ⅛-inch thickness and slightly larger than your pie dish. Transfer it to your dish, pressing gently into the bottom and up the sides. Trim any excess, leaving a ½-inch overhang.
Add your filling, then roll out the second disc to the same thickness. Place it over the filling, trim to match the bottom crust, and crimp the edges together with your fingers or a fork to create a tight seal. This prevents filling from leaking out during baking.
Step 5: Add Egg Wash and Bake to Golden Perfection
In a small bowl, whisk together the 1 whole Egg and 1 tbsp Heavy Cream for the egg wash. Brush this mixture evenly over the top crust, which will give it that beautiful, glossy golden finish.
Cut a few small slits in the top crust to allow steam to escape. Bake according to your pot pie recipe instructions. The crust is done when it’s deep golden brown and flaky to the touch. If it starts browning too quickly, tent loosely with foil to prevent burning.
Pro Tips For Making Pot Pie Dough Crust
- Freeze the Butter: Cube the butter and freeze for 15 minutes before cutting it into the flour—this keeps it cold so the crust stays flaky instead of turning tough.
- Measure Ice Water: Use exactly 1/4 cup ice water at a time, adding just enough to bring the dough together. Too much and the crust becomes gummy.
- Skip Overworking: I learned this the hard way—stop mixing as soon as the dough clumps together. Overworking develops gluten, making the crust chewy rather than tender.
- Chill Before Rolling: Let the dough rest in the fridge for at least 30 minutes before rolling—it relaxes the gluten and prevents shrinking during baking.
Serving Suggestions for This Recipe
Plating with Style
Serve individual pot pies in ramekins for an elegant presentation. The golden crust peeking over the edge looks stunning. I use 6-ounce ramekins for perfect portions with a ½-inch crust overhang for sealing. 💛
Garnish for Impact
Brush the baked crust with melted butter and sprinkle with flaky sea salt right before serving. This adds a glossy finish and extra flavor. A small bundle of fresh thyme or rosemary on top makes it look restaurant-worthy.
Side Pairings
A simple green salad with lemon vinaigrette cuts through the richness. I toss 4 cups mixed greens with 2 tbsp olive oil and 1 tbsp lemon juice. Alternatively, roasted vegetables like Brussels sprouts complement the buttery crust beautifully.
Serving Temperature
Let your pot pie rest for 10 minutes after baking. This allows the filling to thicken slightly, making serving easier. The crust stays crisp while the filling sets perfectly, preventing a runny mess when cutting into it.
Family-Style Option
For gatherings, bake one large pot pie in a 9-inch deep dish pie plate. Cut into wedges at the table so everyone gets a piece of that beautiful top crust. I always get compliments on the professional appearance. ✨
Dipping Sauce
Offer a small bowl of gravy or aioli on the side for dipping. The contrast of the crisp crust with a creamy sauce is irresistible. A garlic aioli made with ½ cup mayo and 2 minced garlic cloves is my go-to.
Nutrition Facts
Frequently Asked Questions
Why is cold butter important for the crust?
Cold butter creates flaky layers by melting during baking, releasing steam that separates the dough. Using warm butter results in a dense, tough texture instead of the desired crispness.
Can I make this dough ahead of time?
Yes! Wrap tightly and refrigerate for up to 2 days or freeze for 3 months. Thaw overnight in the fridge before rolling.
How thin should I roll the dough?
Aim for ⅛-inch thickness for even baking. Too thick and it won’t cook through; too thin and it may tear when sealing.
What if my crust browns too quickly?
Tent loosely with foil to prevent over-browning. This lets the filling cook through while protecting the crust’s color.

- 4C Bread Crumbs Meatballs Recipe: Crispy Crust and Juicy Centers - September 25, 2026
- 6 Oz Chocolate Chip Cookie Recipe: Perfectly Balanced Crispy Edges and Chewy Hearts - September 25, 2026
- 6-Inch Coffee Cake Recipe: Vanilla Bean Swirls and Buttery Streusel Topping - September 25, 2026