
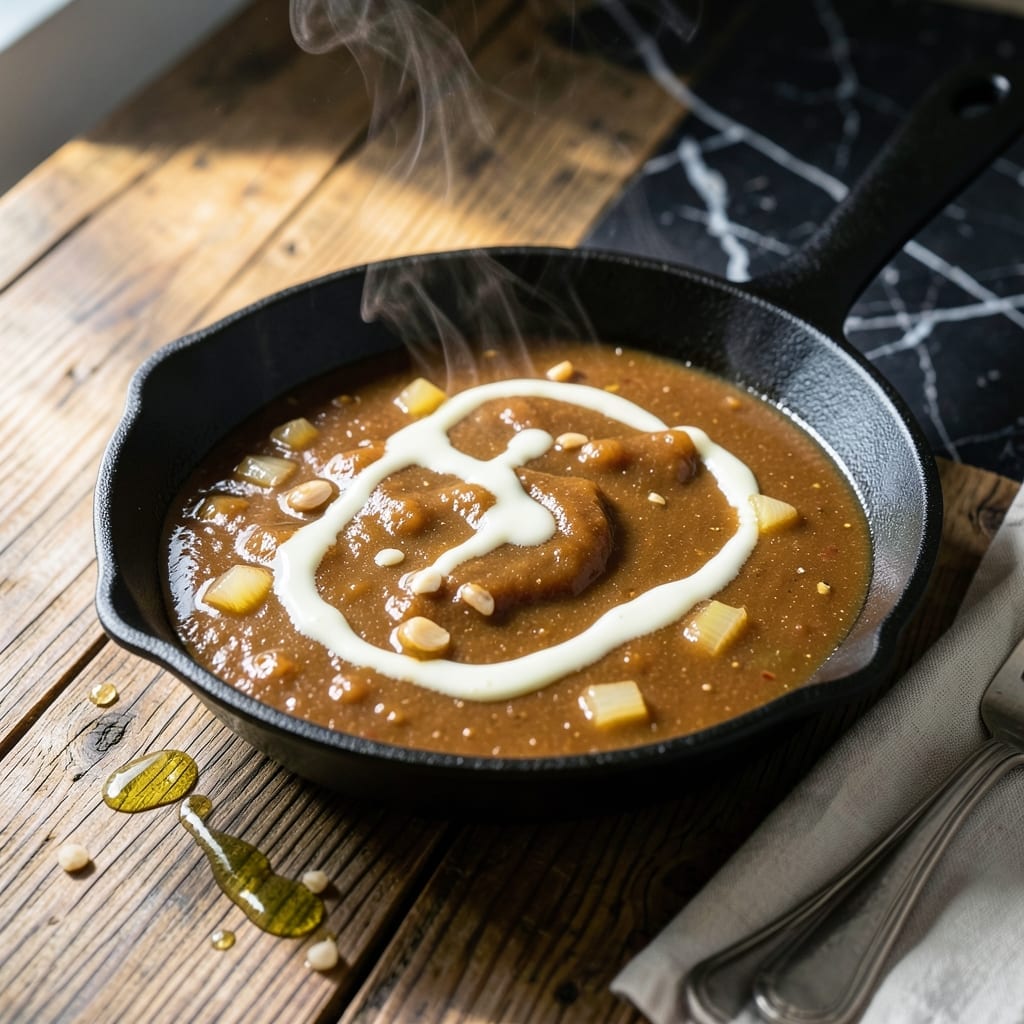
This gravy transforms any pot pie from good to unforgettable. The secret lies in a rich, velvety base that clings to every bite.
I developed this recipe to deliver that classic comfort food experience. A proper roux and slow simmering create the perfect consistency—thick enough to coat but still pourable.
What you get is a golden, flavorful sauce that tastes like it simmered for hours. The depth comes from caramelized onions and a touch of poultry seasoning.
Use it for chicken, turkey, or vegetarian pot pies. This base elevates every filling it touches.
Ingredients for Pot Pie Gravy
Nine ingredients for that golden, flavorful pot pie magic everyone remembers.
| Ingredient | Amount | Notes |
|---|---|---|
| Unsalted Butter 🧈 | ½ cup | For rich, velvety roux |
| All-Purpose Flour 🌾 | ½ cup | Creates thick, smooth base |
| Yellow Onion 🧅 | 1 whole | Finely diced, caramelized |
| Garlic Cloves 🧄 | 3 cloves | Minced for depth |
| Chicken Broth 🍲 | 3 cups | Low-sodium preferred |
| Whole Milk 🥛 | 1 cup | Adds creamy richness |
| Poultry Seasoning 🌿 | 1 tsp | Classic comfort flavor |
| Dried Thyme 🍃 | ½ tsp | Earthy, aromatic note |
| Salt 🧂 | 1 tsp | Kosher or sea salt |
| Black Pepper 🌶️ | ½ tsp | Freshly ground preferred |
The butter and flour are your foundation here. Plugra or Kerrygold for the butter if you want that extra richness (worth the splurge). King Arthur all-purpose flour is my go-to for the roux—consistent quality, zero clumps. The onions need to be caramelized low and slow for that deep, sweet base. Don’t rush this part (it’s what makes the gravy taste like it simmered for hours).
No poultry seasoning? Equal parts sage, thyme, and rosemary gets you close. Vegetarian version? Swap chicken broth for vegetable broth—just as rich. Whole milk can be half-and-half for extra creaminess (or skip it entirely if you’re watching calories). If you’re out of fresh garlic, garlic powder at one-third the amount works in a pinch.
Gravy thickens as it cools, so thin with a splash of broth if needed. Stores in the fridge for 3-4 days or freezes beautifully for 3 months. I always make a double batch—it’s that good.
Why You’ll Love This Recipe
- One Pot Wonder: I melt butter, whisk in flour, and let the onion and garlic do the rest—minimal cleanup, maximum flavor.
- Rich and Savory: The chicken broth base with golden roux creates a velvety gravy that’s crave-worthy every time.
- Freezer Friendly: I double the batch, stash half in the freezer, and pull it out for quick pot pies anytime.
- Budget Stretcher: Honestly, five simple ingredients transform into a filling gravy that feeds my family for days.
Step-by-Step Instructions for Pot Pie Gravy
This velvety base comes together with simple techniques and a watchful eye for texture.
Step 1: Sauté Aromatics Until Translucent
Melt the 0.5 cup Unsalted Butter in a heavy-bottomed saucepan over medium heat. Once foaming subsides, add the 1 whole Yellow Onion, finely diced. Cook for 5-7 minutes, stirring frequently, until the pieces turn translucent and begin to soften at the edges.
Add the 3 cloves Garlic Cloves, minced, and sauté for 30 seconds until fragrant. Here’s the thing—garlic burns quickly, so keep it moving. You want the alliums to build a sweet, savory foundation without any bitterness creeping in. The butter should never brown at this stage.
Step 2: Create a Smooth Roux Base
Sprinkle the 0.5 cup All-Purpose Flour over the onion mixture. Stir constantly with a wooden spoon for 2-3 minutes to cook out the raw flour taste. The mixture will thicken into a golden paste that coats the back of your spoon.
This is the moment that matters: you’re building the backbone of your gravy. The roux should bubble gently but not darken—pale gold is your target. If it starts to brown, reduce the heat slightly. A properly cooked roux prevents that starchy, undercooked flavor in the finished sauce.
Step 3: Gradually Incorporate Liquids
Slowly pour in the 3 cups Chicken Broth, whisking constantly to prevent lumps from forming. I like to add it in ½ cup increments, allowing each addition to fully incorporate before adding more. The mixture will thicken significantly as the roux absorbs the liquid.
Once all the broth is added, pour in the 1 cup Whole Milk and whisk until smooth. Bring the mixture to a gentle simmer over medium-low heat. You’ll see the edges start to bubble first—that’s your signal to reduce the heat if needed. Simmer for 3-4 minutes until the gravy coats the back of a spoon.
Step 4: Season and Infuse with Herbs
Stir in the 1 tsp Poultry Seasoning, 0.5 tsp Dried Thyme, 1 tsp Salt, and 0.5 tsp Black Pepper. I know it seems like a lot of seasoning, but remember this gravy needs to stand up to the hearty fillings in a pot pie.
Let the gravy simmer for an additional 2-3 minutes to allow the flavors to meld. Taste and adjust seasoning if needed—your gravy should be rich and savory with a hint of herbal warmth. If it’s too thick, whisk in a splash more broth. If too thin, simmer a minute longer. The texture should be velvety, not gluey or watery.
Pro Tips For Making Pot Pie Gravy
- Brown the Butter: Let the butter cook until it turns a light golden brown before adding flour—this adds a nutty depth that plain butter just can’t match.
- Use Cold Broth: Pouring cold chicken broth into the hot roux prevents lumps and gives you more control over the thickness. I learned this the hard way after too many clumpy gravies.
- Sauté Onions Low: Cook the yellow onions on medium-low heat for about 8-10 minutes until soft and translucent. High heat will brown them too fast and leave a raw taste.
- Whisk Constantly: Once the broth hits the pan, keep whisking until the gravy thickens—about 3-5 minutes. Walking away for even a minute can mean a scorched bottom.
Pro Cooking Tips for This Recipe
Roux Perfection
Cook your roux until it reaches a pale golden color—about 2-3 minutes of constant stirring. This is the foundation of your gravy, so don’t rush it. If it browns, it’ll add a nutty flavor that might overpower the delicate balance we’re aiming for.
Liquid Temperature
Always use room temperature or warm chicken broth and whole milk when incorporating into the roux. Cold liquids can cause the butter to seize, creating lumps. I keep mine in a measuring cup on the counter for 10 minutes before starting. 💡
Whisking Technique
Whisk vigorously in a figure-eight motion when adding liquids. This prevents clumping and ensures a silky texture. I use a flat whisk for better contact with the pan’s bottom—it’s a game-changer for smooth gravy.
Consistency Check
Test your gravy’s thickness by dipping a wooden spoon in—it should coat the back evenly. If it’s too thin, simmer 1-2 minutes longer. Too thick? Thin with ¼ cup warm broth at a time until perfect.
Seasoning Timing
Add poultry seasoning and thyme early so their flavors bloom in the heat. Wait until the end to adjust salt and pepper—reducing liquids can concentrate the saltiness. Taste as you go. ✨
Strain for Silkiness
For ultra-smooth gravy, strain it through a fine-mesh sieve after cooking. This removes any bits of onion or flour that didn’t fully dissolve. I do this for special occasions—it elevates the texture to restaurant quality.
Nutrition Facts
Frequently Asked Questions
Can I make this gravy ahead of time?
Yes! Prepare it up to 2 days ahead and store in an airtight container in the fridge. Reheat gently over low heat, whisking occasionally. It may thicken when cold, so thin with a splash of warm broth if needed.
What if my gravy turns out lumpy?
Don’t worry—just whisk vigorously to break up lumps or strain through a fine-mesh sieve. To prevent this, ensure your roux is smooth before adding liquids and whisk constantly while pouring.
Can I use a different type of milk?
Half-and-half adds extra richness, while 2% milk lightens it slightly. For dairy-free, try unsweetened almond milk or oat milk—just note the flavor may vary.

- 4C Bread Crumbs Meatballs Recipe: Crispy Crust and Juicy Centers - September 25, 2026
- 6 Oz Chocolate Chip Cookie Recipe: Perfectly Balanced Crispy Edges and Chewy Hearts - September 25, 2026
- 6-Inch Coffee Cake Recipe: Vanilla Bean Swirls and Buttery Streusel Topping - September 25, 2026