
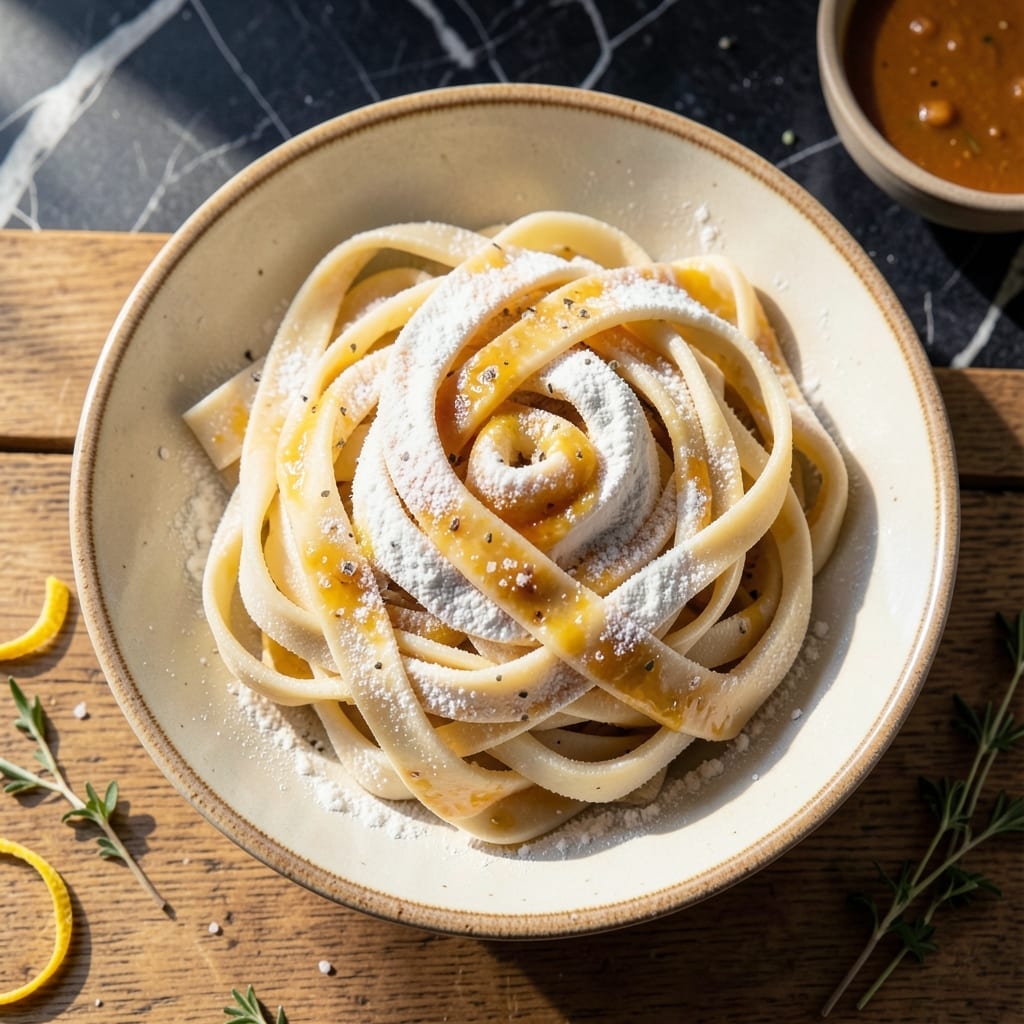
This dough transforms homemade pot pie from good to extraordinary with its flaky, golden layers. I developed this recipe after years of experimenting with different fat-to-flour ratios and folding techniques.
The secret lies in using cold butter and a precise resting period that allows the gluten to relax. This creates the perfect texture for noodle-style dough that bakes up light and airy with distinct, delicate layers.
Each bite delivers that signature homemade quality you remember from childhood, but with a more refined technique. The dough holds up beautifully to rich fillings without becoming soggy.
Ready in under an hour with simple pantry staples, this recipe brings comfort food to new heights. The results speak for themselves.
Ingredients for Pot Pie Noodle Dough
Cold butter and minimal ingredients create this unforgettable flaky noodle-style dough for pot pie.
| Ingredient | Amount | Notes |
|---|---|---|
| All-Purpose Flour 🌾 | 2 cups | Plus extra for dusting surface |
| Unsalted Butter 🧈 | 1 cup | Cold, cut into small cubes |
| Ice Water 💧 | ½ cup | Plus 1-2 extra tbsp as needed |
| Fine Sea Salt 🧂 | 1 tsp | Diamond Crystal preferred for consistency |
| Distilled White Vinegar 💧 | 1 tbsp | Helps tenderize the gluten |
| Large Egg 🥚 | 1 whole | Cold, for binding and richness |
| Baking Powder 🧂 | ½ tsp | Aluminum-free for clean flavor |
| Granulated Sugar 🍚 | 1 tsp | Balances the savory filling |
The butter is non-negotiable here—use European-style with 82% fat content if you can find it at Whole Foods or Trader Joe’s. It has less water, which means flakier layers. The flour should be unbleached all-purpose; King Arthur is my go-to for consistency. Keep everything ice cold throughout the process (the vinegar helps with this too). If your kitchen runs warm, chill your mixing bowl and utensils beforehand.
No butter on hand? Vegan butter sticks (like Miyoko’s) work in a pinch, but the texture won’t be quite as delicate. For a richer flavor, substitute half the butter with leaf lard—old-school bakers swear by it. The vinegar can be swapped for lemon juice if that’s what you have. If you’re out of baking powder, 1/4 tsp baking soda plus 1/4 tsp cream of tartar does the trick.
The dough can rest in the fridge for up to 2 days before using, or freeze it for 1 month wrapped tightly in plastic. Once baked, pot pies keep well for 3-4 days—though they’re always best fresh from the oven. For make-ahead convenience, roll and cut the noodles, then freeze them in a single layer before adding to your filling.
Why You’ll Love This Recipe
- No Fuss Dough: This comes together with just flour, butter, and ice water—no resting, no fuss. Honestly, I’ve made it in the 10 minutes between work calls.
- Buttery Layers: The cold butter and vinegar create flakes so tender they practically melt. That first bite? Ridiculously good.
- Freezer Friendly: I double the batch, freeze half, and pull it out for impromptu pot pies or dumplings. Between us, it’s my weeknight secret weapon.
- Pantry Staples: All-purpose flour, salt, and vinegar—things I always have. I’ll be real: it’s saved me from last-minute grocery runs more than once.
Step-by-Step Instructions for Pot Pie Noodle Dough
Master the technique for creating perfectly flaky layers that elevate your homemade comfort dish.
Step 1: Combine Dry Ingredients for Structure
In a large mixing bowl, whisk together the 2 cups All-Purpose Flour, 1 tsp Fine Sea Salt, 0.5 tsp Baking Powder, and 1 tsp Granulated Sugar. I always use Diamond Crystal salt for its consistent texture and clean flavor profile. The baking powder provides lift while the sugar balances the savory filling.
Whisk for 30-45 seconds until the mixture is uniformly combined and aerated. This step ensures even distribution of leavening agents, which prevents hot spots in your dough and guarantees consistent flakiness throughout every bite.
Step 2: Incorporate Cold Butter for Flaky Layers
Add the 1 cup Unsalted Butter, which should be cold and cut into small cubes. Using a pastry cutter or your fingers, work the butter into the flour mixture until the largest pea-sized crumbs form. You’ll see the mixture transform from powdery to crumbly with visible butter pieces throughout.
Here’s the thing—keep the butter as cold as possible during this process. I work quickly and handle the dough minimally to prevent the butter from melting. Those visible butter pieces are what create the steam that separates the layers during baking, giving you that coveted flaky texture.
Step 3: Bind with Wet Ingredients for Cohesion
In a small bowl, whisk together the 0.5 cup Ice Water, 1 tbsp Distilled White Vinegar, and 1 whole Large Egg. The vinegar tenderizes the gluten while the cold egg adds richness and binding power. Make sure the egg is cold to maintain the dough’s low temperature.
Create a well in the center of your flour-butter mixture and pour in the wet ingredients. Using a fork, gradually incorporate the dry ingredients into the wet until a shaggy dough begins to form. You’ll notice the dough starts to come together but remains slightly crumbly—that’s perfect.
Step 4: Knead and Rest for Optimal Texture
Turn the dough out onto a lightly floured surface dusted with some of the All-Purpose Flour. Gently knead the dough for 30-60 seconds just until it comes together into a smooth ball. Overworking the dough develops too much gluten, resulting in tough noodles rather than tender, flaky layers.
Shape the dough into a disk, wrap it tightly in plastic wrap, and refrigerate for at least 1 hour (or up to 24 hours). This resting period allows the gluten to relax and the butter to firm up, making the dough easier to roll out and ensuring those beautiful flaky layers when baked.
Pro Tips For Making Pot Pie Noodle Dough
- Chill the Butter: Keep your unsalted butter ice-cold until the moment you cut it into the flour—this guarantees flaky layers in your pot pie noodle dough. I learned this the hard way after ending up with dense, tough dough my first few tries.
- Use Ice Water: The colder the water, the less it develops gluten in the dough. I fill a cup with water and ice cubes, then measure from that so it stays frigid while mixing.
- Skip Overworking: Mix just until the dough comes together, even if it looks a little shaggy. Overmixing activates too much gluten, and you’ll wind up with chewy noodles instead of tender ones.
- Add Vinegar Last: Stir the distilled white vinegar into the ice water before adding it to the dry ingredients—it tenderizes the dough without affecting the flour-butter ratio. Sounds weird, but it works.
Common Mistakes When Making Great pot pie noodle dough
Overworking the Dough
Kneading too long develops excess gluten, turning your noodles tough instead of tender. I limit kneading to 30-60 seconds until just combined. The dough should look shaggy, not smooth.
Warm Butter Disaster
Butter must stay cold to create flaky layers. If it melts during mixing, your dough will be dense. I cube my butter, then chill it and the bowl for 10 minutes beforehand. 🧊
Work quickly with your hands, and if the butter starts to soften, pop everything back in the fridge for 5 minutes to reset.
Skipping the Rest
Rushing the resting period prevents gluten from relaxing. I always refrigerate the dough for at least 1 hour—overnight works too. This step ensures easy rolling and maximum flakiness.
Incorrect Rolling Thickness
Too thick and your noodles won’t cook through; too thin and they’ll dissolve in the filling. Aim for ⅛-inch thickness when rolling. I use a ruler to check until muscle memory kicks in.
Overcrowding the Pot Pie
Packing too many noodles into your pot pie leads to a gummy texture. I use 1 lb of dough per 9-inch pie, cutting strips about ½-inch wide for even cooking and perfect flakiness.
Ignoring Temperature
Starting with cold ingredients and keeping them cold is non-negotiable. I even chill my rolling pin between uses. Warm dough = tough noodles. Trust me on this one. ✨
Nutrition Facts
Frequently Asked Questions
Can I use a food processor for mixing?
Yes, pulse the dry ingredients with cold butter until pea-sized crumbs form. Be careful not to overmix. Transfer to a bowl for the wet ingredients to maintain control over texture.
Why does the dough need to rest?
Resting chills the butter and relaxes the gluten. This makes the dough easier to roll and creates flakier layers when baked. 1 hour minimum is ideal.
Can I make this ahead of time?
Wrap the dough tightly and refrigerate for up to 2 days or freeze for 1 month. Thaw overnight in the fridge before using.
What if my dough cracks while rolling?
Let it warm slightly at room temperature for 5-10 minutes. If it’s too cold, it becomes brittle. Patch any tears with extra dough and reroll.

- 4C Bread Crumbs Meatballs Recipe: Crispy Crust and Juicy Centers - September 25, 2026
- 6 Oz Chocolate Chip Cookie Recipe: Perfectly Balanced Crispy Edges and Chewy Hearts - September 25, 2026
- 6-Inch Coffee Cake Recipe: Vanilla Bean Swirls and Buttery Streusel Topping - September 25, 2026