
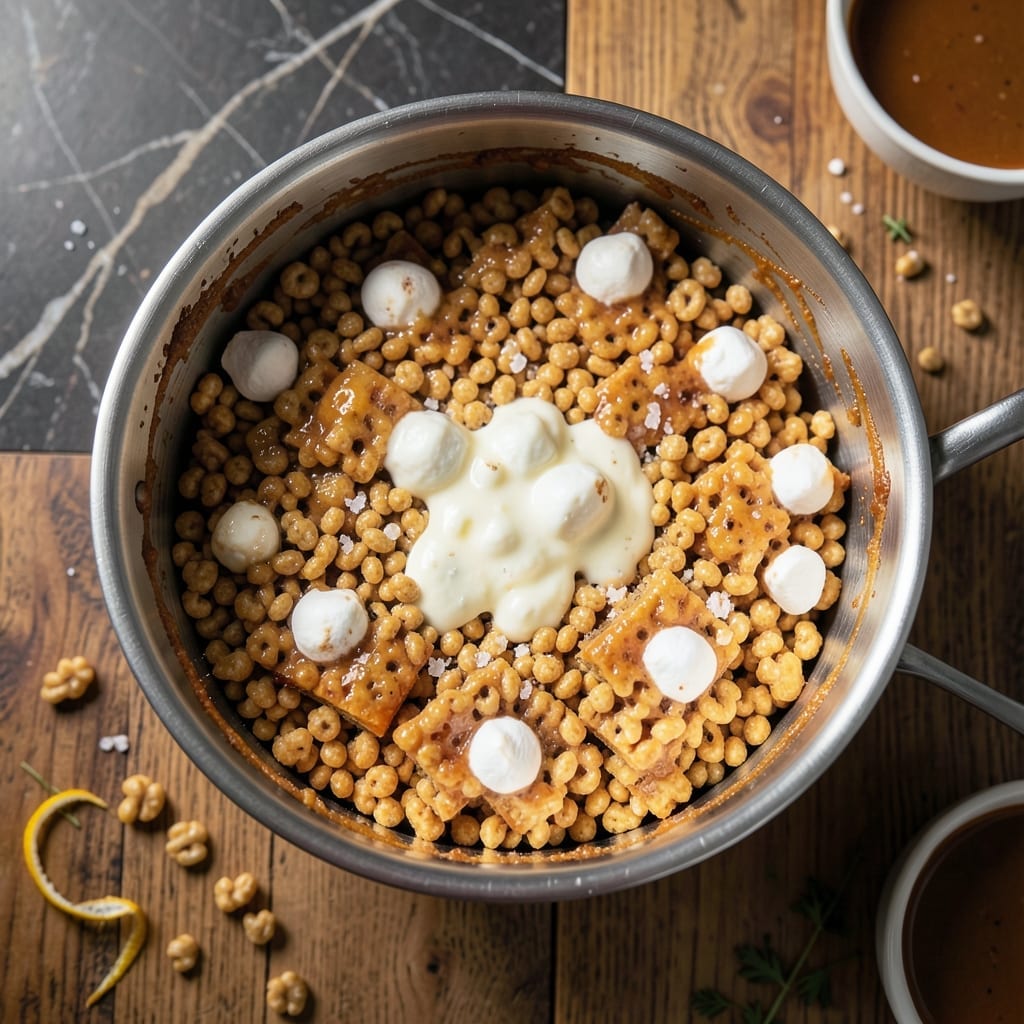
This no-bake treat delivers classic Rice Krispies flavor with a magical twist using just a pot and a spoon. No oven required—just melt, mix, and set for perfect results every time.
The secret lies in the precise ratio of melted marshmallows to cereal, creating that signature crispy texture we all love. I’ve tested this method repeatedly to ensure it stays fresh and maintain its shape without falling apart.
In 15 minutes, you’ll have a batch of sweet, gooey squares ready to enjoy. The marshmallows create a sticky base that binds the cereal together without any baking.
Ideal for parties, lunchboxes, or a quick sweet fix. This recipe proves that simple ingredients can create something extraordinary.
Ingredients for Pot Rice Krispies
Six ingredients transform into these nostalgic crispy treats. No oven, no fuss.
| Ingredient | Amount | Notes |
|---|---|---|
| Rice Krispies Cereal 🥣 | 6 cups | Classic original flavor |
| Mini Marshmallows 🍬 | 10 oz | About 4 cups packed |
| Unsalted Butter 🧈 | ¼ cup | 1/2 stick or 4 tbsp |
| Vanilla Extract 💧 | 1 tsp | Pure extract preferred |
| Salt 🧂 | ¼ tsp | Fine sea salt |
| Cooking Spray 🫒 | 1 can | For greasing pan |
The marshmallows are non-negotiable here. Jet-Puffed mini marshmallows melt faster and smoother than the big ones—Kraft is my backup. The cereal needs to be fresh (check the box date) or it won’t have that signature snap. Most grocery stores carry Rice Krispies in the cereal aisle. I grab mine from Target when I’m doing a big stock-up, but any supermarket works.
No mini marshmallows? Regular marshmallows chopped into quarters work in a pinch. Want extra flavor? Swap vanilla for almond extract (use half the amount). The butter can be salted if that’s what you’ve got—just skip the added salt. Vegan butter works too for a dairy-free version. The cooking spray can be replaced with extra butter for greasing the pan.
These keep at room temp in an airtight container for 2-3 days. They’ll soften slightly but still taste great. For longer storage, freeze for up to 6 weeks (thaw at room temp before serving).
Why You’ll Love This Recipe
- One Pot Wonder: I melt the butter, marshmallows, and vanilla in one pot, stir in the cereal, and boom—done. No extra bowls, no fuss.
- Toasted Marshmallow Bliss: The mini marshmallows get all gooey and sweet, with just a hint of vanilla and salt to balance it out. Honestly, it’s the perfect sweet-salty combo.
- Crowd-Pleasing Treat: I’ve made these for birthday parties, school events, and even just a random Tuesday. Kids and adults alike can’t resist them.
- Budget-Friendly Batch: A box of cereal and a bag of marshmallows stretch a long way. I get at least two dozen servings for under ten bucks.
Step-by-Step Instructions for Pot Rice Krispies
Here’s the no-bake method that’s foolproof and ready in minutes.
Step 1: Prepare the Pan and Melt the Butter
First, lightly coat a large pot or heatproof bowl with the cooking spray. This prevents sticking and makes cleanup a breeze. I use a heavy-bottomed pot for even heat distribution, but any large microwave-safe bowl will work too.
In a medium saucepan, melt the 0.25 cup unsalted butter over low heat. Watch it closely—you want it fully melted but not browned. As soon as it’s liquid and just starting to foam, remove it from the heat. This takes about 2-3 minutes depending on your stove.
Step 2: Mix in Marshmallows and Flavorings
Immediately add all 10 oz mini marshmallows to the melted butter. Stir constantly with a silicone spatula or wooden spoon until the marshmallows are completely melted and smooth. This usually takes 3-4 minutes over low heat.
Once melted, stir in the 1 tsp vanilla extract and 0.25 tsp salt. The vanilla adds depth, while the salt balances the sweetness. The mixture should be glossy and fully combined with no marshmallow lumps.
Step 3: Combine with Rice Krispies Cereal
Remove the saucepan from heat and quickly add all 6 cups Rice Krispies cereal to the marshmallow mixture. Using the same spatula, fold everything together gently but thoroughly until every piece is evenly coated. The cereal will start to crisp slightly from the heat—that’s normal.
Work fast here—the marshmallow mixture thickens as it cools. If it starts to set before you’re done mixing, place the pot back over very low heat for 10-15 seconds to loosen it, but don’t overheat or the cereal will get soggy.
Step 4: Press and Set
Transfer the coated cereal into your greased pot or bowl. Using the spatula or the back of a greased spoon, press down firmly and evenly to compact the mixture. The more you press, the denser your treats will be—press lightly for a crispier texture or firmly for chewier squares.
Let it sit undisturbed for 10-15 minutes to set completely. You’ll know it’s ready when the mixture holds its shape and feels firm to the touch. Resist the temptation to cut too early—this resting time ensures clean slices.
Step 5: Slice and Serve
Once fully set, use a sharp knife (dipped in hot water for easier cutting) to slice into 16 equal portions. Wipe the knife between cuts for clean edges. Serve immediately or store in an airtight container for up to 2 days.
The treats should have a glossy, slightly sticky exterior with that signature Rice Krispies crunch. If they feel too firm, let them sit at room temperature for 30 minutes to soften slightly before serving.
Pro Tips For Making Pot Rice Krispies
- Melt Butter Slowly: Use low heat to melt the butter before adding marshmallows—high heat can cause the sugar to seize up and turn grainy, ruining the texture.
- Use Fresh Marshmallows: I learned this the hard way—stale mini marshmallows don’t melt as smoothly, so check the bag’s freshness date for the best gooey consistency.
- Press While Warm: Work fast to press the mixture into the pot while it’s still warm and sticky, or it’ll harden before you get an even layer.
- Grease Your Spoon: Coat your spoon or spatula with a little butter or oil before pressing—it keeps the rice krispies from sticking and makes cleanup a breeze.
Make-Ahead Tips for Leftovers
Prep Ahead Strategy
Measure your 6 cups Rice Krispies cereal and 10 oz mini marshmallows the night before. Store them in separate airtight containers to keep the cereal crisp. I use glass mason jars for the cereal to prevent any moisture exposure.
Early Melting Method
Melt the 0.25 cup unsalted butter and marshmallows in the morning, then let the mixture cool completely. Reheat gently over low heat for 1-2 minutes before mixing with cereal. This shaves 5 minutes off your evening prep. 💡
Portion Control
Line your pot with parchment paper before pressing in the mixture. This lets you lift out the entire batch, slice into 16 portions, and store them individually. I wrap each piece in wax paper for grab-and-go treats.
Freezer Friendly
After setting, cut into squares and freeze on a tray for 1 hour. Transfer to a freezer bag with parchment between layers. They’ll keep for 6 weeks and thaw in 15 minutes at room temp. ❄️
Room Temp Tips
Store finished treats in an airtight container at room temperature for up to 3 days. Add a slice of bread to the container to absorb any excess moisture and maintain that perfect crispy texture.
Nutrition Facts
Frequently Asked Questions
Can I use regular marshmallows instead of mini?
Yes, but chop them into quarters first for even melting. Mini marshmallows dissolve faster and more smoothly, but regular ones work in a pinch.
Why did my treats turn out hard?
Over-pressing or using too much butter can make them dense. Press lightly for a crispier texture, and stick to 0.25 cup butter for the best results.
How do I keep them from sticking to the pan?
Always grease your pot or bowl with cooking spray or butter. Lining with parchment paper also helps for easy removal.
Can I add mix-ins like chocolate chips?
Fold in 1 cup of add-ins after mixing the cereal. Try chocolate chips, nuts, or sprinkles for extra flavor.

- 6 Oz Chocolate Chip Cookie Recipe: Perfectly Balanced Crispy Edges and Chewy Hearts - September 25, 2026
- 6-Inch Coffee Cake Recipe: Vanilla Bean Swirls and Buttery Streusel Topping - September 25, 2026
- 1 Hour Soup Recipe: Velvety Richness Without the Wait - September 25, 2026