
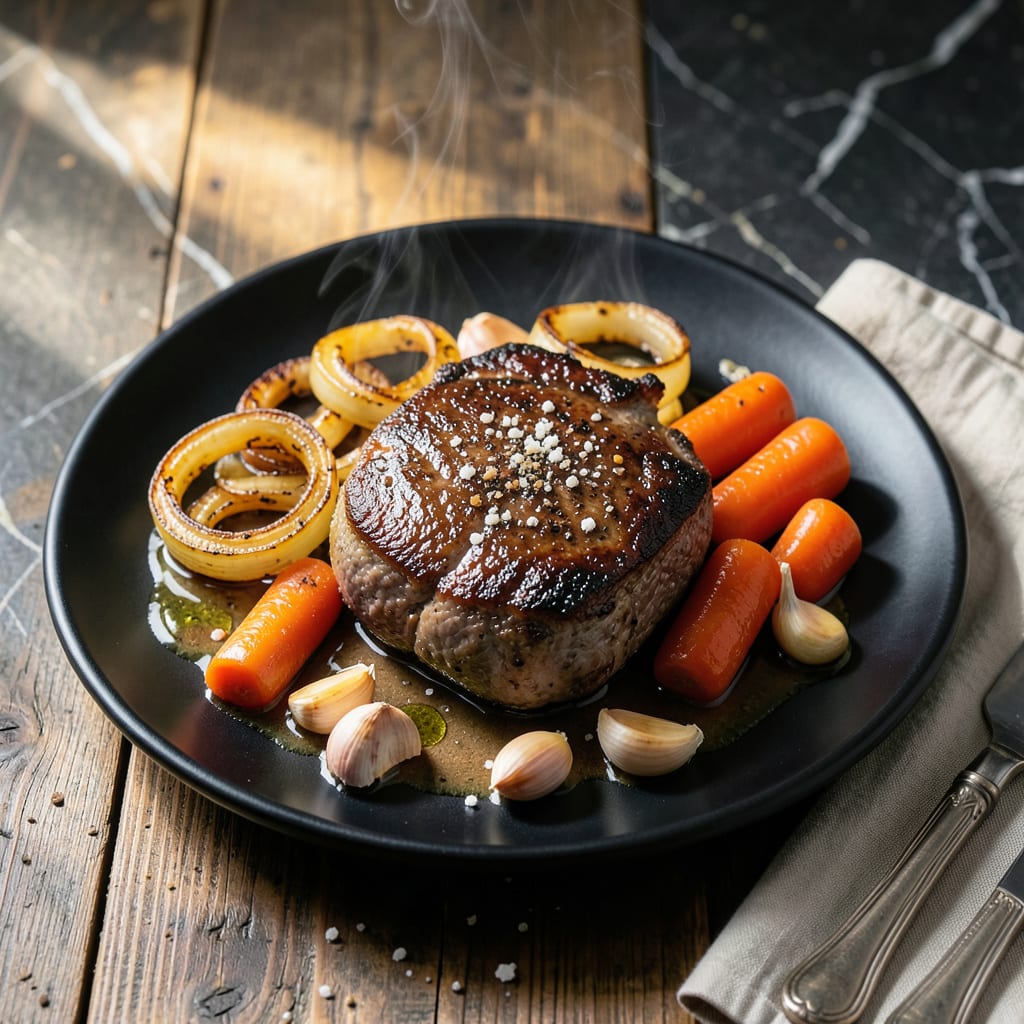
This foil-wrapped pot roast guarantees ultimate tenderness by locking in moisture for the most succulent results.
Using a simple technique and 3-4 hours of slow cooking, this method transforms tough cuts into fall-apart tender meat with rich, concentrated flavors.
Ingredients for Pot Roast in Foil
A well-marbled chuck roast and aromatic vegetables create this melt-in-your-mouth masterpiece with sealed-in moisture.
| Ingredient | Amount | Notes |
|---|---|---|
| Chuck Roast 🥩 | 3 lb | Well-marbled, bone-in preferred |
| Kosher Salt 🧂 | 1 ½ tbsp | Diamond Crystal recommended |
| Black Pepper 🌶️ | 1 tbsp | Freshly ground for best flavor |
| Garlic Cloves 🧄 | 6 cloves | Peeled and smashed |
| Yellow Onions 🧅 | 2 whole | Large, thickly sliced |
| Carrots 🥕 | 4 whole | Cut into 3-inch chunks |
| Celery Stalks 🥬 | 4 whole | Cut into 2-inch pieces |
| Beef Broth 💧 | 2 cups | Low-sodium preferred |
| Red Wine 🍷 | 1 cup | Dry variety like Cabernet |
| Tomato Paste 🍅 | 2 tbsp | For depth of flavor |
| Fresh Thyme Sprigs 🌿 | 4 whole | Or 1 tsp dried thyme |
| Fresh Rosemary Sprigs 🌿 | 2 whole | Or 1 tsp dried rosemary |
| Bay Leaves 🍃 | 2 whole | Dried, for aromatic depth |
| Olive Oil 🫒 | 2 tbsp | For searing the roast |
| Heavy-Duty Aluminum Foil 📦 | 1 sheet | Large enough to wrap roast |
The chuck roast is non-negotiable for this preparation. Look for abundant marbling—this fat renders down during the long cook, basting the meat from within. Costco and Whole Foods typically carry well-marbled cuts. Bone-in adds extra flavor, but boneless works if that’s what’s available. For the herbs, fresh thyme and rosemary provide superior aroma, though dried can substitute in a pinch.
No red wine? Substitute with additional beef broth and 1 tbsp balsamic vinegar for similar depth. The tomato paste can be omitted, though it adds valuable umami. If using dried herbs, reduce the quantity to one-third of fresh. For the vegetables, parsnips or potatoes can replace carrots or celery without issue. The aluminum foil must be heavy-duty to prevent tearing.
This reheats exceptionally well—flavors deepen after 24 hours. Store leftovers in an airtight container for up to 5 days in the refrigerator, or freeze for 3 months. The cooking liquid makes an excellent base for gravy or soup, so don’t discard it.
Why You’ll Love This Recipe
- Set It and Forget: The foil does all the work—just season the chuck roast, add garlic and onions, then let the oven work its magic.
- Melt-in-Your-Mouth Tender: Honestly, the slow cook in foil turns the meat so tender it falls apart with a fork, and the garlic and onions soak right in.
- Weeknight Lifesaver: I throw it together before work, and by dinnertime, the whole house smells like comfort food.
- Leftovers for Days: Between us, it tastes even better the next day in sandwiches or over mashed potatoes.
Step-by-Step Instructions for Pot Roast in Foil
This method guarantees fall-apart tender meat with rich, concentrated flavors every time.
Step 1: Season and Sear the Chuck Roast
Pat the 3 lb Chuck Roast completely dry with paper towels. This ensures a proper sear rather than steaming. Season all sides aggressively with the 1.5 tbsp Kosher Salt and 1 tbsp Black Pepper, pressing the seasoning into the meat so it adheres well.
Heat the 2 tbsp Olive Oil in a large Dutch oven over medium-high heat until shimmering. Sear the roast for 4-5 minutes per side until deeply browned. You want a rich, dark crust—this builds the flavor foundation for your dish. Transfer the roast to a plate and set aside.
Step 2: Build the Aromatic Base
In the same Dutch oven, add the 2 whole Yellow Onions, 4 whole Carrots, and 4 whole Celery Stalks. Sauté for 5-6 minutes until the onions begin to soften and develop golden brown edges. Stir in the 2 tbsp Tomato Paste and cook for 1-2 minutes to deepen its flavor.
Add the 6 cloves Garlic Cloves, 4 whole Fresh Thyme Sprigs, 2 whole Fresh Rosemary Sprigs, and 2 whole Bay Leaves. Cook for 1 minute until fragrant. This aromatic base infuses the dish with layers of complexity.
Step 3: Deglaze and Create the Braising Liquid
Pour in the 1 cup Red Wine to deglaze the pan, scraping up all the browned bits from the bottom. These fond bits are packed with flavor. Let the wine reduce by half, about 3-4 minutes, then add the 2 cups Beef Broth.
Return the seared chuck roast to the Dutch oven, spooning some of the liquid and vegetables over the top. The liquid should come about halfway up the roast. This ensures even cooking and maximum tenderness.
Step 4: Seal in Foil and Braise to Perfection
Tear off the 1 sheet Heavy-Duty Aluminum Foil and place it over the Dutch oven, then secure the lid on top. This double seal traps steam and moisture, creating the ultimate tender environment. Transfer to a preheated 325°F oven.
Braise for 3 to 3.5 hours until the chuck roast is fork-tender. You’ll know it’s ready when a fork slides in and out with absolutely no resistance. The foil seal ensures the meat stays moist and absorbs all the rich braising liquid flavors.
Step 5: Rest and Serve
Carefully remove the foil and lid, then transfer the roast to a cutting board. Let it rest for 15-20 minutes before slicing or pulling apart. This allows the juices to redistribute, ensuring every bite is moist and flavorful.
Serve the pot roast with the braised vegetables and a generous spoonful of the rich, aromatic liquid. The meat should be so tender it nearly falls apart at the touch of your fork, with every element of the dish harmoniously combined.
Pro Tips For Making Pot Roast In Foil
- Sear the Chuck First: I learned this the hard way—skipping the sear leaves your pot roast bland. A quick 2-3 minutes per side in a hot pan gives that deep, caramelized flavor that foil alone can’t deliver.
- Slice Onions Thick: Thinly sliced onions disappear into the juices. Cut them into ½-inch wedges so they hold up and add texture after hours in the foil.
- Don’t Drown It: Add just ¼ cup of liquid—beef stock or water—to the foil packet. Too much makes the roast steam instead of braise, and you’ll end up with a watery, sad dinner.
- Rest Before Serving: Give it a solid 15 minutes under foil after pulling it from the oven. This lets the juices redistribute—cutting too soon sends them all over the cutting board, not your plate.
Best Sauces and Condiments for These Flavors
Classic Horseradish Cream
This bold sauce cuts through the richness beautifully. I mix ½ cup sour cream with 2 tbsp prepared horseradish and 1 tsp lemon juice for tang. It adds a bright, spicy kick that pairs perfectly with tender beef.
Rich Red Wine Gravy
Use the braising liquid as your base. Simmer 2 cups of the cooking juices with 1 tbsp cornstarch slurry until thickened. I finish with 1 tbsp cold butter for shine. The concentrated flavors make every bite unforgettable. ✨
Tangy BBQ Glaze
For a Southern twist, brush the roast with ½ cup BBQ sauce during the last 30 minutes of cooking. I love Stubb’s Original for its smoky depth. The sauce caramelizes under the foil, creating sticky, flavorful edges.
Fresh Herb chimichurri
Blend 1 cup parsley, 3 garlic cloves, ¼ cup olive oil, and 2 tbsp red wine vinegar. This vibrant green sauce adds freshness that balances the dish’s hearty flavors. Serve at room temperature for best results.
Creamy Horseradish Mashed Potatoes
Prepare your mashed potatoes as usual, then fold in 2 tbsp horseradish and ¼ cup cream cheese. The creamy, spicy potatoes soak up the pot roast’s juices beautifully.
Pickled Vegetable Garnish
Quick-pickle 1 cup sliced radishes and ½ cup red onion in ½ cup apple cider vinegar with 1 tsp sugar. The acidity and crunch contrast the tender meat wonderfully. 💡
Nutrition Facts
Frequently Asked Questions
What’s the ideal cooking temperature?
Use a preheated 325°F oven for even cooking. This temperature allows the connective tissue to break down slowly without drying out the meat.
How do I know when it’s done?
Check for doneness after 3 hours. The roast is ready when a fork slides in and out with no resistance. The meat should pull apart easily.
Can I use a different cut of meat?
Chuck roast works best, but brisket or round roast can substitute. These cuts have similar marbling and connective tissue, ensuring tender results.
What if my foil tears during cooking?
Double-wrap with heavy-duty foil or use a second sheet as backup. This prevents moisture loss and keeps the cooking environment sealed.

- 4C Bread Crumbs Meatballs Recipe: Crispy Crust and Juicy Centers - September 25, 2026
- 6 Oz Chocolate Chip Cookie Recipe: Perfectly Balanced Crispy Edges and Chewy Hearts - September 25, 2026
- 6-Inch Coffee Cake Recipe: Vanilla Bean Swirls and Buttery Streusel Topping - September 25, 2026