
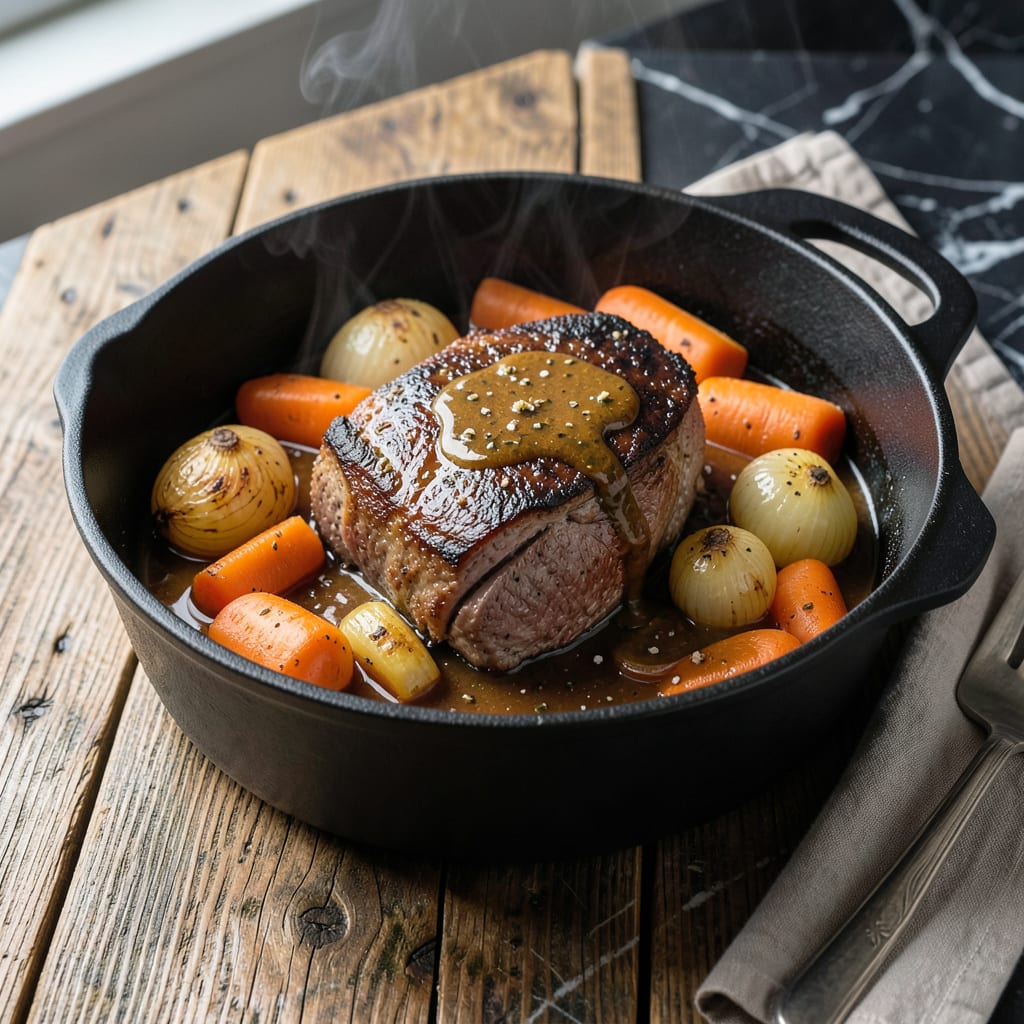
This Sunday pot roast delivers the rich, comforting flavors of a classic meal with a bold twist. The slow cooking process transforms tough cuts into fall-apart tender perfection.
With simple ingredients and hands-off preparation, this dish fills your kitchen with an irresistible aroma while creating a centerpiece worthy of any family gathering.
Ingredients for Pot Roast Recipe Emeril
Quality cuts and aromatics create that signature Sunday supper experience with minimal effort.
| Ingredient | Amount | Notes |
|---|---|---|
| Chuck Roast 🥩 | 3 lb | Well-marbled, trimmed of excess fat |
| Kosher Salt 🧂 | 2 tsp | Diamond Crystal preferred |
| Freshly Ground Black Pepper 🌶️ | 1 ½ tsp | Coarse grind for texture |
| Garlic Cloves 🧄 | 6 cloves | Smashed for robust flavor |
| Yellow Onions 🧅 | 2 whole | Large, quartered with skin on |
| Carrots 🥕 | 4 whole | Peeled, cut into 3-inch pieces |
| Celery Stalks 🌿 | 3 pieces | Cut into 3-inch pieces |
| Beef Stock 💧 | 2 cups | Low-sodium preferred |
| Red Wine 🍷 | 1 cup | Dry variety like Cabernet Sauvignon |
| Tomato Paste 🍅 | 2 tbsp | For depth of flavor |
| Fresh Thyme Sprigs 🌿 | 4 pieces | Tied with kitchen twine |
| Fresh Rosemary Sprigs 🌿 | 2 pieces | Tied with kitchen twine |
| Bay Leaves 🍃 | 2 pieces | Dried, whole |
| Olive Oil 🫒 | 2 tbsp | Extra-virgin for richness |
| All-Purpose Flour 🌾 | 2 tbsp | For thickening the sauce |
The chuck roast is non-negotiable for fall-apart tenderness. Choose a well-marbled piece from a reputable butcher or Whole Foods—fat equals flavor here. Look for bright red meat with creamy white fat streaks. If buying pre-packaged, Certified Angus Beef offers consistent quality. For the wine, any bold dry red works (Cabernet, Merlot, or Malbec), but avoid cooking wines—they’re salted and harsh.
No red wine? Additional beef stock with 1 tbsp balsamic vinegar mimics the acidity. Fresh herbs are ideal, but dried thyme and rosemary at one-third the amount work in a pinch. If you’re out of tomato paste, 1/4 cup crushed tomatoes reduced by half substitutes well. For a gluten-free version, swap the flour for cornstarch at half the quantity.
This tastes even better the next day. Store in an airtight container in the fridge for up to 4 days, or freeze for 3 months. Reheat gently on the stovetop with a splash of water to revive the sauce. Always bring chilled pot roast to room temperature before reheating to prevent drying.
Why You’ll Love This Recipe
- Set It and Forget: The chuck roast goes straight from the pot to the table with barely any hands-on time. I just season, sear, and let the oven do the rest.
- Garlic-Onion Magic: Those yellow onions and garlic cloves melt into the meat, turning every bite into something ridiculously good.
- Sunday or Tuesday: Honestly, it’s just as welcome at a lazy weekend dinner as it is on a busy weeknight when I need something reliable.
- Leftovers for Days: Between us, I make this on purpose just to have extra. The sandwiches the next day might be even better.
Step-by-Step Instructions for Pot Roast
Follow this proven method for a melt-in-your-mouth Sunday supper that delivers every time.
Step 1: Sear the Chuck Roast for Maximum Flavor
Pat the 3 lb Chuck Roast completely dry with paper towels. This ensures a proper sear rather than steaming. Season generously with the 2 tsp Kosher Salt and 1.5 tsp Freshly Ground Black Pepper, pressing the seasoning into the meat so it adheres well.
Heat the 2 tbsp Olive Oil in a large Dutch oven over medium-high heat until shimmering. Add the chuck roast and sear undisturbed for 4-5 minutes per side until a deep, rich brown crust forms. This crust is the foundation of flavor—don’t rush it.
Remove the roast and set aside. The fond (browned bits) left in the pot will deepen the sauce’s complexity later.
Step 2: Build the Aromatic Base
In the same Dutch oven, add the 2 whole Yellow Onions, 4 whole Carrots, and 3 pieces Celery Stalks. Cook for 5 minutes, stirring occasionally, until the vegetables begin to soften and develop color.
Add the 6 cloves Garlic Cloves, 2 tbsp Tomato Paste, 4 pieces Fresh Thyme Sprigs, 2 pieces Fresh Rosemary Sprigs, and 2 pieces Bay Leaves. Stir to coat the vegetables in the tomato paste and cook for 1-2 minutes until fragrant.
This step builds layers of flavor that will infuse into the meat as it braises.
Step 3: Deglaze and Thicken the Sauce
Pour in the 1 cup Red Wine and scrape up all the browned bits from the bottom of the pot with a wooden spoon. Let the wine simmer for 3-4 minutes until reduced by half. This deglazing step captures all the concentrated flavor from searing.
Stir in the 2 tbsp All-Purpose Flour to create a light roux, then slowly pour in the 2 cups Beef Stock, whisking constantly to prevent lumps. Bring the mixture to a simmer, stirring until it thickens slightly.
Step 4: Braise to Tender Perfection
Return the chuck roast to the Dutch oven, along with any accumulated juices. The liquid should come about halfway up the roast—add a bit more beef stock if needed. Cover with a tight-fitting lid and transfer to a preheated 325°F oven.
Braise for 3 to 3.5 hours, turning the roast every 45 minutes, until the meat is fork-tender and easily pulls apart. You’ll know it’s ready when a fork slides in with no resistance. This low-and-slow method transforms the tough chuck roast into a buttery, fall-apart masterpiece.
Step 5: Rest and Serve
Carefully remove the chuck roast from the pot and transfer it to a cutting board. Tent loosely with foil and let it rest for 15 minutes. This allows the juices to redistribute, ensuring every slice is moist and flavorful.
Skimming excess fat from the sauce is optional—some prefer the richness. Serve the pot roast with the vegetables and sauce spooned over the top, alongside mashed potatoes or crusty bread to soak up every last drop.
Pro Tips For Making Pot Roast Recipe Emeril
- Sear the Chuck: I learned this the hard way—browning the chuck roast in batches with about 2 tablespoons of oil per batch actually changes the outcome, giving you that deep, caramelized crust Emeril is known for.
- Salt the Meat First: Pat the chuck roast dry, then season generously with kosher salt at least 30 minutes before searing. Sounds weird, but it works: the salt draws out moisture, then reabsorbs it for a juicier roast.
- Don’t Rush the Onions: After searing the meat, cook the yellow onions until they’re soft and golden—about 8-10 minutes. Skipping this step leaves them raw and harsh in the final dish.
- Use Fresh Garlic: My grandmother swore by this, and she was right: fresh garlic cloves, smashed and minced, pack way more punch than the jarred stuff. It’s the thing that matters most for that bold Emeril flavor.
Pro Cooking Tips for Perfect Results
Perfect Searing Technique
Always pat the 3 lb Chuck Roast completely dry before searing—this prevents steaming and ensures a deep brown crust. I use paper towels and press firmly to remove all moisture from the surface.
Low and Slow Braising
Maintain a consistent 325°F oven temperature for even cooking. I check my oven with an oven thermometer to ensure accuracy. Turn the roast every 45 minutes to ensure all sides cook evenly. 🌡️
Deglazing Mastery
After searing, pour the 1 cup Red Wine into the hot Dutch oven and scrape aggressively with a wooden spoon. This lifts all the flavorful browned bits, which will enrich your sauce during braising.
Liquid Level Control
Ensure the braising liquid covers about halfway up the roast. If it’s too low, add more beef stock. Too much liquid can dilute flavors, so find that sweet spot for the best concentration of taste.
Resting is Key
Let the roast rest for 15 minutes after removing it from the oven. This allows the juices to redistribute throughout the meat. Skim excess fat from the sauce during this time if desired. 💡
Herb Bundle Tip
Tie the thyme and rosemary sprigs with kitchen twine for easy removal after cooking. This prevents stray leaves in your finished dish while infusing maximum herb flavor during the braise.
Nutrition Facts
Frequently Asked Questions
What’s the best cut for this dish?
Use a well-marbled 3 lb chuck roast for the most tender results. The fat content ensures a moist, flavorful outcome after the long braise. Other cuts like brisket work but may need slightly more cooking time.
Can I make this in a slow cooker?
Yes! Sear the meat first, then transfer everything to the slow cooker. Cook on low for 8-10 hours or high for 5-6 hours, until fork-tender. The flavor will be just as rich.
How do I know when it’s done?
The roast is ready when it pulls apart easily with a fork. If unsure, check the internal temperature—it should reach at least 195°F for ideal tenderness.
Can I skip the red wine?
Substitute with additional beef stock plus 1 tbsp balsamic vinegar to mimic the acidity. The flavor won’t be identical but will still be delicious.

- 4C Bread Crumbs Meatballs Recipe: Crispy Crust and Juicy Centers - September 25, 2026
- 6 Oz Chocolate Chip Cookie Recipe: Perfectly Balanced Crispy Edges and Chewy Hearts - September 25, 2026
- 6-Inch Coffee Cake Recipe: Vanilla Bean Swirls and Buttery Streusel Topping - September 25, 2026