
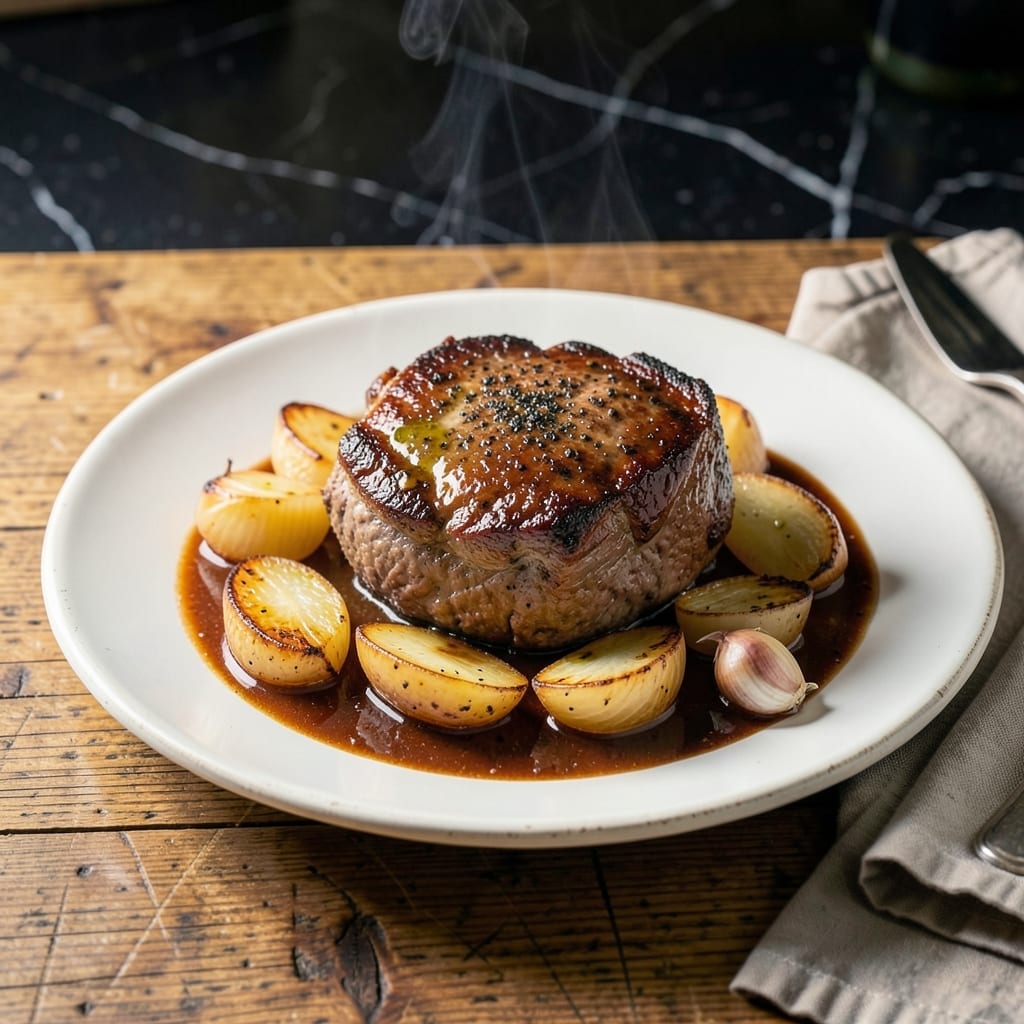
Most pot roast recipes assume you have a Dutch oven, but this oven-braising method delivers the same fall-apart tender results without specialty equipment. I developed this technique after realizing many home cooks don’t own heavy enameled pots.
The key is using a deep oven-safe roasting pan or heavy casserole dish with a tight-fitting lid. Browning the beef first builds flavor, while low, steady heat in the oven transforms tough cuts into melt-in-your-mouth perfection.
You’ll get rich, deeply flavored beef with vegetables that absorb the savory juices. This approach works with chuck roast, brisket, or bottom round—all readily available at any grocery store.
No Dutch oven? No problem. This method proves you can achieve restaurant-quality pot roast with tools you already own.
Ingredients for Pot Roast Recipe No Dutch Oven
Rich, savory ingredients that transform tough beef into melt-in-your-mouth perfection without specialty equipment.
| Ingredient | Amount | Notes |
|---|---|---|
| Chuck Roast 🥩 | 3 lb | Well-marbled, trimmed of excess fat |
| Kosher Salt 🧂 | 1 ½ tsp | Diamond Crystal preferred |
| Black Pepper 🌶️ | 1 tsp | Freshly ground for best flavor |
| Olive Oil 🫒 | 2 tbsp | Divided for searing and vegetables |
| Yellow Onions 🧅 | 2 whole | Medium-sized, quartered |
| Garlic Cloves 🧄 | 6 cloves | Smashed, peeled |
| Carrots 🥕 | 4 whole | Peeled, cut into 3-inch chunks |
| Yukon Gold Potatoes 🥔 | 1 ½ lb | Halved if small, quartered if large |
| Beef Broth 💧 | 2 cups | Low-sodium preferred |
| Red Wine 🍷 | 1 cup | Dry variety like Cabernet Sauvignon |
| Tomato Paste 🍅 | 2 tbsp | For depth of flavor |
| Fresh Thyme Sprigs 🌿 | 4 sprigs | Or 1 tsp dried thyme |
| Bay Leaves 🍃 | 2 pieces | Dried, for aromatic depth |
| Worcestershire Sauce 💧 | 1 tbsp | Adds umami complexity |
| All-Purpose Flour 🌾 | 2 tbsp | For thickening the sauce |
The beef is everything here. Chuck roast is ideal for its marbling and connective tissue that breaks down beautifully. Look for a well-marbled piece at Costco or your local butcher—avoid lean cuts like sirloin. Most grocery stores carry pre-cut chuck roast, but ask them to cut a whole piece if you want thicker slices. The marbling should be visible, not just fat caps.
No red wine? Beef broth plus 1 tbsp balsamic vinegar works in a pinch. Out of fresh thyme? Dried thyme at one-third the amount saves the day. The potatoes can be russets if Yukon Golds aren’t available. For the braising liquid, low-sodium broth lets you control the salt. If you’re avoiding alcohol, additional beef broth with a splash of apple cider vinegar adds the needed acidity.
This tastes even better the next day. Store leftovers in an airtight container in the fridge for up to 4 days or freeze for 3 months. Reheat gently on the stove with a splash of water to loosen the sauce. The vegetables will soften more over time, but the flavor just keeps getting richer.
Why You’ll Love This Recipe
- One Pan Magic: I just sear the chuck roast in olive oil, add onions, salt, and pepper—no Dutch oven cluttering my counter.
- Feeds the Week: I make this Sunday and we’re eating pot roast tacos, sandwiches, and stews until Wednesday. Honestly, it’s my favorite leftovers hack.
- Budget Winner: A big cut of chuck roast feeds my whole family for the price of two takeout meals. Between us, it’s the reason I keep making it.
Step-by-Step Instructions for Pot Roast Without a Dutch Oven
This method delivers fall-apart tender beef with rich, deeply flavored vegetables every time.
Step 1: Sear and Season the Chuck Roast
Pat the 3 lb chuck roast dry with paper towels—this ensures a proper sear. Season generously on all sides with the 1.5 tsp kosher salt and 1 tsp black pepper. I always press the seasoning in slightly so it adheres well to the meat.
Heat 1 tbsp olive oil in a large, heavy oven-safe pot or deep roasting pan over medium-high heat until shimmering. Sear the chuck roast for 4-5 minutes per side until deeply browned. You want a rich, dark crust—this builds the foundation of flavor for the entire dish. Transfer the meat to a plate and set aside.
Step 2: Sauté the Aromatics and Build the Base
In the same pot, add the remaining 1 tbsp olive oil. Toss in the 2 whole yellow onions (quartered), 6 cloves garlic (smashed), and 4 whole carrots (cut into chunks). Cook for 5-6 minutes, stirring occasionally, until the onions begin to soften and brown slightly.
Stir in the 2 tbsp tomato paste and cook for 1-2 minutes until it darkens slightly—this intensifies its sweetness. Pour in the 1 cup red wine, scraping up any browned bits from the bottom of the pot. Let it simmer for 2-3 minutes until reduced by half. This step deglazes the pan and adds depth to the braising liquid.
Step 3: Add Liquids and Vegetables for Braising
Sprinkle the 2 tbsp all-purpose flour over the vegetables and stir to coat. This helps thicken the sauce later. Pour in the 2 cups beef broth, 1 tbsp Worcestershire sauce, 4 sprigs fresh thyme, and 2 pieces bay leaves. Stir well to combine and bring to a gentle simmer.
Return the seared chuck roast to the pot, along with any accumulated juices. Add the 1.5 lb Yukon Gold potatoes (halved or quartered), nestling them around the meat. The liquid should come about halfway up the roast—if it doesn’t, add a splash more beef broth. Cover the pot tightly with a lid or foil.
Step 4: Slow-Braise in the Oven
Transfer the pot to a preheated 325°F oven. Braise for 3 to 3.5 hours, turning the roast once halfway through. You’ll know it’s done when the meat shreds easily with a fork and the potatoes are tender. The aroma will fill your kitchen—rich, savory, and irresistibly comforting.
If the liquid reduces too much during cooking, add a bit more beef broth to keep the vegetables partially submerged. The goal is a balance: enough liquid to braise but not so much that the dish becomes soupy. The sauce should coat the back of a spoon when finished.
Step 5: Rest and Serve
Carefully remove the pot from the oven. Transfer the chuck roast to a cutting board and tent loosely with foil. Let it rest for 15 minutes—this allows the juices to redistribute, ensuring every bite is moist and flavorful.
Skim any excess fat from the surface of the sauce if desired. Serve the pot roast with the braised vegetables and sauce spooned over the top. The meat should be fork-tender, the potatoes buttery, and the carrots sweet and glazed from the long, slow cook.
Pro Tips For Making Pot Roast Recipe No Dutch Oven
- Sear the Chuck Hard: I learned this the hard way—get your olive oil screaming hot before adding the chuck roast, and don’t touch it for at least 3-4 minutes per side. That deep brown crust is what gives your pot roast real depth, even without a Dutch oven.
- Salt the Meat Overnight: After a few tough pot roasts, I started salting the chuck roast with kosher salt 12 hours ahead and letting it sit uncovered in the fridge. It seasons deep into the meat and actually changes the texture for the better.
- Don’t Crowd the Pan: Skip the urge to dump all the onions in at once—sear them in batches if needed, or they’ll steam instead of caramelize. Sounds fussy, but it works.
- Use a Roasting Pan: No Dutch oven? A heavy roasting pan with a tight foil lid works just as well for braising. I was skeptical until I tried it—just make sure it’s deep enough to hold all the liquid.
Flavor Customization for pot roast recipe no dutch oven
Herb Variations
Swap the fresh thyme for 2 tsp dried rosemary for a piney depth that pairs beautifully with beef. Or try 1 tsp dried oregano plus 1 tsp smoked paprika for a Spanish-inspired twist. These herbs stand up well to the long cooking time.
Spice It Up
Add ½ tsp red pepper flakes when browning the onions for a subtle kick. For more heat, include 1 chopped chipotle pepper in adobo with the braising liquid. I love how the smokiness complements the beef’s richness.
Umami Boosters
Stir in 1 tbsp soy sauce with the Worcestershire for extra depth. Or add 4 dried shiitake mushrooms to the braising liquid—they’ll rehydrate and infuse the sauce with incredible savoriness. 💫
Vegetable Swaps
Replace carrots with 2 parsnips for a sweeter, earthier flavor. Or use 1 small butternut squash (peeled, cubed) instead of potatoes for a fall-inspired version. Both hold up well to the long cook time.
Liquid Twists
Swap the red wine for 1 cup stout beer—it adds malty complexity. Or use 1 cup apple cider plus 1 tbsp apple cider vinegar for a touch of sweetness and tang. The acidity helps tenderize the meat.
Finishing Touches
Before serving, stir in 2 tbsp cold butter for a silky sauce. Or sprinkle with ¼ cup chopped parsley for freshness. I always finish with a pinch of flaky salt for texture contrast. 🔥
Nutrition Facts
Frequently Asked Questions
What can I use instead of a Dutch oven?
Any heavy, oven-safe pot with a tight lid works. A deep roasting pan, heavy casserole dish, or even a stockpot can substitute perfectly.
Why do I need to sear the meat first?
Searing creates a flavorful crust and deepens the dish’s taste. It also helps render fat for richer sauce. Never skip this step!
Can I cook this in a slow cooker instead?
Yes! Brown the meat first, then transfer everything to your slow cooker. Cook on low for 8-10 hours or high for 5-6 hours.
How do I know when it’s done?
The meat should shred easily with a fork. Internal temp should reach 195-200°F for perfect tenderness.

- 6 Oz Chocolate Chip Cookie Recipe: Perfectly Balanced Crispy Edges and Chewy Hearts - September 25, 2026
- 6-Inch Coffee Cake Recipe: Vanilla Bean Swirls and Buttery Streusel Topping - September 25, 2026
- 1 Hour Soup Recipe: Velvety Richness Without the Wait - September 25, 2026