
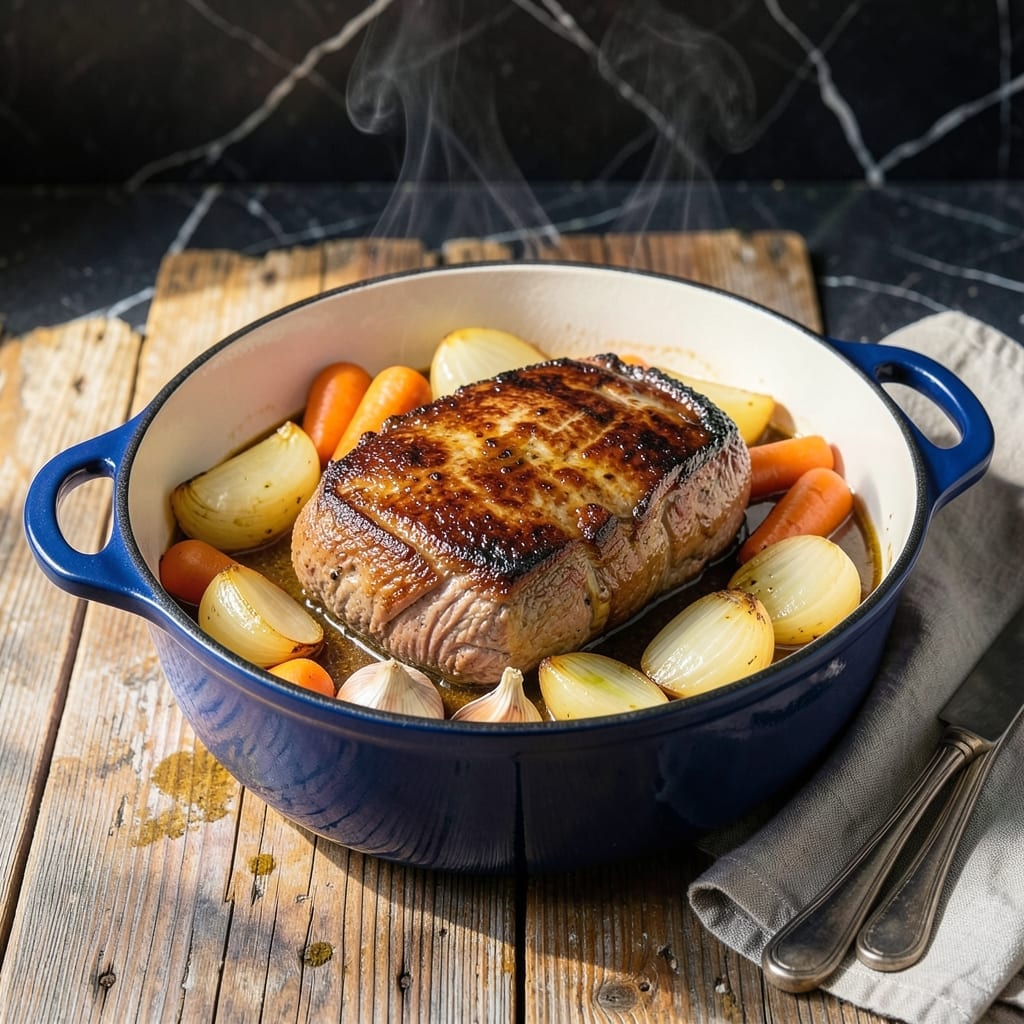
Sunday dinner deserves a centerpiece that delivers perfectly tender beef every time. This method transforms a humble chuck roast into a melt-in-your-mouth masterpiece with minimal effort.
The key is low and slow cooking at the right temperature. I’ve tested this approach countless times, and it consistently yields fall-apart beef with rich, savory depth.
You’ll get a dish that feels special enough for Sunday supper but simple enough for any day. The meat becomes fork-tender, while the vegetables soak up all the flavorful juices.
With just a few hours in the oven, this becomes the kind of meal that brings everyone to the table. Here’s how to make it right.
Ingredients for Pot Roast Recipe Oven Temp
Transform a humble chuck roast into Sunday supper magic with these ingredients.
| Ingredient | Amount | Notes |
|---|---|---|
| Chuck Roast 🥩 | 3 lb | Boneless, well-marbled preferred |
| Kosher Salt 🧂 | 1 ½ tsp | Diamond Crystal brand preferred |
| Black Pepper 🌶️ | 1 tsp | Freshly ground for best flavor |
| Garlic Cloves 🧄 | 6 cloves | Peeled, smashed lightly |
| Yellow Onions 🧅 | 2 whole | Medium size, quartered |
| Carrots 🥕 | 4 whole | Large, cut into chunks |
| Russet Potatoes 🥔 | 4 whole | Peeled, halved if large |
| Beef Broth 💧 | 2 cups | Low-sodium preferred |
| Tomato Paste 🍅 | 2 tbsp | Double-concentrated type |
| Dried Thyme 🌿 | 1 tsp | Crushed between fingers |
| Dried Rosemary 🍃 | 1 tsp | Crushed for better release |
| Bay Leaves 🌿 | 2 whole | Dried, removed before serving |
| Olive Oil 🫒 | 2 tbsp | Extra-virgin for searing |
| Red Wine 🍷 | 1 cup | Dry variety, drinkable quality |
The beef is everything here. Chuck roast with good marbling yields that melt-in-your-mouth texture we’re after—avoid lean cuts like round. Costco or Whole Foods carry beautiful, well-marbled pieces. Ask the butcher for a 3-pound roast if you want leftovers (and you will). The vegetables should be sturdy—Russets hold their shape better than waxy potatoes during the long braise.
No red wine? Substitute with 1 cup beef broth plus 1 tbsp balsamic vinegar. Out of fresh garlic? Garlic powder at one-third the amount works, but add it with the liquids. If your tomato paste comes in a can, freeze the rest in ice cube trays (it’ll keep for 3 months). The herbs can be fresh—just double the quantity and tie them in cheesecloth for easy removal.
This tastes even better the next day. Store leftovers in the fridge for up to 5 days or freeze for 3 months. The potatoes will soften more, but the flavor just gets richer. Reheat gently on the stove with a splash of water or broth.
Why You’ll Love This Recipe
- Set and Forget: I toss the chuck roast, onions, and garlic in the pot, season it, and let the oven do the heavy lifting for hours.
- Melt-in-Your-Mouth Tender: The slow heat turns that tough cut into something so tender it falls apart with just a fork.
- Feeds the Whole Crew: Honestly, this makes enough for Sunday dinner plus leftovers for sandwiches the next day.
- Budget-Friendly Centerpiece: A cheap chuck roast becomes the star of the meal—no fancy cuts required.
Step-by-Step Instructions for Pot Roast Oven Temperature
Here’s how I achieve fall-apart tender beef with rich, savory vegetables every time.
Step 1: Sear the Chuck Roast for Deep Flavor
Pat the 3 lb chuck roast dry with paper towels—this ensures a proper sear. Season generously with the 1.5 tsp kosher salt and 1 tsp black pepper on all sides. Heat the 2 tbsp olive oil in a Dutch oven over medium-high heat until it shimmers.
Sear the roast for 4-5 minutes per side until deeply browned. You’re building a flavor foundation here, so don’t rush. The crust should be dark mahogany and slightly crisp when done. Remove and set aside.
Step 2: Build the Aromatic Base
In the same pot, add the 2 whole yellow onions (quartered), 4 whole carrots (chunked), and 6 cloves garlic cloves (smashed). Cook for 3-4 minutes until the onions soften and start to caramelize.
Stir in the 2 tbsp tomato paste and cook for 1 minute until it darkens slightly. This step intensifies the umami flavor. Add the 1 tsp dried thyme, 1 tsp dried rosemary, and 2 whole bay leaves, toasting them for 30 seconds to release their oils.
Step 3: Deglaze and Add Braising Liquid
Pour in the 1 cup red wine to deglaze, scraping up all the browned bits from the bottom. Let it reduce by half, about 3-4 minutes. The alcohol should cook off, leaving a rich, concentrated flavor.
Return the roast to the pot. Add the 4 whole russet potatoes (halved) and pour in the 2 cups beef broth. The liquid should come about halfway up the roast—this ensures proper braising without submerging the meat.
Step 4: Braise at the Perfect Temperature
Cover and transfer to a preheated 325°F oven. Braise for 2.5-3 hours, turning the roast once halfway through. This low, steady heat breaks down the connective tissue without drying out the meat.
You’ll know it’s done when the roast pulls apart easily with a fork and the internal temperature reaches 195-200°F. The vegetables should be tender and infused with the braising liquid, not mushy.
Remove the bay leaves before serving. The result is a perfectly tender pot roast with a rich, deeply flavored sauce that’s ideal for Sunday supper.
Pro Tips For Making Pot Roast Recipe Oven Temp
- Start Hot, Finish Low: Sear the chuck roast in a screaming-hot Dutch oven first—about 3-4 minutes per side—then drop the oven temp to 300°F for the braise. I learned this the hard way after my first few pot roasts came out gray and dry.
- Salt the Night Before: Pat the roast dry, then salt it generously (about 1 teaspoon per pound) and leave it uncovered in the fridge overnight. My grandmother swore by this, and she was right: it makes the meat way more flavorful.
- Don’t Crowd the Pan: If you’re browning the onions and garlic, do it in batches so they actually caramelize instead of steaming. Sounds tedious, but it actually changes the outcome of your gravy.
- Use a Meat Thermometer: Pull the roast when it hits 195-200°F internally—resist the urge to rely on time alone. After overcooking three pot roasts, I finally bought one and never looked back.
Dietary Considerations for This Dish
Gluten-Free Adaptations
This recipe is naturally gluten-free—no flour or bread-based thickeners are needed. Just ensure your beef broth and red wine are certified gluten-free, as some brands contain hidden gluten. I like Pacific Foods broth for its clean ingredient list. 💪
Low-Carb Modifications
To reduce carbs, replace the 4 russet potatoes with 4 cups chopped cauliflower or radishes. These hold up well to long cooking and absorb flavors beautifully. The rest of the recipe stays the same, keeping it rich and satisfying.
Dairy-Free Version
This dish contains no dairy by default, so no changes are needed. However, if you want to add richness, stir in 2 tbsp coconut cream at the end for a silky finish. It won’t overpower the beef’s natural flavor.
Keto-Friendly Adjustments
Follow the low-carb modifications above, and swap the 2 carrots for 1 cup celery or fennel. These veggies add texture and flavor without the extra carbs. The braising liquid will still be packed with depth.
Allergen Notes
The only potential allergen here is sulfites in the red wine. If sensitive, use an extra 1 cup beef broth plus 1 tbsp apple cider vinegar for acidity. Always check labels on broth for hidden allergens. 💡
Nutrition Facts
Frequently Asked Questions
What’s the ideal cooking time at 325°F?
Plan for 2.5-3 hours at 325°F for a 3 lb chuck roast. This low and slow approach ensures the connective tissue breaks down completely. The meat is done when it reaches 195-200°F internally.
Can I cook it at a higher temperature to save time?
Not recommended. Higher heat can dry out the meat before the collagen melts. If short on time, try 275°F for 4-5 hours instead. The texture won’t be as good as the standard method.
How do I know when it’s done?
Test with a fork—it should pull apart with no resistance. An instant-read thermometer should show 195-200°F. The vegetables will also be tender and infused with flavor.
What if my roast is smaller or larger?
Adjust time by about 30 minutes per pound. A 2 lb roast may need 2 hours, while a 4 lb roast could take 3.5-4 hours. Always check internal temperature.

- 6 Oz Chocolate Chip Cookie Recipe: Perfectly Balanced Crispy Edges and Chewy Hearts - September 25, 2026
- 6-Inch Coffee Cake Recipe: Vanilla Bean Swirls and Buttery Streusel Topping - September 25, 2026
- 1 Hour Soup Recipe: Velvety Richness Without the Wait - September 25, 2026