
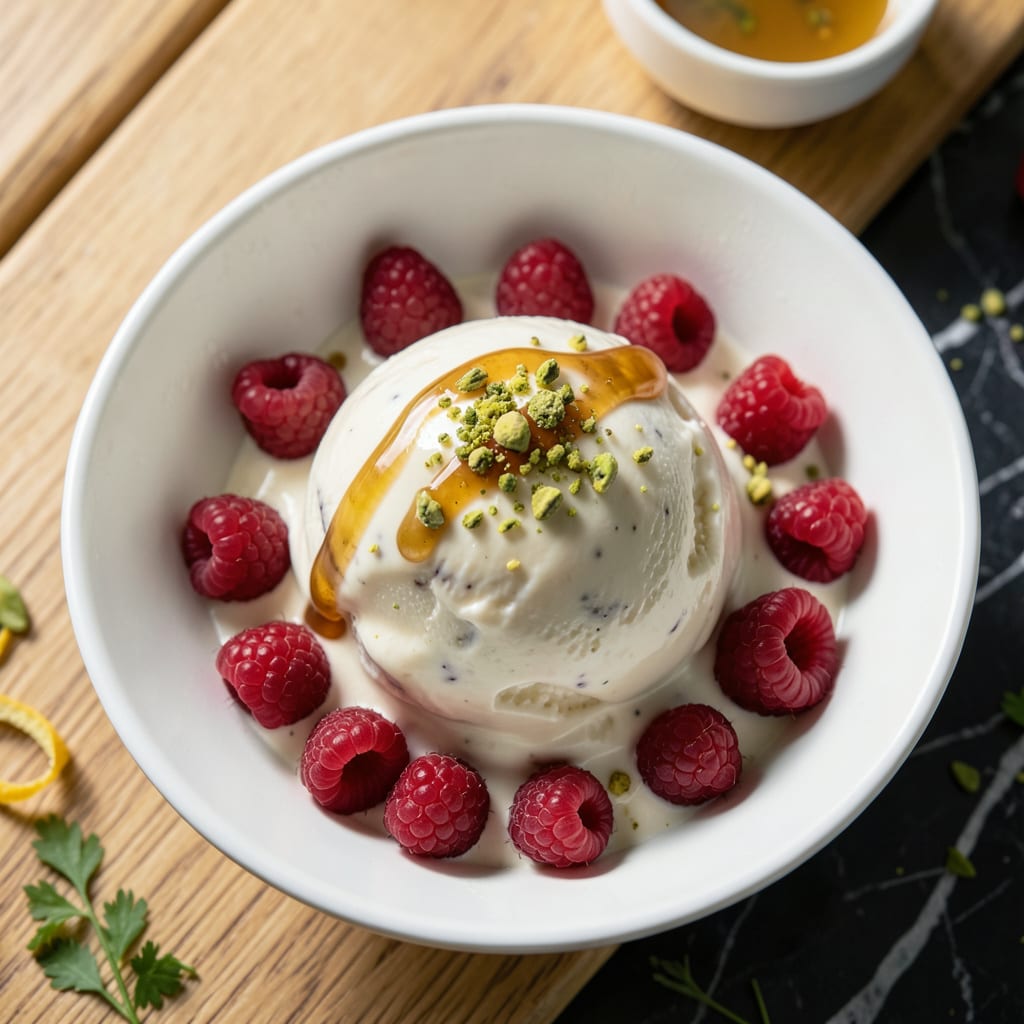
Achieving silky ice cream with half the fat requires precision, not compromise. This recipe delivers a smooth texture that rivals full-fat versions through careful ingredient balance and proper churning technique.
By using a combination of milk, reduced-fat dairy, and stabilizers, we create a base that freezes creamily without excess calories. The result is a dessert that satisfies without sacrificing the luxurious mouthfeel you expect from premium ice cream.
Ingredients for Reduced Fat Ice Cream
Precision ingredients balance richness and lightness for that signature silky texture without excess fat.
| Ingredient | Amount | Notes |
|---|---|---|
| Whole Milk 🥛 | 2 cups | Cold, full-fat for best texture |
| Reduced-Fat Sweetened Condensed Milk 🥛 | 1 can | 14 oz can, not evaporated |
| Nonfat Greek Yogurt 🥛 | 1 cup | Plain, unsweetened variety |
| Heavy Cream 🥛 | ½ cup | Cold, for smoothness |
| Granulated Sugar 🍚 | ¾ cup | Fine granulated for even mixing |
| Vanilla Extract 🌿 | 2 tsp | Pure extract, not imitation |
| Egg Yolks 🥚 | 3 whole | Large eggs, room temperature |
| Corn Syrup 🍯 | 2 tbsp | Light corn syrup for stability |
| Salt 🧂 | ¼ tsp | Fine sea salt |
| Vanilla Bean 🌿 | 1 whole | Split and scraped |
| Lemon Juice 🍋 | 1 tsp | Freshly squeezed for brightness |
| Xanthan Gum 🧪 | ¼ tsp | Optional stabilizer for creaminess |
The dairy base is critical here. Whole milk and reduced-fat sweetened condensed milk create the perfect balance of creaminess and calorie control. Greek yogurt adds protein for structure without excess fat. For best results, use organic dairy products—they tend to have better flavor and texture. Avoid ultra-pasteurized heavy cream, as it can create ice crystals during churning.
Need to swap an ingredient? Full-fat coconut milk at a 1:1 ratio replaces the heavy cream, though the flavor will shift slightly. Honey or agave at 3/4 the amount can stand in for granulated sugar, but the ice cream may freeze harder. Skip the egg yolks? Use 1 tbsp cornstarch whisked with 2 tbsp milk as a stabilizer instead. The vanilla bean is optional, but high-quality extract is non-negotiable.
Store the churned base in an airtight container with parchment pressed directly on the surface to prevent ice crystals. Keeps for up to 2 weeks in the freezer, though it’s best within 5 days. Let it sit at room temperature for 10-15 minutes before scooping for the smoothest texture.
Why You’ll Love This Recipe
- No Churn Needed: I just whisk the ingredients together and freeze—no fancy machine required.
- Creamy Without Guilt: The Greek yogurt keeps it rich and velvety but lighter than traditional recipes.
- Endless Mix-Ins: I fold in fruit, chocolate chips, or cookie crumbles depending on who’s coming over.
- Leftovers? Unlikely: Honestly, it disappears faster than full-fat versions in my house.
Step-by-Step Instructions for Reduced Fat Ice Cream
Master the technique for a smooth, creamy texture with fewer calories than traditional versions.
Step 1: Infuse and Heat the Dairy Base
In a medium saucepan, combine the 2 cups Whole Milk, 1 can Reduced-Fat Sweetened Condensed Milk, and 0.5 cup Heavy Cream. Split the 1 whole Vanilla Bean lengthwise, scrape the seeds into the mixture, and add the pod for full flavor infusion.
Heat over medium-low heat until the mixture reaches 160°F—small bubbles will form at the edges. Stir frequently to prevent scalding. This gentle heating ensures the dairy blends smoothly without curdling, while the vanilla bean imparts its aromatic essence throughout.
Step 2: Temper and Thicken with Egg Yolks
In a separate bowl, whisk together the 3 whole Egg Yolks and 0.75 cup Granulated Sugar until pale and slightly thickened. Slowly ladle about 1 cup of the hot dairy mixture into the egg mixture while whisking constantly—this tempering step prevents the eggs from scrambling.
Pour the tempered egg mixture back into the saucepan with the remaining dairy. Cook over low heat, stirring constantly with a wooden spoon, until the mixture thickens enough to coat the back of the spoon (170-175°F). This creates a custard base that’s rich in flavor but lower in fat.
Step 3: Incorporate Stabilizers and Flavorings
Remove the mixture from heat and discard the vanilla bean pod. Stir in the 1 cup Nonfat Greek Yogurt, 2 tbsp Corn Syrup, 0.25 tsp Salt, 2 tsp Vanilla Extract, 1 tsp Lemon Juice, and 0.25 tsp Xanthan Gum. The yogurt adds creaminess without extra fat, while the corn syrup and xanthan gum stabilize the texture.
The lemon juice brightens the sweetness, and the xanthan gum ensures a silky consistency despite the reduced fat content. Whisk thoroughly for 1-2 minutes until all ingredients are fully incorporated and the mixture appears smooth and slightly thickened.
Step 4: Chill Thoroughly Before Churning
Transfer the ice cream base to a clean bowl and press plastic wrap directly onto the surface to prevent a skin from forming. Refrigerate for at least 4 hours, or preferably overnight. This chilling step is crucial—it allows the flavors to meld and the mixture to cool completely before churning.
When properly chilled, the base should be cold to the touch and slightly thickened, like a creamy pudding. Rushing this step can result in icy or grainy ice cream, as the churning process works best with a thoroughly chilled mixture.
Step 5: Churn and Freeze to Perfection
Pour the chilled base into your ice cream maker and churn according to the manufacturer’s instructions, typically 20-25 minutes. The mixture will transform into a soft, creamy texture, resembling soft-serve ice cream.
Transfer to a lidded freezer-safe container and freeze for at least 4 hours until firm. The final texture should be smooth and scoopable, with a rich vanilla flavor that belies its reduced-fat nature. Let it sit at room temperature for 5-10 minutes before serving for the easiest scooping.
Pro Tips For Making Reduced Fat Ice Cream
- Chill the Base: After mixing all ingredients, refrigerate the base for at least 4 hours—overnight if you can. I learned this the hard way after my first batch turned out icy instead of creamy.
- Balance the Fat: Use a 1:1 ratio of whole milk to heavy cream to keep the texture smooth without excess fat. Sounds weird, but it works: the Greek yogurt adds thickness without needing more cream.
- Skip the Overmixing: Stir just until the sugar dissolves and ingredients are combined. Overmixing incorporates too much air, leading to a fluffy, icy texture instead of rich, dense ice cream.
- Add Alcohol for Softness: A tablespoon of vodka or rum lowers the freezing point, keeping the ice cream scoopable straight from the freezer. I was skeptical until I tried it—now it’s non-negotiable.
Make-Ahead Tips for This Dish
Prep Ahead Strategy
I always make the base 1-2 days before churning—this gives the flavors time to deepen and the mixture to fully chill. The custard base keeps beautifully in the fridge for up to 3 days in an airtight container with plastic wrap pressed to the surface. 💡
Churning Timeline
Set aside 25-30 minutes for churning on the day you plan to serve. I start my Cuisinart ice cream maker about 10 minutes before adding the base to ensure it’s at peak coldness. The base should be 35-40°F when it goes into the machine.
Freezer Storage
Once churned, transfer to a shallow, wide container—I use OXO’s 1.5-quart freezer container—and press parchment directly on the surface. This prevents ice crystals from forming. It’ll keep for up to 2 weeks but is best within 5-7 days.
Scooping Prep
Let it sit at room temperature for 10-15 minutes before serving. For easier scooping, run your ice cream scoop under hot water for 10 seconds before dipping. This creates perfect, smooth balls every time.
Flavor Infusion
Add mix-ins like chopped nuts or chocolate chips during the last 5 minutes of churning. For swirls, layer them in after transferring to the container, then gently fold with a knife. This ensures even distribution without overmixing.
Batch Planning
Double the recipe if making for a crowd—the base chills and churns just as well in larger quantities. Just ensure your ice cream maker can handle the volume (most home models max out at 1.5 quarts).
Nutrition Facts
Frequently Asked Questions
Can I skip the Greek yogurt?
Yes, but texture may suffer. Replace with 1 cup additional whole milk or 1 cup light cream for similar creaminess. The yogurt adds protein that helps stabilize the reduced-fat base.
Why does the base need to chill overnight?
Chilling ensures even freezing and prevents ice crystals. A fully chilled base (35-40°F) churns smoother and incorporates less air, creating that silky texture. Rushing this step risks graininess.
How do I prevent icy texture?
Use 1/4 tsp xanthan gum as a stabilizer, and don’t skip the corn syrup. Both help bind water molecules. Also, press parchment paper directly on the surface before freezing.

- 8 Bean Soup Recipe Crock Pot: Hearty Vegetable Medley in One Pot - September 25, 2026
- 4C Bread Crumbs Meatballs Recipe: Crispy Crust and Juicy Centers - September 25, 2026
- 6 Oz Chocolate Chip Cookie Recipe: Perfectly Balanced Crispy Edges and Chewy Hearts - September 25, 2026