
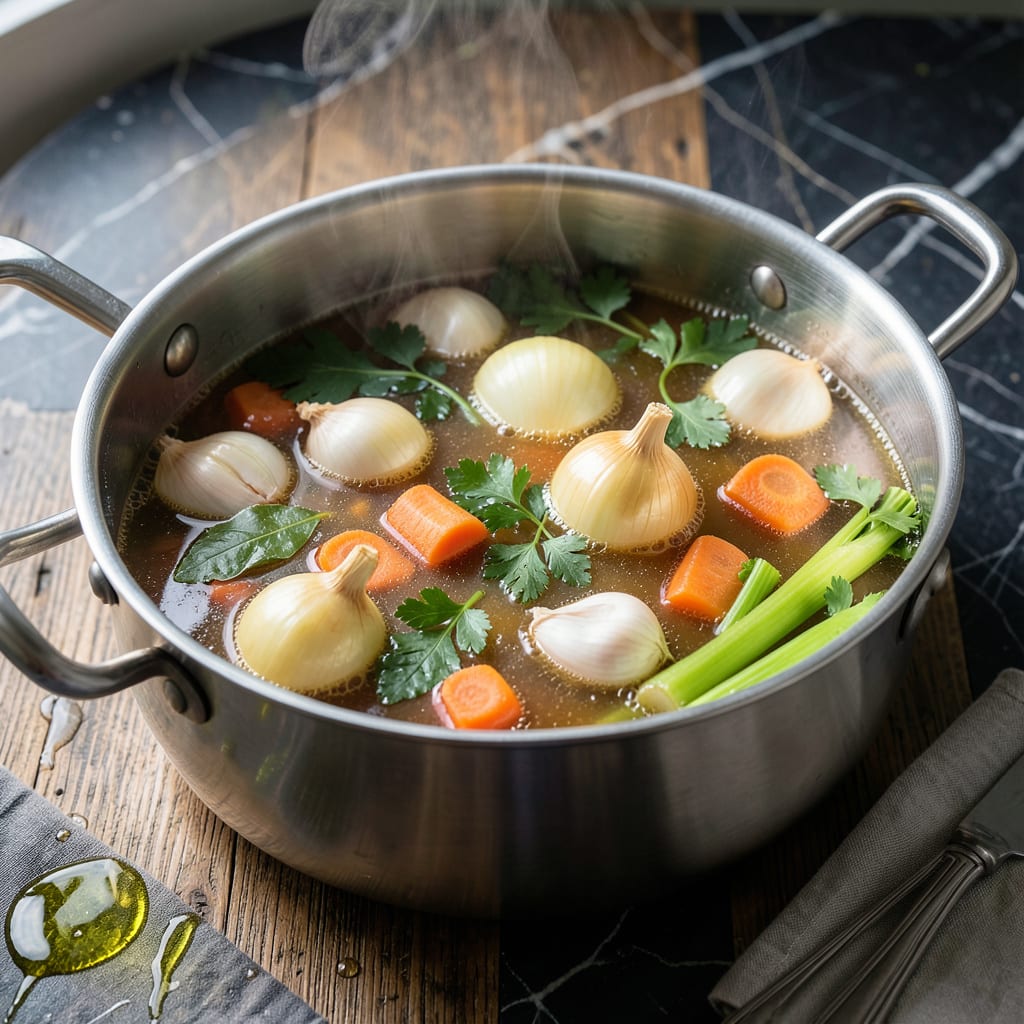
This simmer pot recipe transforms simple ingredients into a richly aromatic broth that fills your kitchen with warmth. The slow cooking process extracts deep, comforting flavors from vegetables, herbs, and spices.
Perfect for cozy meals or as a base for soups, this method requires minimal effort but delivers restaurant-quality results. Just combine, simmer, and let the flavors develop naturally over time.
Ingredients for Simmer Pot
A handful of humble vegetables and spices create a deeply fragrant broth worth savoring.
| Ingredient | Amount | Notes |
|---|---|---|
| Yellow Onion 🧅 | 1 whole | Quartered, skin on for color |
| Carrots 🥕 | 3 whole | Scrubbed, cut into large chunks |
| Celery Stalks 🌿 | 3 whole | Cut into 3-inch pieces |
| Garlic Cloves 🧄 | 6 cloves | Smashed, skin on |
| Fresh Parsley Stems 🌿 | 1 bunch | Reserve leaves for garnish |
| Bay Leaves 🍃 | 2 whole | Dried or fresh |
| Black Peppercorns 🌶️ | 1 tbsp | Whole, not ground |
| Kosher Salt 🧂 | 1 tbsp | Diamond Crystal preferred |
| Dried Thyme 🌿 | 1 tsp | Or 3 sprigs fresh |
| Whole Cloves 🌰 | 6 whole | Optional for depth |
| Water 💧 | 8 cups | Or light vegetable stock |
| Lemon Slices 🍋 | 2 slices | With peel for brightness |
| Star Anise Pods ⭐ | 2 whole | For aromatic complexity |
The vegetables form the foundation here. Organic carrots and celery from Whole Foods or your local farmers market yield the cleanest, most vibrant flavor. The onion—yellow or white—should be firm with intact skin, as the outer layers contribute color and depth. For the garlic, fresh heads (not pre-peeled) ensure maximum aroma. Look for heavy, plump cloves with unbroken skins.
No star anise? A cinnamon stick and extra cloves provide similar warmth. Fresh thyme can replace dried at three times the amount. If you lack parsley stems, celery leaves work in a pinch. For a richer base, swap water for homemade vegetable stock. The lemon is optional but adds a bright note that cuts through the richness—Meyer lemons are ideal when in season.
This broth keeps 5 days refrigerated in a sealed container. For longer storage, freeze in portions for up to 3 months. Strain and use as a base for soups, grains, or sauces—its versatility makes it a kitchen staple worth keeping on hand.
Why You’ll Love This Recipe
- One Pot Wonder: I just dump everything in and let the stove do the work—no fancy techniques required.
- Garlic-Infused Aroma: The garlic and onion simmering together fill my kitchen with the most comforting scent.
- Meal Prep Magic: I make a big batch on Sunday and use it as a base for soups and stews all week.
Step-by-Step Instructions for Aromatic Simmer Pot
Master this technique for a fragrant, versatile broth that elevates any dish.
Step 1: Prepare and Toast the Aromatics
Quarter the 1 whole Yellow Onion with skin on, as this adds depth and color to the broth. Scrub and cut the 3 whole Carrots and 3 whole Celery Stalks into large chunks—uniformity isn’t critical here, as they’re for flavor, not presentation.
In a dry stockpot over medium heat, toast the 1 tbsp Black Peppercorns, 6 whole Whole Cloves, and 2 whole Star Anise Pods for 1-2 minutes until fragrant. This step wakes up the spices and ensures their oils infuse the liquid fully.
Step 2: Build the Flavor Base
Add the prepared onion, carrots, and celery to the pot along with the 6 cloves Garlic Cloves (smashed but left whole) and 1 bunch Fresh Parsley Stems. Stir briefly to combine with the toasted spices, allowing the heat to soften their edges and release their aromas.
Incorporate the 2 whole Bay Leaves, 1 tsp Dried Thyme, and 2 slices Lemon Slices with peel intact. The citrus brightens the broth, while the herbs and bay leaves provide a subtle, earthy backbone.
Step 3: Add Liquid and Simmer
Pour in the 8 cups Water and stir in the 1 tbsp Kosher Salt. Bring the mixture to a boil over high heat, then immediately reduce to a gentle simmer. Skim off any foam that rises to the surface during the first 5 minutes to ensure clarity in your broth.
Partially cover the pot and maintain a steady simmer for 1 to 1.5 hours. The liquid should occasionally bubble, but avoid a rolling boil, which can make the broth cloudy and muddle the flavors.
Step 4: Strain and Finish
After simmering, the vegetables will be soft and the broth deeply aromatic. Remove the pot from heat and let it sit for 5 minutes to allow the solids to settle. This makes straining easier and prevents splashing.
Strain the broth through a fine-mesh sieve into a clean container, pressing lightly on the solids to extract all liquid. Discard the spent aromatics. Your broth is now ready to use immediately or store for later.
Pro Tips For Making Simmer Pot
- Low and Slow: Keep the heat just below a simmer—tiny bubbles, not a rolling boil. I learned this the hard way after my first batch turned into mushy veggie soup.
- Uniform Chop: Cut the onion, carrots, and celery into even, ½-inch pieces so everything cooks at the same rate. Sounds tedious, but it actually changes the outcome.
- Skip the Peel: Don’t bother peeling the garlic cloves—just smash them lightly with the flat of your knife. The skins will strain out later, and you save 10 minutes of fussing.
- Use the Stems: Toss in those parsley stems with the other aromatics—they pack more flavor than the leaves and are usually wasted. My grandmother swore by this, and she was right.
Serving Suggestions for simmer pot
Elegant Presentation
Serve this aromatic broth in wide, shallow bowls to let the fragrance rise beautifully. Garnish with a few fresh parsley leaves from your reserved bunch for a pop of color. I love using white bowls to showcase the golden hue. 💛
Bread Pairings
A crusty sourdough or baguette on the side is perfect for soaking up every last drop. Toast slices and rub with garlic cloves for extra flavor. The contrast between crisp bread and silky broth is irresistible.
Protein Additions
For a heartier meal, add poached chicken breasts or seared tofu cubes directly to the broth. Simmer for 5-10 minutes to absorb the flavors. I prefer organic chicken for the cleanest taste.
Rice or Noodles
Cook jasmine rice or egg noodles separately, then add to bowls before ladling the hot broth over. The starch soaks up the aromatic liquid beautifully. About ½ cup dry rice per serving works perfectly.
Herb Finishing
Just before serving, stir in fresh thyme leaves or a sprinkle of chopped chives for brightness. A final squeeze of lemon juice from your reserved slices enhances all the flavors. This little touch makes a big difference. ✨
Family Style
For gatherings, keep the broth warm in a slow cooker on low heat. Let guests customize their bowls with various toppings. This creates a cozy, interactive dining experience everyone enjoys.
Nutrition Facts
Frequently Asked Questions
Can I use a slow cooker instead of a stovetop?
Yes! Combine everything in your slow cooker and cook on low for 6-8 hours or high for 3-4 hours. This hands-off method works perfectly for busy days.
Why do you leave the onion skin on?
The skins add beautiful color and depth to the broth. They contain natural pigments that create a golden hue without artificial additives. Just rinse the onion first.
How do I store leftover broth?
Cool completely, then refrigerate in airtight containers for up to 5 days. For longer storage, freeze in portions for 3 months.
Can I add meat bones for extra flavor?
Chicken, beef, or pork bones will create a richer stock. Simmer for 2-3 hours and skim foam as it rises for the clearest broth.

- 4C Bread Crumbs Meatballs Recipe: Crispy Crust and Juicy Centers - September 25, 2026
- 6 Oz Chocolate Chip Cookie Recipe: Perfectly Balanced Crispy Edges and Chewy Hearts - September 25, 2026
- 6-Inch Coffee Cake Recipe: Vanilla Bean Swirls and Buttery Streusel Topping - September 25, 2026