
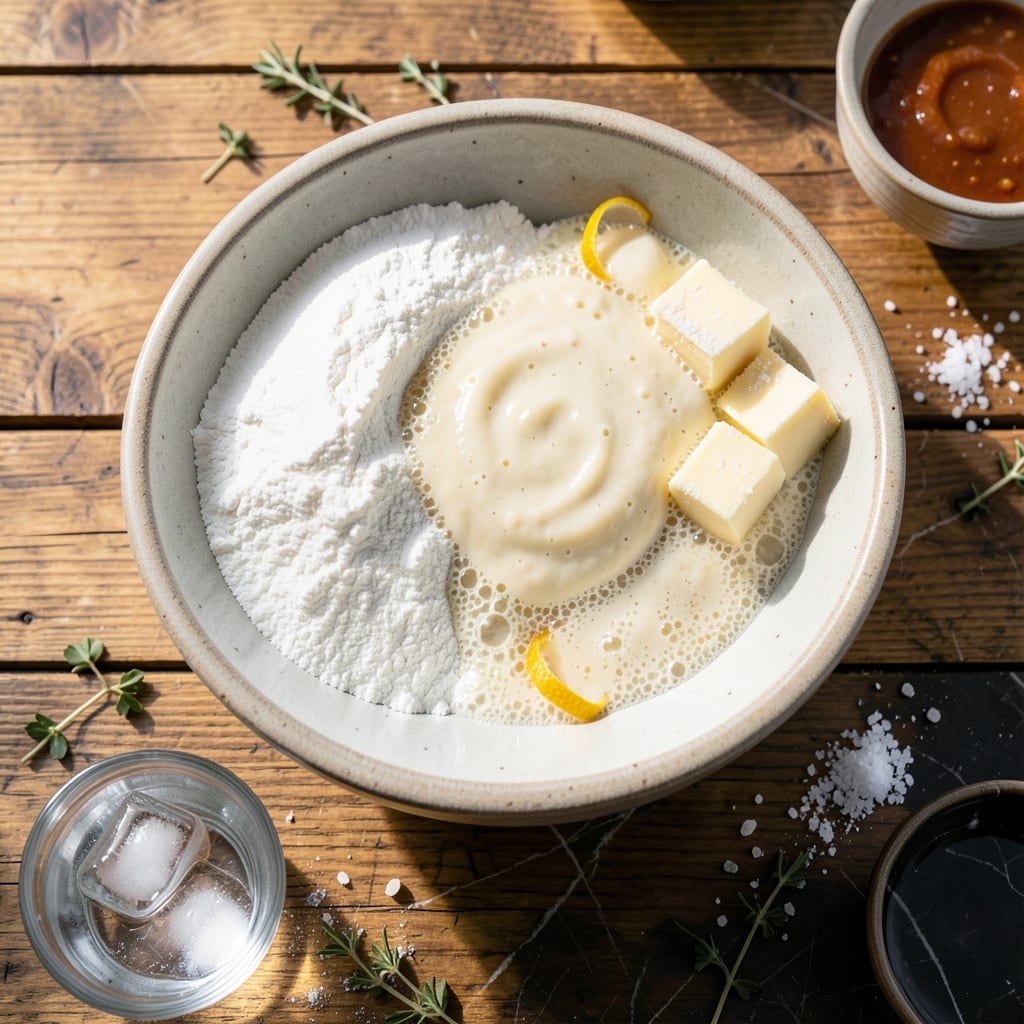
I’ve refined this sourdough crust to deliver the flaky, golden layers that elevate any pot pie to artisan status. The key lies in cold butter and a well-fed starter, which create pockets of steam for perfect separation.
This method transforms humble ingredients into a buttery, tender crust with just the right amount of tang from the sourdough. It holds up beautifully to rich fillings without turning soggy.
With a rest time of just 30 minutes, the dough comes together quickly but bakes like it took all day. The result is a crust that’s sturdy enough to crimp yet delicate enough to shatter.
Use it for chicken pot pie, beef stew, or any savory filling that deserves a showstopping finish.
Ingredients for Sourdough Pot Pie Crust
Cold butter, active starter, and a handful of pantry staples create this artisan crust.
| Ingredient | Amount | Notes |
|---|---|---|
| All-Purpose Flour 🌾 | 2 ½ cups | Plus extra for dusting |
| Unsalted Butter 🧈 | 1 cup | Cold, cubed into 1/2-inch pieces |
| Active Sourdough Starter 🍞 | ½ cup | Well-fed, unfed for 8-12 hours |
| Ice Water 💧 | ½ cup | Plus 1-2 tbsp as needed |
| Fine Sea Salt 🧂 | 1 tsp | Diamond Crystal preferred |
| Granulated Sugar 🍚 | 1 tsp | Balances sourdough tang |
| Distilled White Vinegar 💧 | 1 tsp | For flakiness, optional |
| Large Egg 🥚 | 1 whole | For egg wash finish |
| Heavy Cream 🥛 | 1 tbsp | For egg wash enrichment |
The butter must stay cold—cut it into cubes and chill for 15 minutes before starting. Use a well-fed sourdough starter (8-12 hours since feeding) for maximum tang. King Arthur Flour is my go-to for all-purpose, but any unbleached brand works. The vinegar might seem odd, but it inhibits gluten formation for extra flakiness. Don’t skip it.
No sourdough starter? Replace with 2 tbsp plain yogurt plus 2 tbsp water for similar tang. Out of vinegar? Lemon juice at the same amount works. For a richer crust, swap half the water for cold buttermilk. The egg wash can be milk or cream only if you’re avoiding eggs, but it won’t brown as deeply.
The dough rests for 30 minutes (as promised) but can chill overnight. Wrap tightly in plastic—it’ll keep in the fridge for 2 days or freeze for 1 month. Bring to room temp before rolling for easiest handling.
Why You’ll Love This Recipe
- One Bowl Wonder: I just dump flour, cold butter, my active sourdough starter, and a pinch of salt into one bowl—no fancy gadgets, just my hands and 10 minutes.
- Tangy, Flaky Bite: The sourdough starter gives it that subtle tang, while the butter layers create the crispiest, most golden crust I’ve ever pulled from the oven.
- Freezes Like a Dream: I make a double batch, roll it out, and freeze the sheets—so I can go from freezer to pot pie in 20 minutes flat.
- Pantry Staples Only: Flour, butter, water, salt, and my always-on-hand sourdough starter. That’s it. No last-minute grocery runs.
Step-by-Step Instructions for Sourdough Pot Pie Crust
This method ensures a flaky, golden crust with the perfect sourdough tang to elevate your fillings.
Step 1: Prepare the Dough Base with Cold Butter
In a large bowl, whisk together the 2.5 cups All-Purpose Flour, 1 tsp Fine Sea Salt, and 1 tsp Granulated Sugar. This balances the sourdough’s acidity while ensuring even seasoning throughout the crust.
Cut in the 1 cup Unsalted Butter (cubed into ½-inch pieces) using a pastry cutter or your fingers until the mixture resembles coarse crumbs with pea-sized butter pieces visible. The key is keeping the butter cold—if it starts to soften, chill the bowl for 10 minutes before continuing.
Step 2: Incorporate Sourdough Starter and Moisture
Add the 0.5 cup Active Sourdough Starter to the flour-butter mixture, gently folding it in with a spatula. The starter adds depth of flavor and a subtle tang, but avoid overmixing to maintain flakiness.
Gradually drizzle in the 0.5 cup Ice Water and 1 tsp Distilled White Vinegar, mixing just until the dough begins to come together. The vinegar tenderizes the gluten, while the ice water prevents premature development. If the dough feels dry, add 1-2 tbsp more ice water as needed.
Step 3: Chill and Rest the Dough
Turn the dough onto a lightly floured surface and gently knead it into a smooth ball. Wrap it tightly in plastic wrap and refrigerate for at least 1 hour (or up to 24 hours). This resting period allows the gluten to relax and the butter to firm up, which is critical for achieving flaky layers.
For best results, I divide the dough into two equal portions before chilling—this makes rolling and fitting into pie dishes easier later. The dough should feel firm and cold to the touch when ready to use.
Step 4: Roll and Fit the Crust
On a floured surface, roll one portion of dough into a 12-inch circle, about ⅛-inch thick. Transfer it to a pie dish, pressing gently into the bottom and sides without stretching. Trim the edges, leaving a ½-inch overhang for crimping.
For a double-crust pot pie, roll the second portion to the same thickness and set it aside. Brush the bottom crust lightly with water to help the top crust adhere. The dough should hold its shape without springing back—if it does, chill it for another 10-15 minutes before proceeding.
Step 5: Finish with Egg Wash and Bake
Whisk together the 1 whole Large Egg and 1 tbsp Heavy Cream to create an egg wash. Brush it evenly over the top crust (or bottom crust if pre-baking) for a deep golden finish. This also adds a subtle richness to the crust’s flavor.
Bake according to your pot pie recipe, typically at 375-400°F for 30-40 minutes, until the crust is golden brown and the filling is bubbling. If the edges brown too quickly, cover them with foil or a pie shield.
Pro Tips For Making Sourdough Pot Pie Crust
- Chill the Dough: After mixing, let the dough rest in the fridge for at least 30 minutes—this relaxes the gluten and makes it easier to roll out without shrinking.
- Use Cold Butter: Keep your unsalted butter ice-cold and cut it into small cubes before mixing; this creates flaky layers in the crust.
- Skip Overworking: I learned this the hard way—mixing the dough just until it comes together prevents a tough, chewy crust.
- Feed Your Starter: Make sure your sourdough starter is active and fed 4-12 hours before using it; a sluggish starter won’t give you that tangy depth of flavor.
Essential Equipment for This Dish
Pastry Mat
I swear by my silicone pastry mat—it grips the dough while rolling and has measurement guides for perfect circles. The Joseph Joseph version has a non-slip base that prevents frustrating shifting. It also doubles as a heat-resistant surface for hot pans. 💡
Pastry Cutter
A good pastry cutter makes quick work of cutting butter into flour. I use the OXO Good Grips model with its comfortable handle and sharp blades. For those without one, two forks or even your fingers work in a pinch.
Rolling Pin
Invest in a French-style rolling pin without handles for better control. My 18-inch J.K. Adams maple pin rolls dough evenly without sticking. Chill it in the freezer for 10 minutes before use to keep the dough cold.
Pie Dish
A 9-inch glass pie dish lets you monitor browning on the bottom crust. I prefer Pyrex for its even heat distribution and durability. For deep-dish pot pies, use a 2-quart baking dish instead.
Bench Scraper
This little tool is a game-changer for dividing dough and lifting it off the counter. The Ateco stainless steel bench scraper has a comfortable grip and sharp edge. It also helps clean up flour spills effortlessly.
Thermometer
For perfect results every time, use an instant-read thermometer to check your filling’s temperature. The ThermoWorks Thermapen gives accurate readings in 2 seconds flat. 🌡️
Nutrition Facts
Frequently Asked Questions
Can I use discard sourdough starter?
Yes, but use unfed discard within 24 hours of feeding for best flavor. The tang will be milder than active starter.
Why add vinegar to the dough?
It tenderizes the gluten, creating flakier layers. The acid also balances the sourdough’s tang without altering taste.
Can I make this ahead?
The dough keeps in the fridge for 2 days or freezes for 1 month. Thaw overnight before rolling.
How do I prevent a soggy bottom crust?
Pre-bake the bottom crust for 8-10 minutes before adding filling. Also, ensure your filling isn’t too wet.

- 4C Bread Crumbs Meatballs Recipe: Crispy Crust and Juicy Centers - September 25, 2026
- 6 Oz Chocolate Chip Cookie Recipe: Perfectly Balanced Crispy Edges and Chewy Hearts - September 25, 2026
- 6-Inch Coffee Cake Recipe: Vanilla Bean Swirls and Buttery Streusel Topping - September 25, 2026