
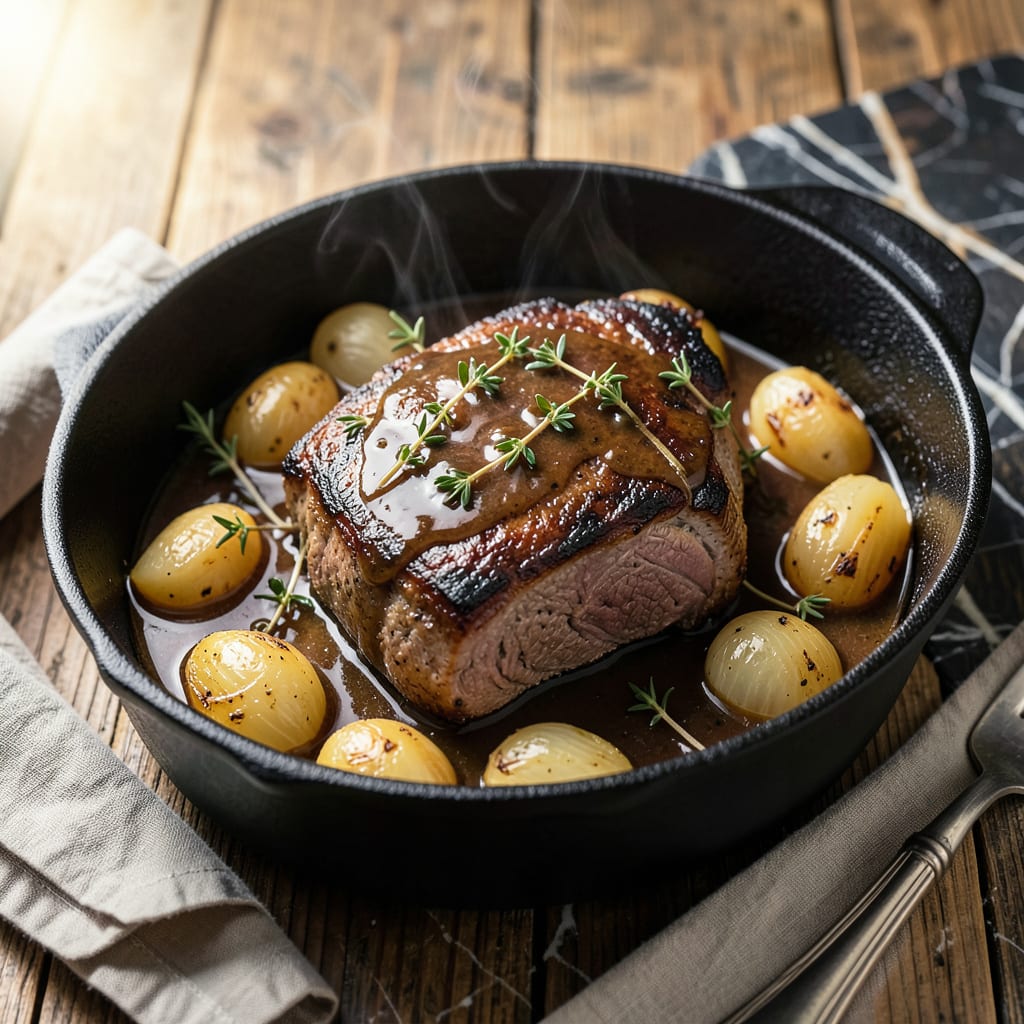
This pot roast delivers steakhouse quality at home with a proven technique for tender, fall-apart beef. The wine braise adds depth while vegetables absorb rich flavors during slow cooking.
You’ll achieve melt-in-your-mouth results with simple ingredients and a hands-off method. The key is low heat and time, transforming tough cuts into a restaurant-worthy main course.
Ingredients for Steakhouse Pot Roast
Transform tough cuts into restaurant-worthy beef with these pantry staples and fresh aromatics.
| Ingredient | Amount | Notes |
|---|---|---|
| Chuck Roast 🥩 | 3 lb | Well-marbled, trimmed of excess fat |
| Kosher Salt 🧂 | 2 tsp | Diamond Crystal preferred |
| Black Pepper 🌶️ | 1 tsp | Freshly ground for best flavor |
| All-Purpose Flour 🌾 | ¼ cup | For dusting beef |
| Olive Oil 🫒 | 2 tbsp | Divided for searing and sautéing |
| Yellow Onions 🧅 | 2 whole | Large, cut into chunks |
| Carrots 🥕 | 4 whole | Peeled, cut into large pieces |
| Celery Stalks 🌿 | 3 whole | Cut into 2-inch pieces |
| Garlic Cloves 🧄 | 5 cloves | Smashed, peeled |
| Dry Red Wine 🍷 | 2 cups | Bold variety like Cabernet Sauvignon |
| Beef Stock 🥘 | 2 cups | Low-sodium preferred |
| Tomato Paste 🍅 | 2 tbsp | For depth of flavor |
| Fresh Thyme Sprigs 🌿 | 3 whole | Tied with kitchen twine |
| Bay Leaf 🍃 | 1 whole | Dried, for aroma |
| Unsalted Butter 🧈 | 2 tbsp | For finishing braising liquid |
The beef is paramount here. Chuck roast with abundant marbling ensures the fall-apart texture essential for this preparation. Source from Whole Foods or a trusted butcher for optimal quality. The red wine should be one you’d drink—Cabernet Sauvignon or Merlot provide the necessary depth. Avoid pre-cut vegetables; whole produce allows better flavor development during slow cooking.
No red wine? Substitute with additional beef stock plus 1 tbsp balsamic vinegar for acidity. Fresh thyme can be replaced with 1 tsp dried thyme, though fresh offers superior aroma. If tomato paste isn’t available, 1/4 cup crushed tomatoes works in a pinch. For a gluten-free version, cornstarch at half the quantity replaces flour for dusting.
This dish improves overnight—flavors meld and deepen. Store cooled leftovers in an airtight container for up to 4 days in the refrigerator or 3 months in the freezer. Reheat gently to preserve texture, adding a splash of water if needed to prevent drying.
Why You’ll Love This Recipe
- One Pot Wonder: I toss the chuck roast with flour, salt, and pepper, sear it in olive oil, then let the oven do the rest.
- Rich Beefy Depth: The crust from the flour and the slow cook make every bite taste like a fancy steakhouse meal.
- Sunday or Wednesday: Honestly, it’s just as good for a lazy weekend as it is for a quick weeknight dinner.
- Leftovers for Days: I always make extra—this pot roast tastes even better sliced into sandwiches the next day.
Step-by-Step Instructions for Wine-Braised Beef With Melted Vegetables
Master these fundamental techniques to transform tough chuck into fork-tender perfection with rich, wine-infused depth.
Step 1: Season and Sear the Chuck Roast
Pat the 3 lb Chuck Roast thoroughly dry with paper towels, then season all sides generously with the 2 tsp Kosher Salt and 1 tsp Black Pepper. The dry surface ensures a proper sear rather than steaming the meat.
Dust the roast with the 0.25 cup All-Purpose Flour, pressing lightly to adhere. Heat 1 tbsp Olive Oil in a heavy Dutch oven over medium-high heat until shimmering. Sear the roast for 4-5 minutes per side until deeply browned. This creates a flavorful fond that will enrich the braising liquid.
Step 2: Sauté the Aromatic Vegetables
Remove the roast and add the remaining 1 tbsp Olive Oil to the pot. Add the 2 whole Yellow Onions, 4 whole Carrots, and 3 whole Celery Stalks, cooking for 8-10 minutes until the onions begin to soften and brown at the edges.
Add the 5 cloves Garlic Cloves and cook for an additional 1 minute until fragrant. Stir in the 2 tbsp Tomato Paste and cook for 2 minutes, allowing it to caramelize slightly and deepen in color. This step develops the base flavors that will define your braise.
Step 3: Deglaze and Begin the Braise
Pour in the 2 cups Dry Red Wine, using a wooden spoon to scrape up all the browned bits from the bottom of the pot. This deglazing process dissolves the fond into the liquid, creating a rich foundation for your sauce.
Add the 2 cups Beef Stock, 3 whole Fresh Thyme Sprigs, and 1 whole Bay Leaf. Return the roast to the pot along with any accumulated juices. The liquid should come about halfway up the meat—add a splash of water if needed.
Step 4: Slow-Braise to Tenderness
Bring the liquid to a simmer, then cover the pot and transfer it to a preheated 325°F oven. Braise for 2.5 to 3 hours, turning the roast every 45 minutes to ensure even cooking and prevent sticking.
You’ll know it’s ready when a fork inserted into the thickest part twists easily and the meat pulls apart with minimal resistance. The vegetables should be melt-in-your-mouth tender and the braising liquid reduced by about a third.
Step 5: Finish and Serve
Carefully remove the roast and vegetables to a serving platter. Skim excess fat from the braising liquid, then place the Dutch oven over medium heat. Whisk in the 2 tbsp Unsalted Butter until fully incorporated and the sauce thickens slightly.
Pour the sauce over the roast and vegetables. Let rest for 10 minutes before serving to allow the juices to redistribute. The meat should fall apart at the touch of a fork, and the sauce should be rich, glossy, and deeply flavorful.
Pro Tips For Making Steakhouse Pot Roast
- Sear Harder: Get your pan screaming hot before adding the chuck roast—I learned this the hard way after too many pale, sad pot roasts. That high heat with about 2 tablespoons of olive oil is what gives you that deep, steakhouse-worthy crust on the flour-dusted meat.
- Season Aggressively: Don’t be shy with the kosher salt and black pepper; the flour coating needs a heavy hand to carry flavor through the long cook. I use about 1 tablespoon of salt for a 3-pound roast, and yes, it’s more than you think.
- Skip the Crowding: Sear the chuck roast in batches if needed—cramming it in steams the meat instead of browning it. Sounds tedious, but it’s the only way to get that even, caramelized exterior that makes this dish special.
- Rest Before Slicing: After it comes out of the oven, tent the roast with foil and let it sit for 15-20 minutes. I was skeptical until I tried it, but the juices redistribute and the meat stays moist, not dry and stringy.
Troubleshooting This Recipe
Tough Meat Issues
If your roast isn’t falling apart after 3 hours, check your oven temperature with an oven thermometer. Many home ovens run 25-50°F cooler than set. If confirmed accurate, give it another 30-60 minutes—chuck roast needs time to break down. 🌡️
Dry Braising Liquid
If your braising liquid reduces too much, add ½ cup hot water or beef stock to maintain the proper level. The liquid should always come about halfway up the meat. A tightly sealed Dutch oven lid prevents excessive evaporation.
Bland Sauce Fix
If your sauce lacks depth, stir in 1 tbsp tomato paste or 1 tsp Worcestershire sauce at the end. Reduce the sauce uncovered for 5-10 minutes to concentrate flavors. I always taste and adjust seasoning before serving.
Vegetable Texture
If your vegetables are mushy, add them to the pot after the first 1.5 hours of braising instead of at the beginning. Large, even chunks hold up better than small pieces. 4-inch carrot pieces work perfectly.
Excess Fat
If your finished dish has too much fat, chill the braising liquid for 20 minutes—the fat will solidify on top for easy removal. Or use a fat separator after cooking. I prefer the chilling method for home cooks. 💡
Searing Problems
If your roast isn’t browning well, ensure the meat is completely dry before searing and don’t crowd the pot. Use medium-high heat and let the oil get hot before adding the meat. A well-brown crust means better flavor development.
Nutrition Facts
Frequently Asked Questions
What cut of beef works best for this?
Chuck roast is ideal due to its marbling and connective tissue. These break down beautifully during the long 2.5-3 hour braise, creating that signature melt-in-your-mouth texture.
Can I make this in a slow cooker?
Yes! Sear the meat first, then transfer everything to a slow cooker. Cook on low for 8-10 hours or high for 5-6 hours. The results will be just as tender.
Why is my sauce thin?
For thicker sauce, remove the lid for the last 30 minutes of cooking. Or reduce the liquid on the stovetop after braising. A cornstarch slurry can also help if needed.
Can I use white wine instead?
Red wine is recommended for depth of flavor, but in a pinch, use dry white wine plus 1 tbsp tomato paste for color and richness. The acidity still helps tenderize the meat.

- 4C Bread Crumbs Meatballs Recipe: Crispy Crust and Juicy Centers - September 25, 2026
- 6 Oz Chocolate Chip Cookie Recipe: Perfectly Balanced Crispy Edges and Chewy Hearts - September 25, 2026
- 6-Inch Coffee Cake Recipe: Vanilla Bean Swirls and Buttery Streusel Topping - September 25, 2026