
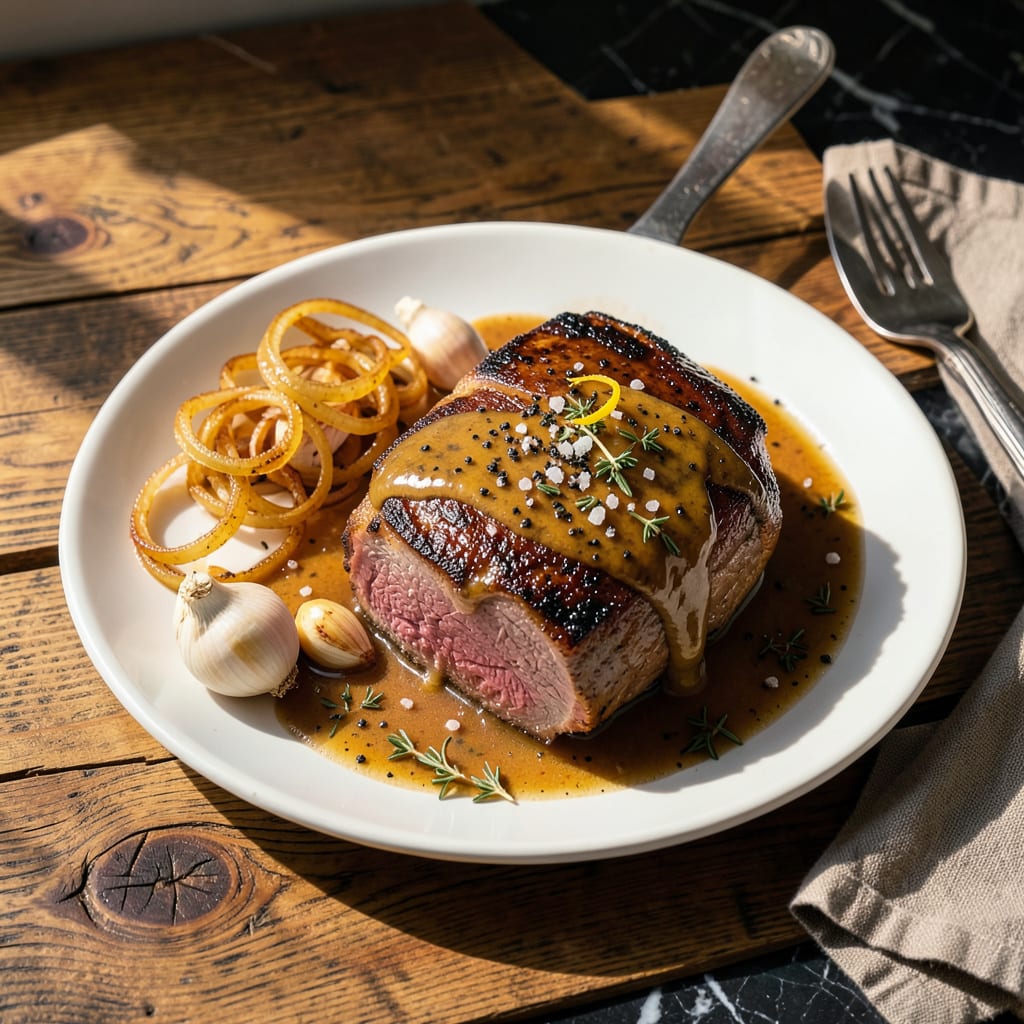
Cooking venison roast in an Instant Pot transforms this lean, flavorful meat into fall-apart tender perfection in a fraction of traditional cooking time. The pressure cooker’s sealed environment breaks down tough fibers while locking in moisture—critical for game meat that can easily dry out. This method delivers restaurant-quality results without hours of oven monitoring.
What sets this recipe apart is the combination of proper searing before pressure cooking and precise timing that ensures tenderness without overcooking. You’ll achieve a deeply flavorful roast with minimal effort, complete with rich pan juices perfect for making a quick gravy. The Instant Pot makes venison approachable for home cooks, delivering consistent results every time.
Ingredients for Venison Roast Recipe Instant Pot
Professional-grade ingredients transform this lean game meat into restaurant-quality tenderness with precise pressure cooking techniques.
| Ingredient | Amount | Notes |
|---|---|---|
| Venison Roast 🦌 | 2 ½ lb | Boneless, trimmed of silver skin |
| Olive Oil 🫒 | 2 tbsp | Divided, for searing and sautéing |
| Kosher Salt 🧂 | 1 ½ tsp | Diamond Crystal preferred for precision |
| Freshly Ground Black Pepper 🌶️ | 1 tsp | Coarse grind for optimal texture |
| Garlic Cloves 🧄 | 6 cloves | Minced for even distribution |
| Yellow Onion 🧅 | 1 whole | Medium dice, approximately 1.5 cups |
| Beef Broth 🥩 | 1 ½ cups | Low-sodium preferred for control |
| Red Wine 🍷 | ½ cup | Dry variety like Cabernet Sauvignon |
| Tomato Paste 🍅 | 2 tbsp | Double-concentrated for depth |
| Fresh Rosemary Sprigs 🌿 | 2 whole | Stems removed, finely chopped |
| Fresh Thyme Sprigs 🌿 | 4 whole | Leaves stripped from stems |
| Worcestershire Sauce 💧 | 1 tbsp | Anchovy-free version if preferred |
| Unsalted Butter 🧈 | 2 tbsp | For finishing sauce enrichment |
| All-Purpose Flour 🌾 | 2 tbsp | For optional gravy thickening |
The venison quality is paramount for this preparation. Source from reputable game processors or specialty butchers who properly age the meat—Cabelas and Bass Pro Shops often carry quality options. Opt for roasts from younger deer (1.5-2.5 years) as they yield more tender results. The beef broth serves as the flavor foundation; Bonafide Provisions or Kettle & Fire brands offer superior depth without additives. For the wine component, a bold, dry red with moderate tannins complements the gamey notes without overpowering.
Substitutions require careful consideration with venison’s lean profile. Beef chuck roast may be used at a 1:1 ratio for those new to game meat, though cooking time reduces by 25%. For alcohol-free preparation, substitute the wine with equal parts beef broth plus 1 tsp red wine vinegar. Fresh herbs are non-negotiable for brightness; dried may be used at one-third the quantity but should be bloomed in warm oil first. The tomato paste can be replaced with 1 tbsp balsamic reduction for similar umami depth without acidity.
Optimal storage begins with proper venison handling. Keep the raw roast refrigerated at 34-36°F for up to 3 days or vacuum-sealed frozen for 8-12 months. Post-cooking, the finished roast maintains quality refrigerated for 4 days or frozen for 3 months—slice before freezing for easier portioning. The cooking liquid makes exceptional gravy; strain and reduce by half for intensified flavor before serving.
Why You’ll Love This Recipe
- Dump-and-Go Simple: Honestly, this might be the easiest venison roast I’ve ever made. Just sear the meat, toss in the garlic and spices, and let the Instant Pot do the rest—no babysitting required.
- Garlic-Crusted Magic: That first bite when the crispy salt-and-pepper crust gives way to tender, garlic-infused venison? I’ll admit, I’ve stood at the counter sneaking pieces before it even hits the table.
- Weeknight to Weekend: I’ve served this to hunting buddies after a long day and also prepped it on Sundays for lunches—it’s just as good sliced thin on sandwiches as it is piled onto mashed potatoes.
- Leftovers That Work: Between us, the venison tastes even better the next day. Shred it for tacos, chop it into fried rice, or just reheat with a splash of broth—it never goes to waste.
Step-by-Step Instructions for Venison Roast Instant Pot
This method transforms lean venison into fork-tender perfection with minimal hands-on time.
Step 1: Sear the Venison Roast for Maximum Flavor
Set your Instant Pot to the “Sauté” function on normal heat. When the display reads “Hot,” add 1 tablespoon olive oil. Pat the 2.5 lb venison roast completely dry with paper towels—this ensures proper browning. Season all sides aggressively with the 1.5 tsp kosher salt and 1 tsp freshly ground black pepper, pressing the seasoning into the meat.
Add the roast to the pot and sear undisturbed for 3-4 minutes per side until you develop a deep, golden-brown crust. The crust should form a uniform layer across the surface—this is your flavor foundation. Transfer the seared roast to a plate and set aside.
Step 2: Build the Aromatic Base and Deglaze
To the same pot, add the remaining 1 tablespoon olive oil along with the medium-diced yellow onion. Sauté for 4-5 minutes until the onions soften and begin to caramelize around the edges. Add the minced garlic cloves and cook for 30 seconds until fragrant but not browned.
Stir in the 2 tbsp tomato paste, cooking for 1 minute to deepen its flavor. Immediately pour in the 0.5 cup red wine, using a wooden spoon to scrape up all the browned bits from the bottom of the pot. This deglazing step incorporates all the fond into your sauce. Let the wine reduce by half, about 2-3 minutes.
Step 3: Pressure Cook to Fall-Apart Tenderness
Return the seared venison roast to the pot along with any accumulated juices. Add the 1.5 cups beef broth, 1 tbsp Worcestershire sauce, chopped rosemary, and thyme leaves. Secure the lid, ensuring the valve is set to “Sealing.”
Cook on high pressure for 60 minutes for medium-rare or 75 minutes for well-done. The meat should reach an internal temperature of at least 145°F for safe consumption. After cooking, allow the pressure to release naturally for 15 minutes before carefully switching the valve to “Venting” to release any remaining pressure.
Step 4: Create the Rich Finishing Sauce
Transfer the cooked venison to a cutting board and tent loosely with foil. Skim any excess fat from the surface of the cooking liquid. In a small bowl, whisk together the 2 tbsp all-purpose flour with 2 tbsp of the hot cooking liquid to create a slurry.
Set the Instant Pot back to “Sauté” and bring the liquid to a gentle simmer. Whisk in the slurry and cook for 3-4 minutes until the sauce thickens enough to coat the back of a spoon. Remove from heat and stir in the 2 tbsp unsalted butter until fully incorporated. The butter adds a velvety finish to the sauce.
Step 5: Rest and Serve for Optimal Texture
Let the venison rest for 10 minutes before slicing against the grain into ½-inch thick pieces. This resting period allows the juices to redistribute throughout the meat. Arrange the slices on a platter and spoon the reduced sauce over the top.
The finished roast should be tender enough to cut with a fork but still maintain its structure. The sauce should have a rich, glossy appearance with visible herb specks. Serve immediately while hot, accompanied by the natural juices from the resting process.
Perfect Pairings for This venison roast recipe instant pot
Wine Pairings
This rich, gamey roast calls for bold red wines that can stand up to its deep flavors. I love pairing it with a Cabernet Sauvignon from Napa Valley—the tannins cut through the richness while complementing the rosemary and thyme notes. For something slightly lighter, a Syrah from the Rhône Valley offers peppery undertones that enhance the venison’s natural earthiness. 🍷
Craft Beer Options
Dark beers work beautifully with this dish. A porter like Deschutes Black Butte brings coffee and chocolate notes that balance the meat’s intensity. For hop lovers, a black IPA (try Stone Brewing’s Sublimely Self-Righteous) offers citrusy brightness that cuts through the richness. The carbonation helps cleanse your palate between bites.
Side Dish Pairings
Creamy garlic mashed potatoes are my go-to—they soak up the rich sauce perfectly. I make mine with Yukon Gold potatoes, ½ cup heavy cream, and 4 tbsp butter for extra decadence. For contrast, try roasted Brussels sprouts with balsamic glaze—their slight bitterness complements the venison beautifully.
Bread Accompaniments
A crusty sourdough loaf is essential for sopping up every last bit of sauce. Warm it in the oven at 350°F for 10 minutes before serving. For something special, make rosemary focaccia—the herbal notes echo the seasoning in the roast. I like to brush mine with olive oil and sprinkle with flaky sea salt before baking.
Vegetable Complements
Roasted carrots and parsnips add natural sweetness that balances the venison’s depth. Toss 1 lb chopped vegetables with 2 tbsp olive oil, 1 tsp honey, and ½ tsp salt, then roast at 400°F for 25 minutes. Their caramelized edges create wonderful texture contrast with the tender meat.
Sauce Enhancements
For extra richness, stir 1 tbsp Dijon mustard into the finished sauce before serving—it adds a subtle tang that brightens the dish. I also love finishing with a sprinkle of fresh parsley for color and freshness. The mustard’s acidity helps balance the meat’s richness without overpowering the natural venison flavor. ✨
Nutrition Facts
Frequently Asked Questions
How long should I sear the roast before pressure cooking?
Sear each side for 3-4 minutes until a deep golden-brown crust forms. This step is crucial for developing rich flavor compounds. Don’t rush it—proper browning creates the foundation for your sauce later.
Can I use frozen venison in this recipe?
Yes, but thaw it completely in the refrigerator first—this ensures even cooking. Never cook frozen meat directly in the Instant Pot as it may not reach safe temperatures. Plan for 24 hours of thawing time for a 2.5 lb roast.
Why does my venison turn out tough?
Overcooking is the most common issue with lean game meat. Stick to the recommended 60 minutes for medium-rare or 75 minutes for well-done. Always let it rest 10 minutes before slicing to prevent dryness.
What’s the best way to thicken the sauce?
Create a slurry with 2 tbsp flour and 2 tbsp cooking liquid, then whisk it into the simmering sauce. Cook for 3-4 minutes until it coats the back of a spoon. The butter finish at the end adds velvety richness.

- 8 Bean Soup Recipe Crock Pot: Hearty Vegetable Medley in One Pot - September 25, 2026
- 4C Bread Crumbs Meatballs Recipe: Crispy Crust and Juicy Centers - September 25, 2026
- 6 Oz Chocolate Chip Cookie Recipe: Perfectly Balanced Crispy Edges and Chewy Hearts - September 25, 2026