
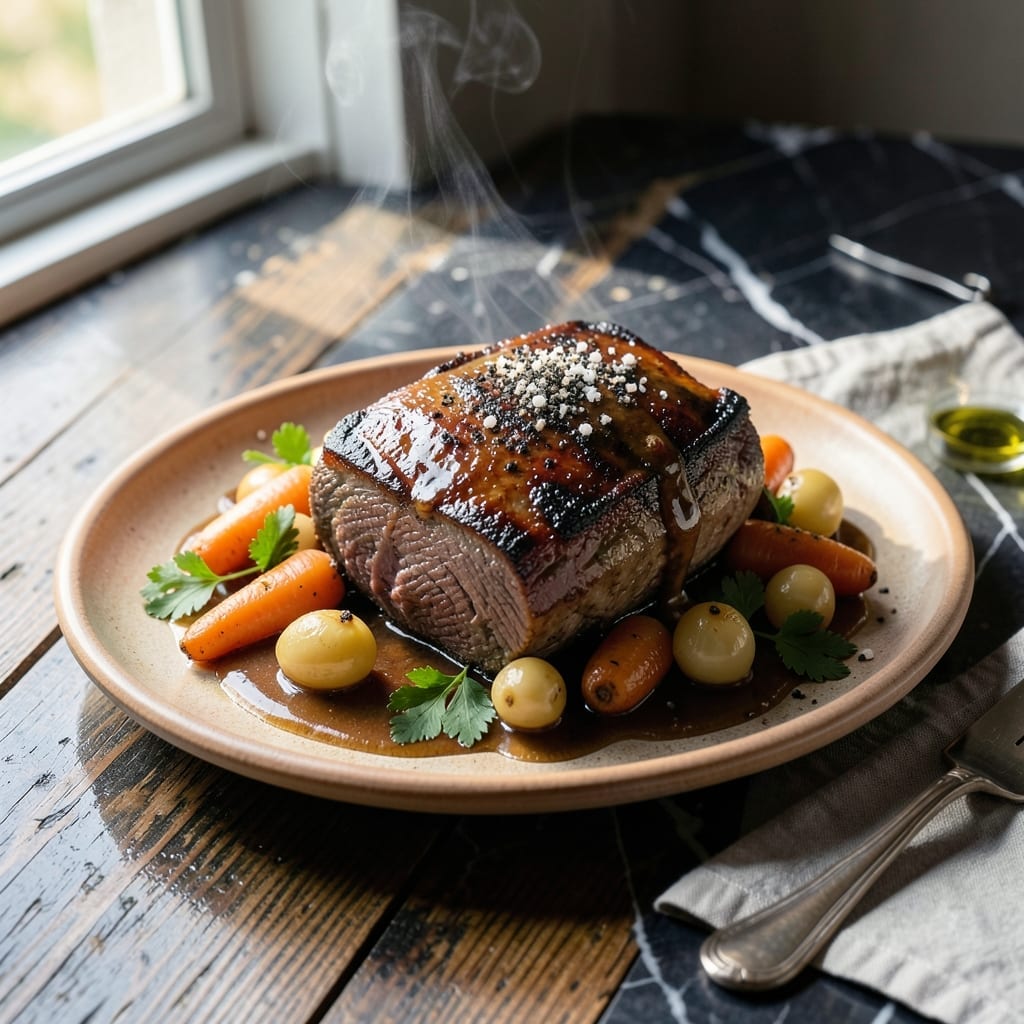
This braised beef recipe transforms tough cuts into fall-apart tender meat with deep, rich flavors. The slow cooking process allows the beef to absorb the aromatic herbs and vegetables, creating a dish that tastes like it came from a professional kitchen.
What sets this pot roast apart is the careful balance of seasonings and the precise braising technique. The meat becomes incredibly tender while the vegetables soak up the savory juices, resulting in a hearty, comforting meal.
You’ll end up with a restaurant-quality pot roast that’s perfect for Sunday dinners or special occasions. The beef is juicy and flavorful, and the vegetables are perfectly cooked, making every bite satisfying.
Serve with crusty bread or mashed potatoes to soak up the delicious sauce. Here’s how to make it at home.
Ingredients for Wolfgang Puck Pot Roast
Quality beef and aromatic vegetables create this restaurant-level braised dish with rich, complex flavors.
| Ingredient | Amount | Notes |
|---|---|---|
| Beef Chuck Roast 🥩 | 3 lb | Well-marbled, trimmed of excess fat |
| Kosher Salt 🧂 | 2 tsp | Diamond Crystal preferred |
| Freshly Ground Black Pepper 🌶️ | 1 tsp | Coarse grind for texture |
| All-Purpose Flour 🌾 | ¼ cup | For dredging beef |
| Olive Oil 🫒 | 2 tbsp | High smoke point variety |
| Yellow Onion 🧅 | 2 whole | Medium-sized, quartered |
| Carrots 🥕 | 4 whole | Peeled, cut into 2-inch chunks |
| Celery Stalks 🌿 | 3 whole | Cut into 2-inch pieces |
| Garlic Cloves 🧄 | 6 cloves | Smashed, skins removed |
| Fresh Thyme Sprigs 🍃 | 4 whole | Plus 1 tsp chopped leaves |
| Fresh Rosemary Sprigs 🌿 | 2 whole | Plus 1 tsp chopped leaves |
| Bay Leaves 🍃 | 2 whole | Dried, for braising liquid |
| Red Wine 🍷 | 2 cups | Dry variety like Cabernet Sauvignon |
| Beef Stock 🥣 | 2 cups | Low-sodium preferred |
| Tomato Paste 🍅 | 2 tbsp | For depth of flavor |
The beef selection is critical for authentic results. Chuck roast with visible marbling yields the most tender outcome after braising, while leaner cuts remain tough. Source from Whole Foods or local butchers for premium quality. The wine should be a dry red you’d actually drink—avoid cooking wines with added salt. Fresh herbs from the farmers market add vibrancy that dried simply can’t match.
Need to swap the wine? Beef stock with 1 tbsp balsamic vinegar mimics the acidity. No fresh thyme? Use dried at one-third the quantity. For the tomato paste, those squeeze tubes from Trader Joe’s are ideal—no waste, keeps indefinitely. The flour can be gluten-free all-purpose if needed, though the texture may vary slightly.
This reheats exceptionally well—flavors deepen overnight. Store in an airtight container for up to 5 days in the fridge or 3 months frozen. Portion before freezing for easy single-serving reheats when cravings strike.
Why You’ll Love This Recipe
- I’ll be real: the second-day sandwiches with the juicy beef might be even better than the first meal.
- Set It and Forget: I just season the chuck roast, sear it, and let the oven do the work—no babysitting required.
- Feeds a Sunday Crowd: Between us, this is my go-to for family dinners, potlucks, or even a cozy night in.
- Leftovers for Days: I’ll be real: the second-day sandwiches with the juicy beef might be even better than the first meal.
Step-by-Step Instructions for Braised Beef With Root Vegetables
Master the chef-level technique that transforms tough cuts into melt-in-your-mouth perfection.
Step 1: Season and Sear the Beef Chuck Roast
Pat the 3 lb Beef Chuck Roast completely dry with paper towels. This is non-negotiable for achieving a proper sear. Season all sides aggressively with the 2 tsp Kosher Salt and 1 tsp Freshly Ground Black Pepper, pressing the seasoning into the meat so it adheres well.
Dredge the roast in the 0.25 cup All-Purpose Flour, shaking off any excess. The flour creates a thin crust that thickens the braising liquid later. Heat the 2 tbsp Olive Oil in a heavy Dutch oven over medium-high heat until shimmering. Sear the beef for 4-5 minutes per side until deeply browned and a thick crust forms. This step builds the foundation of flavor for the entire dish.
Step 2: Build the Aromatic Base
Remove the seared beef and set it aside. In the same pot, add the 2 whole Yellow Onion (quartered), 4 whole Carrots (cut into chunks), and 3 whole Celery Stalks. Sauté for 5-6 minutes until the vegetables begin to soften and develop color. The fond left from the beef will coat the vegetables, amplifying their flavor.
Add the 6 cloves Garlic Cloves (smashed), 2 tbsp Tomato Paste, 4 whole Fresh Thyme Sprigs, 2 whole Fresh Rosemary Sprigs, and 2 whole Bay Leaves. Cook for 1-2 minutes, stirring constantly, until the tomato paste darkens slightly. This blooms the spices and deepens the umami profile of the dish.
Step 3: Deglaze and Begin the Braise
Pour in the 2 cups Red Wine to deglaze the pot, using a wooden spoon to scrape up all the browned bits from the bottom. These bits, known as fond, are packed with concentrated flavor and will dissolve into the braising liquid. Let the wine reduce by half, which takes about 5 minutes over medium heat.
Return the beef to the pot and add the 2 cups Beef Stock. The liquid should come about two-thirds of the way up the roast. Bring to a gentle simmer, then cover tightly with a lid. This ensures the meat cooks evenly and stays moist throughout the long braising process.
Step 4: Slow Braise to Tenderness
Transfer the covered pot to a preheated 325°F oven. Braise for 3 to 3.5 hours, turning the roast every 45 minutes to ensure even cooking. The beef is done when it yields easily to a fork and the internal temperature reaches 195-200°F.
During the last hour of cooking, the connective tissues in the chuck roast break down, transforming the tough cut into tender, succulent meat. The vegetables will also absorb the rich flavors of the braising liquid, becoming tender and flavorful in their own right.
Step 5: Rest and Serve
Carefully remove the beef from the pot and transfer it to a cutting board. Tent loosely with foil and let it rest for 15-20 minutes. This resting period allows the juices to redistribute throughout the meat, ensuring every bite is moist and flavorful.
Skimming excess fat from the surface of the braising liquid and reducing it slightly on the stovetop will yield a rich, velvety sauce. Slice the beef against the grain and serve with the braised vegetables and sauce for a complete, restaurant-quality meal.
Pro Tips For Making Wolfgang Puck Pot Roast
- Sear the Chuck: Use high heat and about 2 tablespoons of olive oil to get a deep brown crust on the beef chuck roast—this builds the flavor base that defines the dish.
- Season Aggressively: Don’t be shy with the kosher salt and freshly ground black pepper; I learned this the hard way after my first few pot roasts tasted bland.
- Dredge Evenly: Pat the roast dry first, then coat it lightly but completely in flour—this creates a perfect sear and thickens the sauce later.
- Rest Before Slicing: After cooking, let the pot roast rest under foil for at least 15 minutes; it stays juicier and slices cleaner, even if you’re hungry.
Make-Ahead Tips for This wolfgang puck pot roast
Overnight Prep
You can sear the 3 lb Beef Chuck Roast and build the aromatic base the night before. After browning the meat and sautéing the vegetables, let everything cool, then refrigerate. The next morning, add the 2 cups Red Wine and 2 cups Beef Stock, bring to a simmer, and continue with the braising process. This head start saves 30 minutes on cooking day. 💡
Vegetable Prep
Chop all the Yellow Onion, Carrots, and Celery Stalks the day before and store them in airtight containers. This small step makes the cooking process smoother and more enjoyable. I find it reduces morning chaos significantly.
Wine and Stock
Measure out the 2 cups Red Wine and 2 cups Beef Stock in advance and keep them in the fridge. Cold liquids will bring the braising temperature down initially, but this is a minor delay. The flavors still develop beautifully.
Herb Storage
Fresh Thyme and Rosemary can be washed, dried, and wrapped in damp paper towels in a sealed bag. This keeps them fresh for 2-3 days in the fridge. Bay leaves can be added directly from the jar.
Reheating Leftovers
Store leftover pot roast in its juices in an airtight container. Reheat gently on the stovetop over low heat for 10-15 minutes. The flavors often taste even better the next day as they continue to meld. ❄️
Freezing Tips
Portion cooled pot roast with its sauce into freezer-safe containers, leaving 1-inch headspace. It freezes well for up to 3 months. Thaw overnight in the fridge before reheating to maintain the best texture and flavor.
Nutrition Facts
Frequently Asked Questions
What’s the best cut for this braised dish?
Use a well-marbled 3 lb beef chuck roast for the most tender results. The fat and connective tissue break down during long cooking, creating that fall-apart texture. Avoid lean cuts like sirloin.
Can I use a slow cooker instead of an oven?
Yes! Sear the beef first, then transfer everything to a slow cooker. Cook on low for 8-10 hours or high for 5-6 hours. The flavors will still develop beautifully.
How do I prevent the sauce from being too thin?
After braising, remove the lid and simmer the liquid on the stovetop for 10-15 minutes. This reduces and thickens the sauce naturally.
What if my meat isn’t tender after the suggested time?
Continue cooking in 30-minute increments until it reaches 195-200°F internally. The collagen needs time to fully break down.

- 4C Bread Crumbs Meatballs Recipe: Crispy Crust and Juicy Centers - September 25, 2026
- 6 Oz Chocolate Chip Cookie Recipe: Perfectly Balanced Crispy Edges and Chewy Hearts - September 25, 2026
- 6-Inch Coffee Cake Recipe: Vanilla Bean Swirls and Buttery Streusel Topping - September 25, 2026