
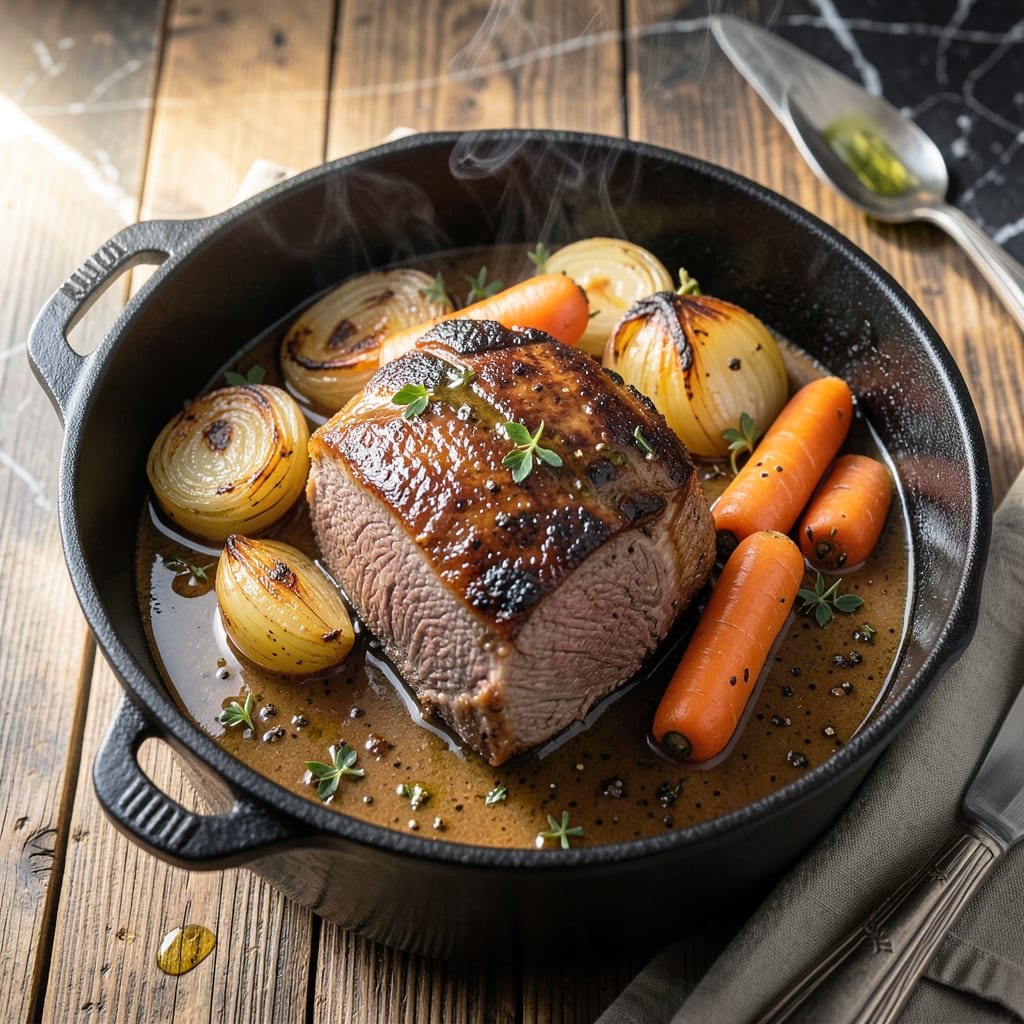
There’s nothing quite like the aroma of a slow-cooked pot roast filling the kitchen on a lazy Sunday. This dish delivers old-fashioned comfort with tender beef, hearty vegetables, and a rich, savory gravy.
With just a few simple ingredients and a long, slow simmer, you’ll create a meal that tastes like home. It’s the kind of dish that brings everyone to the table, ready for seconds.
Ingredients for Yankee Pot Roast
Pantry staples and fresh produce create this hearty Sunday classic with rich, savory depth.
| Ingredient | Amount | Notes |
|---|---|---|
| Beef Chuck Roast 🥩 | 3 lb | Well-marbled, trimmed of excess fat |
| Kosher Salt 🧂 | 2 tsp | Diamond Crystal preferred |
| Black Pepper 🌶️ | 1 tsp | Freshly ground for best flavor |
| All-Purpose Flour 🌾 | ¼ cup | For thickening gravy |
| Vegetable Oil 🫒 | 2 tbsp | For searing beef |
| Yellow Onions 🧅 | 2 whole | Medium-sized, quartered |
| Carrots 🥕 | 4 whole | Peeled, cut into chunks |
| Celery Stalks 🌿 | 3 whole | Cut into large pieces |
| Garlic Cloves 🧄 | 4 cloves | Smashed, peeled |
| Dried Thyme 🌿 | 1 tsp | Crushed between fingers |
| Bay Leaves 🍃 | 2 whole | Dried, for aroma |
| Beef Broth 💧 | 2 cups | Low-sodium preferred |
| Red Wine 🍷 | 1 cup | Dry variety recommended |
| Tomato Paste 🍅 | 2 tbsp | For depth of flavor |
| Russet Potatoes 🥔 | 4 whole | Peeled, cut into quarters |
[recipeingredientscaler]
The beef is critical here. Chuck roast with visible marbling ensures tender results after the long, slow simmer. Look for well-marbled pieces at Whole Foods or your local butcher—avoid lean cuts like round, which dry out. The vegetables should be fresh but don’t need to be perfect; even slightly soft carrots or celery work beautifully in this dish.
No red wine? Substitute additional beef broth with 1 tbsp balsamic vinegar. Fresh thyme can replace dried at three times the amount. If you lack tomato paste, 1/4 cup ketchup works in a pinch, though the flavor profile shifts slightly. Potatoes can be swapped for parsnips or turnips for variety. For gluten-free, use cornstarch instead of flour to thicken the gravy.
This reheats wonderfully—flavors deepen overnight. Store in an airtight container for up to 4 days in the fridge or 3 months in the freezer. For best results, cool completely before refrigerating to prevent soggy vegetables.
Why You’ll Love This Recipe
- Set It and Forget: I brown the chuck roast, dust it with flour, and the oven does the rest—no babysitting required.
- Fall-Apart Tender: That beef chuck, slow-cooked with a simple crust of salt, pepper, and flour, just melts in your mouth.
- Feeds a Hungry Table: Between us, this one pot fills my family of five with plenty for sandwiches the next day.
- Budget-Friendly Centerpiece: A cheap cut of beef, some oil, and basic pantry staples turn into a meal that feels like a splurge.
Step-by-Step Instructions for Yankee Pot Roast
This method delivers tender beef and rich gravy with minimal hands-on time.
Step 1: Sear and Season the Beef Chuck Roast
Pat the 3 lb Beef Chuck Roast thoroughly dry with paper towels. This ensures a proper sear. Season all sides generously with the 2 tsp Kosher Salt and 1 tsp Black Pepper, pressing the seasoning into the meat so it adheres well during cooking.
Heat the 2 tbsp Vegetable Oil in a large Dutch oven over medium-high heat until shimmering. Sear the beef for 3-4 minutes per side until deeply browned. Remove the roast and set aside. Reduce heat to medium, then sprinkle the 0.25 cup All-Purpose Flour over the drippings, stirring constantly for 1 minute to cook the flour and prevent lumps.
Step 2: Build the Aromatic Base
Add the 2 whole Yellow Onions, 4 whole Carrots, and 3 whole Celery Stalks to the pot. Cook for 5 minutes, stirring occasionally, until the vegetables begin to soften and brown slightly. Add the 4 cloves Garlic Cloves, 1 tsp Dried Thyme, and 2 whole Bay Leaves, stirring for 30 seconds until fragrant.
Pour in the 1 cup Red Wine, scraping the bottom of the pot to release all the browned bits. Simmer for 2 minutes until the liquid reduces by half. Stir in the 2 tbsp Tomato Paste and cook for 1 minute to deepen the flavor base.
Step 3: Braise the Roast with Vegetables
Return the seared beef to the pot, nestling it among the vegetables. Pour in the 2 cups Beef Broth, ensuring the liquid comes about halfway up the roast. Add the 4 whole Russet Potatoes, pressing them into the liquid as much as possible. The liquid should just cover the potatoes.
Bring to a simmer, then cover and transfer to a preheated 325°F oven. Braise for 2.5 to 3 hours, turning the roast once halfway through, until the beef is fork-tender and the potatoes are easily pierced with a knife.
Step 4: Rest and Serve
Carefully remove the roast and vegetables to a serving platter, covering loosely with foil. Skim any excess fat from the surface of the gravy, then adjust seasoning with additional Kosher Salt and Black Pepper if needed. Simmer the gravy for 2-3 minutes until it thickens slightly to coat the back of a spoon.
Let the roast rest for 10-15 minutes before slicing. This allows the juices to redistribute, ensuring every serving is moist and flavorful. Serve the sliced beef with the vegetables and gravy spooned generously over the top.
Pro Tips For Making Yankee Pot Roast
- Sear the Chuck: I learned this the hard way—browning the beef chuck roast in vegetable oil at high heat for 3-4 minutes per side builds a crust that actually changes the outcome.
- Season Heavy: Use more kosher salt and black pepper than you think, especially since the flour coating will absorb some of it. My grandmother swore by this, and she was right.
- Skip the Crowding: Don’t overload the pot when searing—cook the chuck in batches if needed, or the temperature drops and you’ll end up with gray, soggy meat instead of a good crust.
- Rest Before Slicing: After cooking, give the chuck roast a solid 10 minutes under foil to redistribute the juices. Sounds weird, but it works.
Wine and Beer Pairings for This Recipe
Bold Red Wines
For this hearty dish, I reach for a full-bodied Cabernet Sauvignon from Napa Valley. Its dark fruit flavors and firm tannins cut through the richness beautifully. A 2018 Caymus is my go-to for special occasions. 🍷
Earthy Options
A Syrah or Shiraz with its peppery notes complements the thyme and bay leaf in the gravy. Try a Penfolds Bin 28 from Australia for a budget-friendly option under $30. The smoky finish pairs wonderfully.
Classic Pairings
You can’t go wrong with a traditional Bordeaux blend. The earthy, structured profile of a Château Montelena enhances the beef’s depth. I decant these for 30 minutes before serving to let the flavors open up.
Beer Alternatives
For beer lovers, a dark lager like Negra Modelo offers malty sweetness that balances the savory gravy. The caramel notes in a Doppelbock like Ayinger Celebrator also work surprisingly well. 🍺
Lighter Choices
If you prefer lighter options, a Pinot Noir from Oregon’s Willamette Valley provides bright acidity. Domaine Serene makes an excellent version that won’t overpower the dish.
Nutrition Facts
Frequently Asked Questions
Can I use a slow cooker instead of an oven?
Yes! After searing the beef and building the aromatic base, transfer everything to a slow cooker. Cook on low for 8-10 hours or high for 5-6 hours.
What if my gravy is too thin?
Remove the meat and vegetables, then simmer the gravy uncovered. Mix 1 tbsp cornstarch with 1 tbsp water and stir into the gravy. Cook for 2-3 minutes until thickened.
Can I add other vegetables?
Try adding parsnips, turnips, or mushrooms with the potatoes. They’ll soak up the rich flavors beautifully.
How do I store leftovers?
Cool completely, then store in an airtight container in the fridge for up to 4 days. For longer storage, freeze for up to 3 months.

- 4C Bread Crumbs Meatballs Recipe: Crispy Crust and Juicy Centers - September 25, 2026
- 6 Oz Chocolate Chip Cookie Recipe: Perfectly Balanced Crispy Edges and Chewy Hearts - September 25, 2026
- 6-Inch Coffee Cake Recipe: Vanilla Bean Swirls and Buttery Streusel Topping - September 25, 2026