
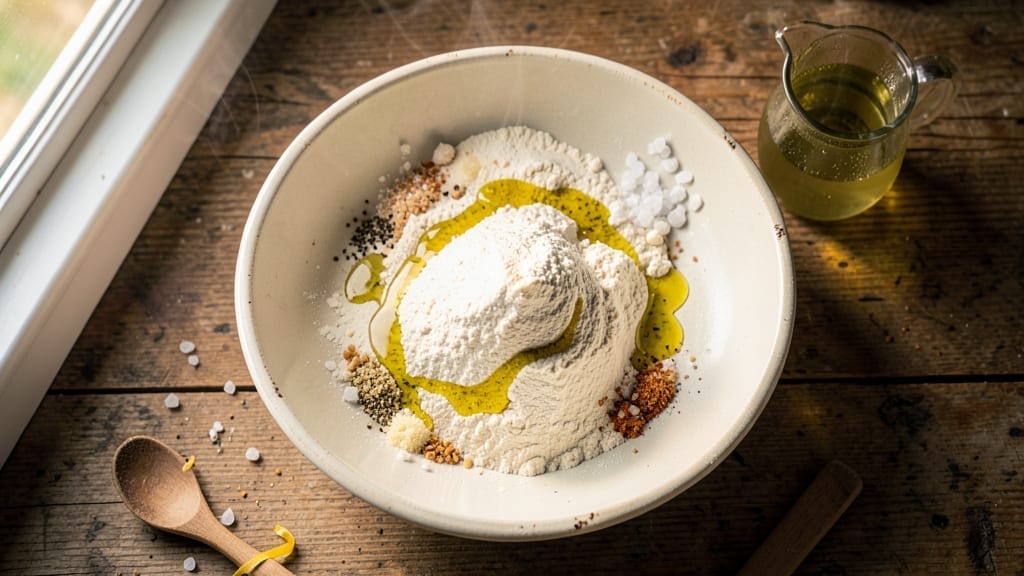
A 1 lb loaf bread recipe that delivers crusty perfection without the fuss of traditional kneading is exactly what you need for weeknight meals or gourmet sandwiches. This no-knead method transforms simple ingredients into a golden, artisanal-style loaf in just 3 hours, including proofing—no special tools required.
The secret lies in a long, slow fermentation that develops deep flavor while keeping the texture tender yet crisp at the edges.
What sets this recipe apart is its foolproof technique: mix, rest, shape, and bake. The dough develops naturally over time, creating an open crumb structure and that coveted crusty exterior without requiring hours of your attention.
Perfect for beginners or busy bakers, this method yields a 1 lb loaf ideal for sandwiches, toast, or serving alongside soups and stews.
By the time you pull it from the oven, you’ll have a loaf with a deep golden crust, an airy interior, and a satisfying crunch that rivals bakery bread. The best part? It stays fresh for days when stored properly, making it perfect for meal prep or gifting.
Whether you’re baking for a family dinner or stocking your pantry, this recipe delivers professional-quality results with minimal effort.
Ready to elevate your bread game? This approach works equally well for sandwich loaves or dinner rolls, and variations like adding herbs or seeds give you endless customization options. Let’s get started on creating your perfect loaf.
Ingredients for 1 lb loaf bread
Nine simple ingredients transform into a restaurant-worthy loaf with minimal effort.
| Ingredient | Amount | Notes |
|---|---|---|
| All-Purpose Flour 🌾 | 3 ½ cups | Unbleached for best texture |
| Instant Yeast 🍞 | ¼ tsp | Active dry works too |
| Granulated Sugar 🍚 | ¼ tsp | Feeds yeast for fermentation |
| Diamond Crystal Kosher Salt 🧂 | 1 ½ tsp | Adjust for salt preference |
| Extra-Virgin Olive Oil 🫒 | ½ tsp | High-quality for flavor |
| Warm Water 💧 | 1 ¼ cups | 105-110°F for yeast activation |
| Cornmeal 🌽 | ½ cup | For dusting bread pan |
| Ice Water ❄️ | ¼ cup | Chilled for dough handling |
| Semolina Flour 🌾 | ¼ cup | Optional for crust enhancement |
The flour is your foundation—King Arthur or Bread Flour from King Arthur or Bob’s Red Mill gives that professional crumb. Yeast is the magic here: Red Star instant yeast is foolproof, but active dry works if you let it proof in warm water first. Sugar feeds the yeast, so don’t skip it—even a quarter teaspoon makes a difference. Diamond Crystal kosher salt is my go-to because it dissolves perfectly without over-salting. The olive oil adds richness, but vegetable oil works in a pinch if you’re out.
No instant yeast? Active dry yeast at the same amount works—just dissolve it in warm water first. Short on sugar? A pinch of honey (if not vegan) or maple syrup does the trick. The water temperature matters—too hot kills yeast, too cold slows it down. 105-110°F is ideal, but room temp water works if you let it sit for 10 minutes. For the crust, semolina adds that gorgeous golden crunch, but all-purpose flour works fine if that’s what you’ve got. The ice water at the end? Critical for handling—it keeps the dough from sticking while you shape it.
This dough is a 3-hour commitment, but it’s worth it. Shape the loaf, cover it, and let it proof at room temp for 1.5 hours before baking. For storage, wrap the cooled loaf in a clean kitchen towel and place it in a paper bag—keeps it fresh for 3-4 days. Freeze slices for up to 3 months by wrapping them individually. Pro tip: Toast frozen slices straight from the freezer for crispy results.
Why You’ll Love This Recipe
- No-Knead, No-Fuss Loaf: I swear by this method—just mix, wait, and bake. No stand mixer, no arm workout, just a bowl and a little patience. The yeast does all the heavy lifting while I sip coffee and scroll.
- Crusty Yet Tender: That olive oil in the dough? It keeps the crust golden and shatterable while the inside stays soft enough to soak up soup or melt with butter. Honestly, it’s the kind of bread that makes you pause mid-bite.
- Meal Prep MVP: Slice it fresh, or freeze half for toast later. It reheats beautifully—toss a slice in the toaster or warm it in a pan with a drizzle of olive oil. (Yes, even on a Tuesday night.)
- Pantry Goldmine: Five ingredients, all basics you already own. No specialty flours, no fancy yeast. My grocery bill thanks me every time, and the leftovers? They disappear faster than I can say “second dinner.”
Step-by-step instructions for no-knead crusty bread
Here’s how to transform simple ingredients into a golden, crusty loaf with minimal effort.
Mix the Dough with Precision
In a large mixing bowl, combine the 3.5 cups all-purpose flour, 0.25 tsp instant yeast, 0.25 tsp granulated sugar, and 1.5 tsp diamond crystal kosher salt. Whisk these dry ingredients together until the sugar and salt are completely dissolved into the flour—this ensures even distribution throughout the dough.
Create a well in the center of the dry ingredients and add the 0.5 tsp extra-virgin olive oil and 1.25 cups warm water (between 105-110°F). Using a wooden spoon or silicone spatula, gently mix the wet ingredients into the dry until just combined. The dough will be shaggy and sticky at this stage—this is completely normal. Avoid overmixing, as it develops gluten prematurely and can result in a dense loaf.
Rest and Develop Gluten Naturally
Cover the mixing bowl with a damp kitchen towel or plastic wrap and let the dough rest at room temperature for 1 hour. This initial rest allows the flour to fully hydrate and the gluten to begin developing naturally without any kneading. You’ll notice the dough gradually pull away from the sides of the bowl and become slightly more cohesive.
After the hour, add the 0.25 cup ice water and the 0.25 cup semolina flour to the dough. The ice water helps strengthen the gluten structure, while the semolina adds a subtle nutty flavor and enhances the crust’s texture. Mix these ingredients into the dough using your hands or a spatula until fully incorporated. The dough should now be smooth, elastic, and just slightly tacky—if it’s too sticky, sprinkle a tiny bit more semolina flour.
Shape and Prove the Dough
Lightly flour a clean work surface and turn out the dough. Gently shape it into a loose round by folding the edges toward the center and tucking them under. Place the dough seam-side up in a lightly greased 1-pound loaf pan (about 9×5 inches). The dough should fill the pan about ¾ full—it will rise significantly during proving.
Cover the pan with a damp towel and let the dough prove at room temperature for 1-2 hours, or until it has risen to about 1 inch above the rim of the pan. The dough should feel springy when pressed gently—push your finger into it about ½ inch, and it should bounce back slowly. This is the perfect sign that the yeast has done its job and the dough is ready for baking.
Bake for a Crusty, Golden Loaf
Preheat your oven to 375°F. While the oven heats, dust the top of the dough with semolina flour—this creates a beautiful, shatteringly crisp crust. Place the pan on the middle rack and bake for 30-35 minutes, until the bread is deep golden brown and sounds hollow when tapped on the bottom.
For an even deeper crust, transfer the loaf to a wire rack and bake for an additional 5-10 minutes until it reaches your desired color. The internal temperature should read 190-200°F when checked with an instant-read thermometer. Let the bread cool in the pan for 10 minutes before removing it to a wire rack to cool completely. This resting period ensures the crumb structure sets properly, preventing a gummy texture.
Enhance the Crust (Optional but Recommended)
For an extra-crisp crust, brush the fully cooled loaf with a mixture of 1 tablespoon melted extra-virgin olive oil and 1 teaspoon water. This step adds a subtle sheen and enhances the bread’s flavor. Slice the loaf with a serrated knife and serve it warm or at room temperature—it’s best enjoyed within 2-3 days for optimal texture.
This no-knead method delivers a bread with a crisp, crackly crust and a soft, airy interior, all with minimal effort. The key lies in patience—letting the dough rest and prove properly ensures a perfect rise and texture every time.
Pro Tips For Making 1 Lb Loaf Bread
- WEIGH YOUR FLOUR: I learned this the hard way—scooping flour from the bag packs too much air, which throws off the hydration ratio. Use a kitchen scale for the 1 lb flour (about 3 ½ cups by volume), and level it off with a knife. Your loaf’s texture will be far more consistent.
- DON’T SKIP THE OIL: That extra-virgin olive oil isn’t just for flavor—it’s what makes this loaf tender. Use the full 2 tablespoons (or more if you’re feeling generous) and let it sit with the yeast and sugar for 5 minutes before adding flour. Sounds weird, but it works: the yeast activates faster, and the bread stays moist longer.
- LET IT RISE UNTIL DOUBLED: I was skeptical until I tried it: waiting for the dough to fully double in size (not just puff up) guarantees a light, airy crumb. If your kitchen’s cold, give it 1–1.5 hours—patience here pays off. A loaf that rises too soon will collapse in the oven.
- USE A LIGHT HAND WITH SALT: Diamond Crystal kosher salt is less dense than table salt, so measure it carefully (the recipe likely means 1 teaspoon, not 1 tablespoon). Too much will kill the yeast, and you’ll end up with a dense, flat loaf. Taste the dough before baking—it should be just shy of salty, not briny.
Troubleshooting perfect results
Dense, Gummy Bread
If your loaf turns out dense or gummy, you likely overmixed the dough or didn’t let it rest long enough. The dough should be shaggy and sticky when first mixed—overworking it develops too much gluten, creating a tough texture.
Also, ensure your yeast is active by testing it in warm water with sugar first. If it doesn’t foam within 5-10 minutes, replace it. 💡
Flat or Underproofed Loaf
A flat loaf usually means the dough didn’t proof long enough. Check your yeast expiration date—old yeast loses potency. If your kitchen is cold (65°F or below), extend the proofing time by 30-60 minutes.
Use a kitchen thermometer to monitor room temperature. For faster proofing, place the dough in a slightly warm spot, like near the oven with the light on.
Pale, Soft Crust
A pale crust often results from insufficient oven heat or steam. Preheat your oven for at least 30 minutes to ensure it reaches 375°F. For extra steam, place a metal tray filled with boiling water on the lower oven rack during the first 10 minutes of baking.
If your oven runs hot, reduce the temperature to 350°F and bake for 40-45 minutes instead.
Dough Sticking to Pan
If your dough sticks to the loaf pan, it’s likely due to insufficient greasing or dusting. Lightly coat the pan with extra-virgin olive oil or butter before adding the dough, then dust the bottom with semolina flour or cornmeal.
Avoid overgreasing, as it can create a soggy crust. For extra insurance, line the pan with parchment paper cut to fit snugly.
Burnt Top, Raw Center
This happens when the oven isn’t hot enough or the loaf isn’t baked long enough. Rotate the pan halfway through baking for even heat distribution. If your oven has hot spots, use an oven thermometer to confirm the temperature.
For a 1 lb loaf, bake until the internal temperature reaches 190-200°F. If the top browns too quickly, tent the loaf with aluminum foil after 20 minutes.
Dough Didn’t Rise
No rise? Your yeast may be dead, or the dough was too cold. First, check the yeast by mixing 1 packet with ¼ cup warm water and 1 tsp sugar. If it doesn’t foam within 10 minutes, replace it.
Ensure your water is between 105-110°F—too hot kills yeast, too cold slows fermentation. If your kitchen is drafty, cover the dough with a plastic wrap tent to trap warmth and humidity. 🌡️
Nutrition facts
Frequently asked questions
Can I make this recipe without a loaf pan?
Shape the dough into a free-form boule or batard instead. Place it on a baking sheet lined with parchment paper, dimple the top with your fingers, and bake at 425°F for 25-30 minutes with steam (using boiling water in a tray). Brush with olive oil after baking for extra shine. The crust will be even crunchier!
How do I adjust this for whole wheat flour?
Replace up to half the all-purpose flour with whole wheat flour for a nutty flavor, but expect a denser texture. Add 1-2 tablespoons extra water since whole wheat absorbs more moisture. Let the dough rest 15 minutes longer before shaping, as it’s stickier. The proofing time may also increase by 20-30 minutes.
Why does my dough feel too sticky?
Sticky dough is normal for this recipe! The 1.25 cups water creates a high-hydration dough perfect for crusty bread. If it’s unbearably sticky, sprinkle 1 tablespoon semolina flour on your work surface while shaping. The ice water at the end helps firm it up—don’t skip it! For extra handling ease, wet your hands slightly with water.
Can I make this recipe in a Dutch oven?
Yes, but you’ll need to shape it into a boule. Place the dough in a well-floured Dutch oven (no lid) and bake at 450°F for 20 minutes, then reduce to 425°F for 25-30 minutes with the lid on. Remove the lid for the last 5 minutes to brown the crust. The Dutch oven creates incredible steam for an oven-baked sourdough-style crust!
How do I store this bread to keep it fresh?
Wrap the cooled loaf in a clean kitchen towel and place it in a paper bag at room temperature for 2-3 days. For longer storage, slice and freeze individual portions (up to 3 months). To revive frozen slices, toast directly from frozen or warm in a 350°F oven for 5-10 minutes. Never refrigerate—it dries out bread faster!

- Baked Potatoes in Crock Pot Recipe: Buttery Interiors and Crispy Top Magic - November 1, 2026
- Braised Beef Short Ribs Recipe: Crock Pot Fall-Off-Bone Magic in 6 Hours - November 1, 2026
- Crock Pot Cocoa Recipe: Velvety Warmth With Hidden Spice Magic - November 1, 2026