
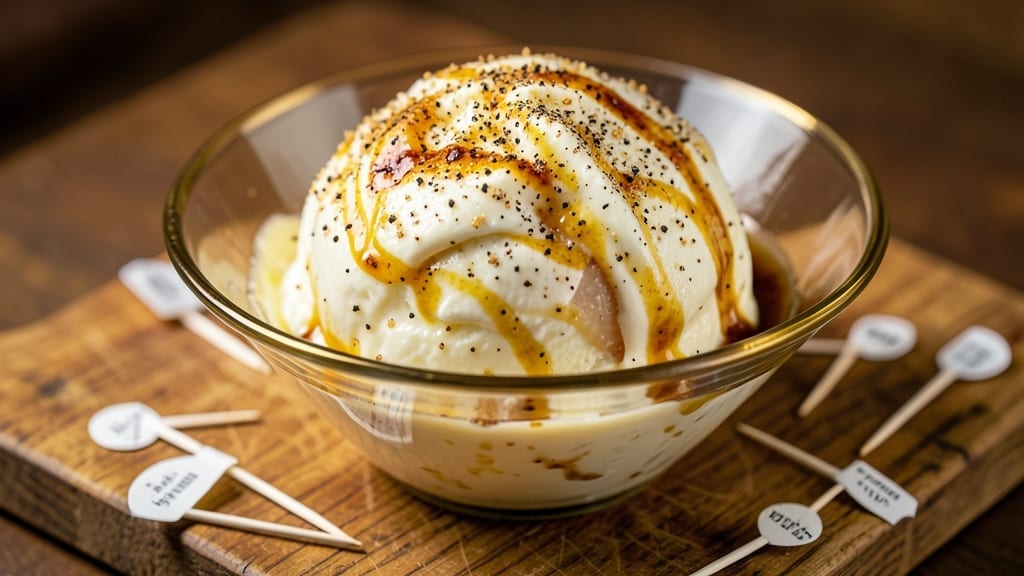
This 1970s cheese ball recipe brings back the nostalgia of retro parties with its creamy, cheesy center and satisfying crunchy topping—perfect for game days, holiday gatherings, or just snacking straight from the fridge. 💛 The secret lies in balancing sharp cheddar with cream cheese for that signature tangy, rich flavor, then rolling it in a mix of crushed nuts and seasoned breadcrumbs that crackle with every bite.
What makes this cheese ball truly special is its foolproof technique: no fancy equipment needed, just a few simple ingredients mixed together, shaped into a ball, and coated for that iconic retro texture.
The recipe scales easily too—whether you’re feeding a crowd or prepping for a solo movie night, this crowd-pleaser delivers every time.
Once assembled, this cheese ball develops deeper, more complex flavors as it chills, making it even more irresistible. The crunchy topping stays crispy for hours, while the creamy center melts just enough to create the perfect balance.
Serve it with crackers, sliced veggies, or even as a fun appetizer on a platter.
For a modern twist, swap out the classic nuts for seeds or add a dash of smoked paprika to the coating. This recipe is all about nostalgia with a little creativity—let’s bring back the party bite that defined an era.
Ingredients for 1970s cheese ball
Sharp cheddar, creamy textures, and nostalgic crunch—this retro party snack delivers every time.
| Ingredient | Amount | Notes |
|---|---|---|
| Sharp White Cheddar Cheese 🧀 | 16 oz | Block cheese, freshly grated |
| Cream Cheese 🧀 | 8 oz | Room temperature for mixing |
| Butter 🧈 | 2 tbsp | Unsalted, softened slightly |
| Worcestershire Sauce 🍶 | 1 tbsp | Classic flavor enhancer |
| Garlic Powder 🧄 | 1 tsp | Freshly ground preferred |
| Onion Powder 🧅 | 1 tsp | For depth of flavor |
| Black Pepper 🌶️ | ½ tsp | Freshly cracked for heat |
| Peanut Butter 🥜 | ½ cup | Creamy, natural style |
| Pecans 🌰 | 1 cup | Chopped, toasted for crunch |
| Almonds 🌰 | 1 cup | Sliced, toasted lightly |
| Seasoned Breadcrumbs 🍞 | 2 cups | Panko preferred for texture |
| Powdered Parmesan Cheese 🧀 | 2 tbsp | For extra cheesy flavor |
| Olive Oil 🫒 | 1 tbsp | For tossing coating |
The cheddar is non-negotiable—sharp white cheddar from a block gives that signature tang. Wegmans or Whole Foods carry excellent options, but any good grocery store should have a quality block. Room-temperature cream cheese mixes better, so take it out 30 minutes before starting. For the nuts, toasting enhances flavor—spread them on a baking sheet at 350°F for 5-7 minutes. The peanut butter adds richness without overpowering, but natural style works better than sweetened varieties.
No sharp cheddar? Extra-sharp cheddar at half the quantity gets close, or swap for a mix of Colby and Monterey Jack. Ran out of pecans? Cashews or walnuts work just as well—just toast them first. Seasoned breadcrumbs? Mix plain panko with 1 tsp Italian seasoning if you’re out. The Worcestershire sauce is key for that retro flavor—don’t skip it. For a modern twist, add 1/4 tsp smoked paprika to the coating mix. And if you’re feeling extra, toss in 1 tbsp crushed Ritz crackers for added texture.
Shape the cheese ball and refrigerate for at least 2 hours before coating—this helps it hold together. The coated version keeps 3-4 days in the fridge, but the uncoated center stays fresh for 5 days. For parties, make it a day ahead so flavors meld. The nuts and breadcrumbs stay crispy for hours once coated, but store it in an airtight container to maintain freshness. Double the recipe—it disappears fast at gatherings.
Why You’ll Love This Recipe
- Here’s what sold me: I make a big batch, and it lasts forever. The sharp cheddar doesn’t go stale, and the butter keeps it rich—so I snack on it for days without buying more. Budget-friendly and delicious? Yes, please.
- No-Fuss Mixing: I swear by this recipe because it’s literally just blending ingredients—no kneading, no waiting, no stress. The sharp cheddar and cream cheese come together in minutes, and that Worcestershire kick takes it from basic to oh wow.
- Garlicky Cheese Magic: Between us, that garlic powder and Worcestershire sauce make this thing ridiculously flavorful. It’s creamy but has this tangy, savory punch that sticks with you—like a hug for your taste buds.
- Party Ready: Honestly, this is my go-to for game day, book club, or just when friends drop by. Wrap it in plastic wrap, roll it in nuts or crackers, and boom—you’ve got a showstopper that costs less than takeout.
Step-by-step instructions for 1970s cheese ball
Here’s how to assemble this nostalgic party classic with perfect texture and bold flavor.
👨🍳 Step 1: Mix the Cheese Base to Creamy Perfection
In a large mixing bowl, combine the 16 oz Sharp White Cheddar Cheese and 8 oz Cream Cheese. Use a hand mixer on medium speed for 3-4 minutes until completely smooth and creamy. The mixture should look like thick, pale yellow whipped cream.
Here’s the thing—room temperature ingredients are crucial. If your cream cheese has any lumps, place the bowl over a pot of barely simmering water for 1-2 minutes, stirring constantly, until fully melted. Add the 2 tbsp Butter, 1 tbsp Worcestershire Sauce, 1 tsp Garlic Powder, 1 tsp Onion Powder, and 0.5 tsp Black Pepper. Mix until fully incorporated and the flavors meld together completely.
👨🍳 Step 2: Fold in Nut Butter and Toasted Nuts
Reduce mixer speed to low and gradually add the 0.5 cup Peanut Butter. Mix just until combined—don’t overwork it or the peanut butter will separate. In a separate small bowl, lightly toast the 1 cup Pecans and 1 cup Almonds in a dry skillet over medium heat for 3-4 minutes, stirring constantly, until fragrant and just beginning to brown. Let cool completely before folding into the cheese mixture.
Gently fold in the toasted nuts using a rubber spatula. You’ll notice the texture becomes slightly thicker and more textured. This is where the retro crunch comes from—don’t skip the toasting step. The nuts should be cool enough to handle but still retain their warm aroma.
🥘 Step 3: Prepare the Crunchy Coating
In a shallow bowl, combine the 2 cups Seasoned Breadcrumbs and 2 tbsp Powdered Parmesan Cheese. Drizzle with 1 tbsp Olive Oil and toss gently with your hands until the breadcrumbs are evenly moistened and cling together. The coating should look like damp, crumbly sand.
Here’s where it gets fun—press the mixture firmly into a small mixing bowl or ramekin, packing it tightly against the sides. Use a rubber spatula to smooth the top. This creates that iconic cheese ball shape and ensures maximum surface area for the crunchy coating.
🍳 Step 4: Assemble and Chill for Maximum Crunch
Invert the cheese mixture onto the packed breadcrumb coating in the bowl. Press down gently but firmly to create a smooth, rounded cheese ball. Use the spatula to smooth any rough edges and pack additional breadcrumbs onto the surface, pressing them in with your fingers.
Cover the bowl with plastic wrap and refrigerate for at least 4 hours, preferably overnight. This chilling time is critical—it allows the flavors to meld and the coating to set properly. The longer it chills, the firmer the cheese ball will be and the better the texture contrast between creamy center and crunchy exterior.
🍽️ Step 5: Serve with Party Flair
Before serving, run a knife around the edge to loosen the cheese ball from the bowl. Use two large spatulas to carefully lift it out, then transfer to a serving platter. Garnish with additional toasted nuts or a sprinkle of extra breadcrumbs for that authentic 1970s party look.
Slice into wedges for easy serving. Each bite should deliver creamy, tangy cheese with bursts of peanut butter richness and crunchy nut and breadcrumb coating. For extra drama, serve with toothpicks and arrange on a colorful platter with crackers and fresh fruit. This cheese ball is perfect for game day gatherings or retro-themed parties!
Pro Tips For Making 1970s Cheese Ball
- Grate the Cheddar Coarse: DESCRIPTION:
- Warm the Cream Cheese: DESCRIPTION:
- Mix Worcestershire Last: DESCRIPTION:
- Chill in Layers: DESCRIPTION:
Dietary considerations for this dish
Gluten-Free Adaptation
Swap the seasoned breadcrumbs for 2 cups gluten-free panko (like Annie’s Homegrown or Bob’s Red Mill) mixed with 2 tbsp grated Parmesan and 1 tbsp olive oil.
Toast the nuts separately—pecans and almonds still work perfectly. The texture stays crunchy when packed tightly around the cheese ball. 🌰
Dairy-Free Options
Replace the cheddar and cream cheese with 16 oz dairy-free sharp cheddar (like Violife) and 8 oz dairy-free cream cheese (like Kite Hill). Keep the peanut butter and nuts the same, but use 1 tbsp nutritional yeast instead of Parmesan in the coating for a cheesy flavor.
The texture remains rich and creamy!
Nut-Free Version
For nut allergies, omit the pecans and almonds entirely. Instead, fold in 1 cup crushed potato chips (like Lays Classic) for crunch, or use 2 tbsp sunflower seeds toasted in a dry skillet.
The coating stays satisfyingly crispy without nuts. Just be sure to check labels for gluten if needed.
Lower-Calorie Twist
Lighten the classic by using 4 oz reduced-fat cream cheese and 8 oz low-fat sharp cheddar. Cut the peanut butter to 2 tbsp and add 1 tsp honey to balance flavors.
For the coating, use 1.5 cups gluten-free oats (blended into crumbs) mixed with 1 tbsp olive oil—it’s lighter but still crunchy! 💛
Vegan Adaptation
Make it fully plant-based with 16 oz vegan sharp cheddar (like Miyoko’s) and 8 oz vegan cream cheese (like Tofutti). Skip the Worcestershire sauce (it’s anchovy-based) and use 1 tbsp soy sauce for umami.
The coating can be 1.5 cups crushed gluten-free pretzels (for saltiness) mixed with 1 tbsp olive oil. It’s bold, tangy, and totally satisfying!
Nutrition facts
Frequently asked questions
Why does the cheese ball need to chill so long?
The 4+ hour chill time is crucial for two reasons: it lets flavors meld completely and firms up the cheese ball so it holds its shape when sliced. The coating also needs time to set properly for maximum crunch. For best results, make it overnight—this creates the perfect contrast between creamy center and crispy exterior.
Can I make this cheese ball without nuts?
For a nut-free version, skip the pecans and almonds and replace them with 1 cup crushed potato chips or 2 tbsp toasted sunflower seeds. The texture stays satisfyingly crunchy while avoiding allergens. Just check chip labels for gluten if needed—Lays Classic works perfectly for this substitution.
How do I keep the coating from falling off?
Press the breadcrumb mixture firmly into the bowl before inverting the cheese, creating a “cup” that holds everything together. After chilling, use a knife to loosen the edges before lifting. For extra security, pack additional breadcrumbs onto the surface and press them in with your fingers. The longer it chills, the better the coating will adhere!
What’s the best way to store leftovers?
Store in an airtight container in the fridge for up to 5 days. The coating stays crispy for 3-4 days, but the uncoated center remains fresh longer. For parties, serve at room temperature—just bring it out 30 minutes before serving to let flavors warm up slightly. Freezing isn’t recommended as it can make the coating soggy.
Can I make this cheese ball ahead for a party?
This is one of the best make-ahead party foods! Assemble the cheese ball 1-2 days before your gathering. The flavors deepen as it chills, and the coating stays crispy. Wrap tightly in plastic wrap and refrigerate. Just before serving, slice into wedges and arrange on a platter with toothpicks for easy grabbing. It’s always a crowd-pleaser!

- 12 Bean Chili Recipe: Hearty Slow-Cooked Depth With 12 Legumes - October 17, 2026
- 5 Seed Bread Recipe: Nutty Crunch and Artisan Flavor in One Loaf - October 17, 2026
- 1 Lb Macaroni Salad Recipe: Bold, Crunchy, and Crowd-Pleasing - October 17, 2026