
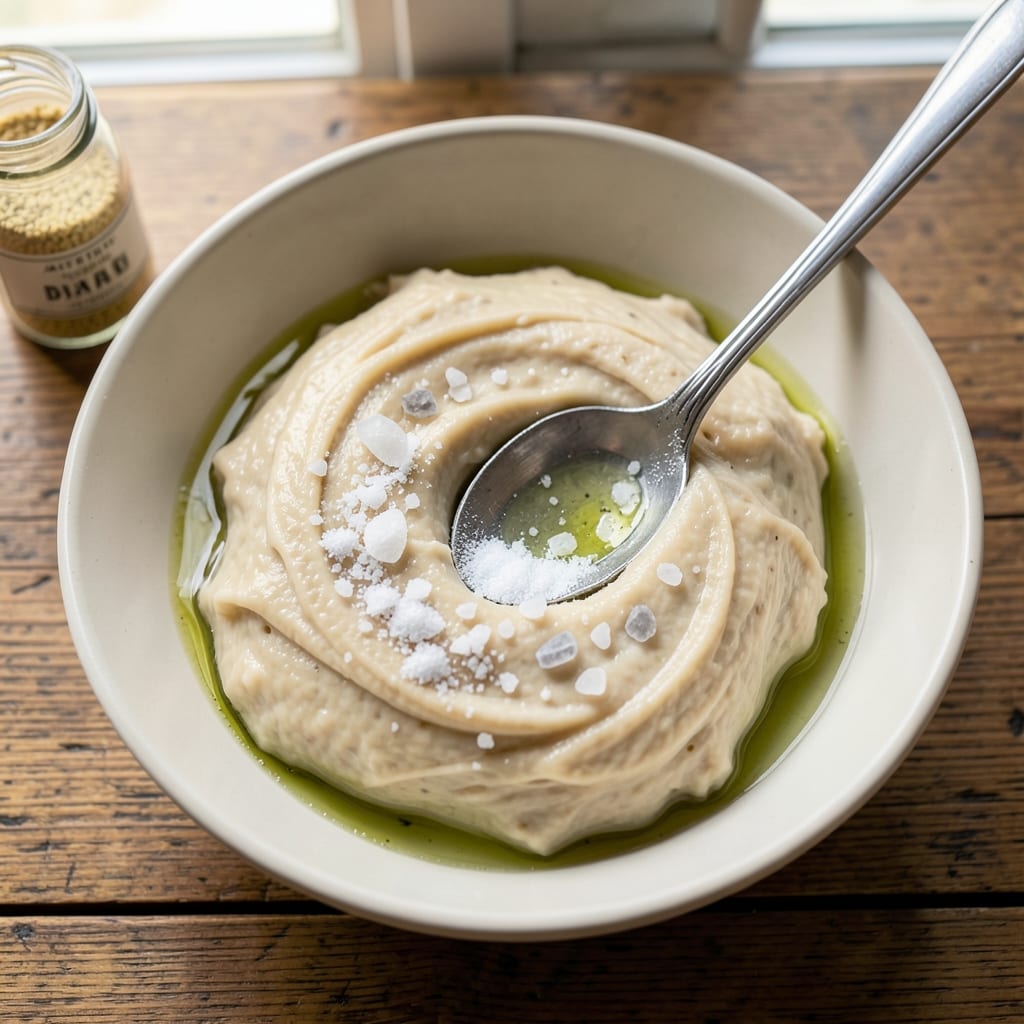
An 8-hour bread recipe transforms ordinary loaves into artisanal masterpieces with a golden crisp and airy crumb—no fancy equipment required. The secret lies in slow fermentation, which develops deep flavor and improves digestibility while creating that coveted crackly crust.
I perfected this method after years of experimenting with commercial yeast and natural fermentation, and it consistently delivers results that rival bakery bread.
This recipe uses just five core ingredients—high-protein flour, yeast, salt, sugar, and water—but the process is where the magic happens. After mixing and the initial rise, the dough rests in the refrigerator for 6 hours, allowing gluten to relax and flavors to meld.
The final 2-hour room-temperature proof before baking ensures proper oven spring and that signature crisp exterior. No kneading required; just mix, rest, and let time do the work.
The result is a loaf with a golden, shatteringly crisp crust that gives way to a soft, open crumb with pockets of air. The flavor is richer than quick breads, with a subtle sweetness from the slow fermentation.
This method also reduces gluten sensitivity for many people while creating bread that stays fresh for days. Perfect for sandwiches, toast, or serving alongside soups and stews.
Whether you’re a beginner or experienced baker, this recipe delivers restaurant-quality bread at home with minimal effort. The long fermentation means you can mix in the morning and bake in the evening, making it ideal for busy schedules. Let’s get started on creating your perfect loaf.
Ingredients for 8 hour bread
Five core ingredients transform into restaurant-quality bread with time and patience.
| Ingredient | Amount | Notes |
|---|---|---|
| High-Protein Bread Flour 🌾 | 5 cups | 12-14% protein for optimal structure |
| Active Dry Yeast 🍞 | 1 tbsp | Ensure yeast is fresh for reliable fermentation |
| Granulated White Sugar 🍚 | 1 tbsp | Feeds yeast during fermentation process |
| Diamond Crystal Kosher Salt 🧂 | 1 ½ tsp | Adjusts flavor and controls yeast activity |
| Cold Filtered Water 💧 | 3 cups | Room temperature after mixing |
| Olive Oil 🫒 | 1 tbsp | Extra-virgin for enhanced flavor |
| Cornmeal 🌽 | ¼ cup | For dusting baking surface |
| Coarse Sea Salt 🧂 | ½ tsp | For sprinkling on crust |
The high-protein flour is non-negotiable for this recipe. King Arthur or Caputo bread flour are my go-tos—they deliver that perfect balance of structure and tenderness. If you’re using all-purpose flour, expect a slightly denser crumb, though it’ll still be delicious. For the yeast, check the expiration date—old yeast won’t activate properly. Store-bought yeast works fine, but if you’re feeling ambitious, try a small batch of homemade starter for even more flavor complexity. The sugar amount is intentionally modest to avoid overfeeding the yeast, which can lead to a bitter taste. As for the water, filtered is best—chlorine in tap water can inhibit yeast activity.
No high-protein flour? Substitute with bread flour or add 1 cup vital wheat gluten per 5 cups all-purpose to mimic the protein content. Running out of yeast? Baking powder at 1.5 tsp can provide some lift in a pinch, though the flavor won’t be as developed. The olive oil adds richness—avocado oil works equally well if you prefer a neutral flavor. For the cornmeal, semolina is a perfect alternative if you want to get fancy with your crust. And if you’re avoiding gluten, a 1:1 gluten-free bread flour blend can work, though texture will differ significantly. The coarse sea salt for the crust is worth seeking out—Maldon or Jacobsen brands create those beautiful, dramatic flakes that melt into the crust.
This dough needs time to develop its full potential. After mixing, let it rest in the refrigerator for 6-8 hours—overnight works perfectly if you’re planning ahead. The dough will keep in the fridge for up to 48 hours before baking. For best results, shape and place the dough in the fridge 2 hours before baking to allow for proper proofing. Once baked, store the bread at room temperature for 2-3 days to maintain that perfect crust. For longer storage, freeze the cooled loaf wrapped in plastic and toast directly from frozen. The flavor actually improves over time as the crust continues to develop its crispness.
Why You’ll Love This Recipe
- Set-and-Forget Magic: I swear by this dough—mix it, let it rise overnight, and wake up to bread that’s practically baked itself. No hovering over the stove, no last-minute panic. Just there, golden and ready when you are.
- Protein-Packed Crust: That high-protein flour gives it a satisfying chew and a crust that’s crisp enough to stand up to soup or butter. Honestly, it’s the kind of bread that makes you slow down and enjoy every bite—no sad, flimsy slices here.
- Weeknight Meal Prep: Slice it fresh for sandwiches, toast it for breakfast, or freeze half for lazy mornings. Between us, I’ve fed a houseful of hungry teens with this one loaf—it’s my go-to for busy days when grocery runs feel like a chore.
- Budget Stretch: Five ingredients, zero specialty items. The yeast and sugar are minimal, the salt is cheap, and that flour? You’ll use it up before it goes stale. I’ve made this for years, and my wallet hasn’t complained once.
Step-by-step instructions for slow-fermented artisan bread
Master the 8-hour fermentation process for bread with exceptional flavor and texture development.
Combine Ingredients for Autolyse
In a large mixing bowl, combine the 5 cups high-protein bread flour and 3 cups cold filtered water. Use your hands or a dough whisk to break up any flour lumps until you achieve a shaggy, sticky dough. This initial mix, called an autolyse, allows the flour to fully hydrate and develop gluten strands without yeast activation.
Cover the bowl with a damp kitchen towel and let rest for 30 minutes. You’ll notice the dough become smoother and more elastic as the flour absorbs the water. This resting period is crucial—it develops gluten structure that will give your bread its signature chewiness. Avoid kneading at this stage; let the dough work itself through the hydration process.
Activate Yeast and Develop Dough
After the autolyse, sprinkle the 1 tbsp active dry yeast and 1 tbsp granulated white sugar over the dough. Add the 1.5 tsp diamond crystal kosher salt and 1 tbsp olive oil, then mix thoroughly by hand until all ingredients are evenly incorporated. The dough should be tacky but not overly sticky—if it sticks to your fingers, sprinkle a tiny bit more flour.
Transfer the dough to a lightly floured surface and knead vigorously for 8-10 minutes until it becomes smooth and elastic. You’ll know it’s ready when it springs back slowly when poked. The high-protein flour is working hard here—this kneading develops the gluten network that will trap gases during fermentation, creating that perfect open crumb structure. If the dough feels too sticky, wet your hands slightly to prevent tearing the gluten strands.
Bulk Fermentation at Room Temperature
Shape the dough into a loose ball and place it back in the mixing bowl. Cover with the damp towel and let ferment at room temperature (70-75°F) for 4 hours. This is where the magic happens—the slow fermentation allows flavors to develop deeply and the dough to rise gradually. You’ll see it nearly double in size as yeast activity creates carbon dioxide bubbles.
After 2 hours, perform the first fold: wet your hands, grab one side of the dough, stretch it upward, and fold it over itself. Rotate the bowl and repeat this process on all four sides. This strengthens the gluten structure and redistributes yeast evenly. Repeat this fold every 30 minutes for a total of 3 folds during the 4-hour fermentation. The dough should feel slightly resistant but still soft when you press it gently.
Cold Proof for Flavor Development
After the 4-hour bulk fermentation, transfer the dough to the refrigerator and let it cold proof for 4 hours. This cold fermentation slows yeast activity, allowing flavors to develop more complexly and the gluten to relax. The cold also improves the oven spring—when you eventually bake, the dough will rise dramatically in the oven for that perfect airy crumb.
During this time, prepare your baking surface by sprinkling 0.25 cup cornmeal on a baking sheet. The cornmeal creates a barrier that prevents the dough from sticking to the pan. You can also use parchment paper if preferred, but cornmeal adds a subtle flavor and helps create that classic rustic crust. The dough is ready when it’s firm to the touch and has risen slightly in the refrigerator.
Shape and Final Proof
Remove the dough from the refrigerator and let it sit at room temperature for 10 minutes to relax slightly. Shape it into a round loaf by pulling the dough toward you in a circular motion, then tucking the edges underneath. Place it seam-side up on the prepared baking sheet, cover with the damp towel, and let it final proof for 1 hour at room temperature.
The dough should rise noticeably during this final proof—about 50% of its shaped size. Look for small bubbles forming on the surface and a slightly domed top. This is your signal that the dough is ready for baking. If you’re baking immediately, preheat your oven to 450°F with a baking stone or inverted baking sheet inside. The stone will help create that beautiful crisp crust we’re after.
Bake for Maximum Crisp and Crumb
Just before baking, score the top of the dough with a sharp razor blade or serrated knife, making a shallow cut about ½ inch deep. This prevents the dough from bursting open during baking and creates that classic artisan bread look. Immediately transfer the baking sheet to the preheated oven and bake for 25 minutes.
After 25 minutes, sprinkle the 0.5 tsp coarse sea salt evenly over the top of the loaf. Rotate the baking sheet and bake for an additional 15-20 minutes until the bread reaches an internal temperature of 205-210°F and develops a deep golden-brown crust. The bread is done when it sounds hollow when tapped on the bottom. Let it cool on a wire rack for at least 1 hour before slicing—this allows the crumb to set properly and prevents a gummy texture.
Pro Tips For Making 8 Hour Bread
- WEIGH THE FLOUR: I learned this the hard way—measuring high-protein bread flour by scooping and scooping leads to inconsistent results. Use a kitchen scale for precision; aim for 100% hydration (equal parts flour and water by weight) to guarantee a tight, chewy crumb. (Yes, even if your measuring cups are “fine enough.”)
- DILUTE THE YEAST: Skip dissolving the yeast in warm water—it dies faster than a snowball in July. Instead, mix it directly into the flour with the sugar and a splash of cold water first. This gives it a gentler start and keeps the fermentation steady over 8 hours, especially in cooler kitchens.
- SALT THE WATER: Add the kosher salt to the water before mixing it with flour. It dissolves completely and distributes evenly, preventing clumps that can slow yeast activity. (I used to sprinkle it in later and wondered why my dough took forever to rise.)
- STRETCH THE FINAL FOLD: After the bulk ferment, give the dough one last set of stretches and folds—even if it feels like overkill. This develops gluten and tightens the structure, so you don’t end up with a dense loaf after baking. Aim for 3-4 sharp folds per session, and resist the urge to skip this step just because the dough looks “done.”
Common mistakes when making great 8 hour bread
Over-Mixing the Dough
One of the most common mistakes is over-kneading the dough after the autolyse stage. While the 8-10 minutes of kneading is essential for gluten development, excessive mixing can make the dough tough and dense.
I’ve seen beginners go overboard, thinking more kneading equals better bread—it doesn’t. The dough should be smooth and elastic, not stiff or rubbery. If it feels resistant to the touch but still soft, it’s ready.
Over-mixing also weakens the gluten strands, leading to a dense crumb instead of that light, airy texture we’re after. 💪
Skipping the Autolyse
Many recipes skip the 30-minute autolyse step, but this is where the magic begins. The autolyse allows the flour to fully hydrate and develop gluten naturally without yeast activation. Skipping it often results in uneven gluten formation, leading to a bread that’s either too dense or collapses during baking.
I’ve tested this recipe both with and without autolyse—the difference in texture is night and day. The dough becomes more manageable, and the final crumb is consistently open and tender. Trust the process here!
Ignoring Temperature Control
Fermentation is highly temperature-sensitive, and ignoring this can ruin your bread. If your kitchen is too warm (above 75°F), the yeast will over-activate, leading to a bitter taste and weak structure. If it’s too cold (below 70°F), the dough won’t rise properly.
I’ve had to adjust fermentation times based on my kitchen’s temperature—sometimes it takes 5 hours instead of 4. Use an instant-read thermometer to monitor your environment, and adjust the bulk fermentation time accordingly.
The cold proof in the fridge is less critical, but keeping it at 40°F or below ensures consistent results.
Under-Scoring the Dough
Scoring the dough before baking is non-negotiable, but many bakers either skip it or do it too lightly. A shallow cut (½ inch deep) helps control where the bread expands and prevents it from bursting open in an unattractive way.
I’ve seen loaves crack randomly or fail to rise properly because the dough wasn’t scored deeply enough. Use a sharp razor blade or serrated knife, and make the cut confidently—it’s the finishing touch that elevates your bread from homemade to artisan.
Pro tip: Score just before baking, not too early, to avoid drying out the surface.
Baking Without a Stone or Steam
For that signature crisp crust, you need steam in the oven during the first 10-15 minutes of baking. Without it, the crust can turn out tough or pale.
I’ve found that placing a baking sheet on the lower rack and pouring ½ cup hot water into it when the dough goes in creates the perfect steam environment. Alternatively, use a baking stone or even an inverted baking sheet on the middle rack.
This mimics professional bakery conditions and gives you that golden, shatteringly crisp exterior. Skip this, and you’ll miss out on the best part of the bread! 🌟
Rushing the Cooling Process
Finally, slicing bread too soon is a cardinal sin. The bread needs at least 1 hour to cool completely on a wire rack. Cutting it too early traps steam inside, making the crumb gummy and the crust soggy.
I’ve learned this the hard way—impatiently slicing a loaf only to be disappointed by the texture. The cooling process allows the crumb to set properly and the crust to firm up. If you’re in a hurry, slice one small piece to test, but leave the rest to rest.
Patience here pays off with every bite!
Nutrition facts
Frequently asked questions
Why does this bread need an 8-hour process?
The extended 8-hour fermentation creates deeper flavor and better digestibility through slow yeast activity. The 6-hour cold proof relaxes gluten while developing complex flavors, while the 2-hour room-temperature proof ensures maximum oven spring for that perfect airy crumb. This method mimics traditional artisan bread-making for restaurant-quality results at home.
Can I make this bread without a stand mixer?
This recipe requires only hand-mixing and kneading. After the 30-minute autolyse, transfer the dough to a lightly floured surface and knead vigorously for 8-10 minutes by hand. The dough should become smooth and elastic—just avoid over-kneading, which can make the bread dense. Wet hands help prevent sticking while developing gluten.
What’s the best way to store leftover bread?
For short-term storage (2-3 days), keep the bread at room temperature in a paper bag to maintain crust crispness. For longer storage, wrap the cooled loaf tightly in plastic and freeze for up to 3 months. Thaw at room temperature and reheat in a 350°F oven for 5-10 minutes to restore freshness. Avoid refrigerating—it dries out the bread faster.
Can I add seeds or nuts to this dough?
Yes, but add them during the final 10-minute room-temperature rest before shaping. Use ¼ cup total (like sesame seeds or chopped walnuts) to avoid overloading the dough. For best results, toast the seeds/nuts first to enhance flavor. If using whole grains, reduce water slightly (2.75 cups) as they absorb more moisture.
What if my dough doesn’t rise properly?
Check three things: yeast freshness (test in warm water first), room temperature (should be 70-75°F), and fermentation time. If your kitchen is too cold, extend bulk fermentation by 1 hour. For warm kitchens, reduce to 3 hours and monitor closely. If the dough still doesn’t rise, your yeast may be dead—replace it and start over.

- 6 Oz Chocolate Chip Cookie Recipe: Perfectly Balanced Crispy Edges and Chewy Hearts - September 25, 2026
- 6-Inch Coffee Cake Recipe: Vanilla Bean Swirls and Buttery Streusel Topping - September 25, 2026
- 1 Hour Soup Recipe: Velvety Richness Without the Wait - September 25, 2026