
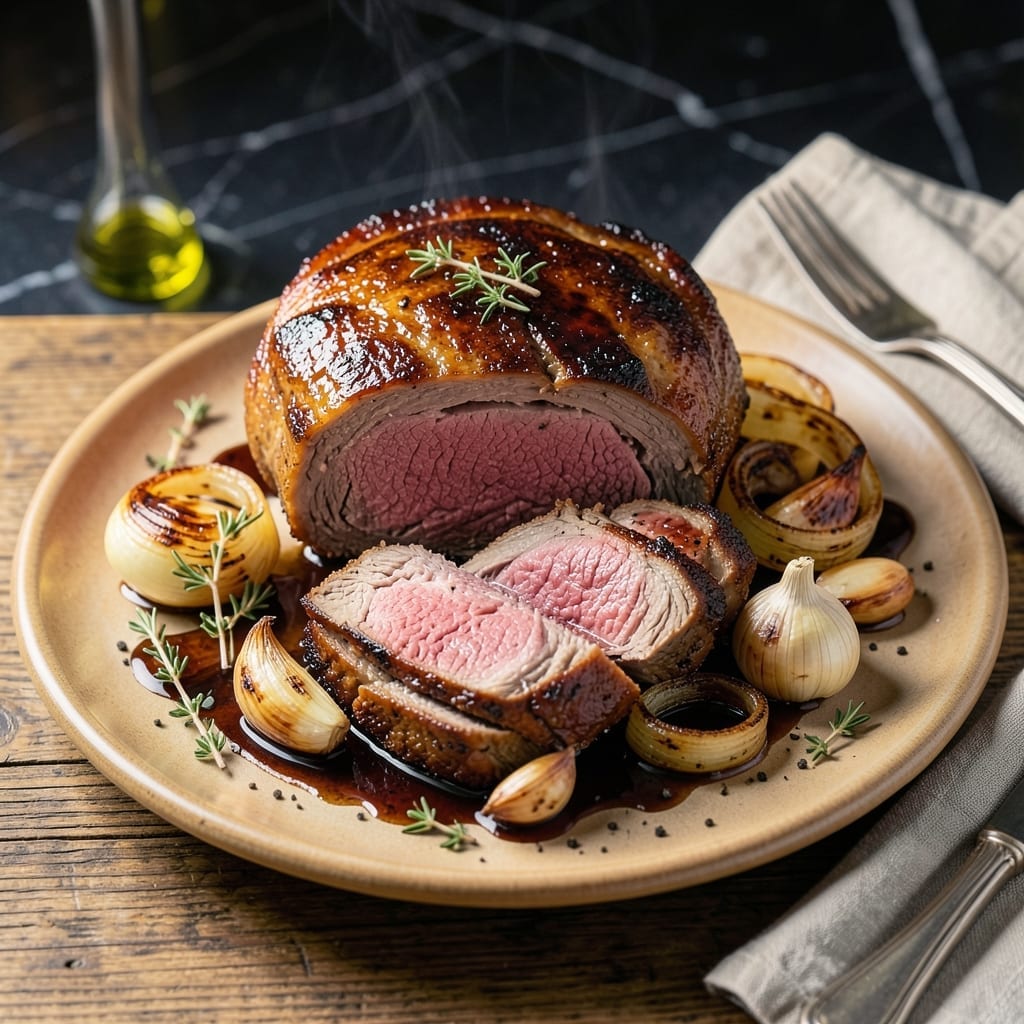
This crock pot recipe transforms tough beef rump roast into fork-tender perfection with minimal effort. The slow cooker works its magic over several hours, breaking down the fibers until the meat practically falls apart at the touch of a fork.
I developed this method to ensure consistent results every time. The key is proper searing before slow cooking, which locks in juices and adds depth of flavor that makes all the difference in the final dish.
What emerges is melt-in-your-mouth beef with rich, developed flavors that taste like it’s been simmering all day. The meat absorbs the seasonings and cooking liquid, creating a dish that’s both hearty and deeply satisfying.
Perfect for Sunday dinners or busy weeknights when you want restaurant-quality results without the fuss. The hands-off approach lets you focus on the sides while the crock pot does the work.
Ingredients for Beef Rump Roast Crock Pot
Simple ingredients for melt-in-your-mouth beef that tastes like it simmered all day.
| Ingredient | Amount | Notes |
|---|---|---|
| Beef Rump Roast 🥩 | 3 lb | Well-marbled, trimmed of excess fat |
| Olive Oil 🫒 | 2 tbsp | Divided for searing and cooking |
| Kosher Salt 🧂 | 1 ½ tsp | Diamond Crystal preferred |
| Black Pepper 🌶️ | 1 tsp | Freshly ground |
| Garlic Cloves 🧄 | 6 cloves | Minced or crushed |
| Yellow Onion 🧅 | 1 whole | Large, sliced into wedges |
| Carrots 🥕 | 3 whole | Peeled, cut into chunks |
| Celery Stalks 🌿 | 3 whole | Cut into large pieces |
| Beef Broth 💧 | 2 cups | Low-sodium preferred |
| Worcestershire Sauce 🍶 | 2 tbsp | Adds umami depth |
| Dried Thyme 🍃 | 1 tsp | Crushed between fingers |
| Dried Rosemary 🌿 | 1 tsp | Crushed between fingers |
| Bay Leaf 🍃 | 1 whole | Remove before serving |
| Tomato Paste 🍅 | 2 tbsp | For richness and body |
The beef is everything here. Rump roast with good marbling (look for white streaks) stays juicy after long cooking. I get mine at Costco—consistent quality, great price for 3-4 lb chunks (freeze what you don’t use). Most butchers will cube it for you if you ask. Don’t skip the searing step—it’s what gives that deep, caramelized flavor the intro promises.
No rump roast? Chuck roast works just as well (actually my backup choice). Out of fresh herbs? Dried at one-third the amount—just rub them into the meat before searing. Beef broth can be subbed with mushroom broth for extra umami. The tomato paste is worth the can—Trader Joe’s sells it in tubes so you don’t waste the rest.
Leftovers keep 4-5 days in the fridge, taste even better. Freeze in portions for up to 3 months (the gravy thickens when reheated—add a splash of broth). Always sear from room temp—pull the roast out 30 minutes before browning.
Why You’ll Love This Recipe
- Set It and Forget: I toss the roast, garlic, and seasonings in the crock pot before work and come home to fall-apart tender beef.
- Garlic-Kissed Perfection: The slow-cooked garlic cloves melt into the meat, infusing every bite with rich, savory depth.
- Feeds the Whole Crew: One rump roast makes enough for Sunday dinner, plus leftovers for sandwiches all week.
- Budget-Friendly Centerpiece: A tougher cut like rump roast turns melt-in-your-mouth tender in the crock pot, saving me a bundle.
Step-by-Step Instructions for Beef Rump Roast in Crock Pot
This is the method I use for fall-apart beef every single time.
Step 1: Sear the Beef Rump Roast
Heat 1 tablespoon olive oil in a large skillet over medium-high heat until it shimmers. Pat the 3 lb beef rump roast completely dry with paper towels, then season all over with the 1.5 tsp kosher salt and 1 tsp black pepper.
Add the beef to the hot skillet and sear for 4-5 minutes per side until deeply browned. You want a rich, dark crust on all surfaces—this builds incredible flavor that carries through the slow cooking. Don’t rush this step; the fond created here will dissolve into your cooking liquid.
Step 2: Prepare the Aromatic Vegetable Base
While the beef sears, add the remaining 1 tablespoon olive oil to the crock pot. Toss in the 1 whole yellow onion, 3 whole carrots, and 3 whole celery stalks. Add the 6 cloves garlic cloves, 1 tsp dried thyme, 1 tsp dried rosemary, and 1 whole bay leaf.
These vegetables will soften into a flavorful base that complements the beef perfectly. The dried herbs release their oils during the long cook, infusing the entire dish with warmth. I always crush the dried herbs between my fingers as I add them to wake up their flavors.
Step 3: Combine and Slow Cook
Place the seared beef on top of the vegetables in the crock pot. In a bowl, whisk together the 2 cups beef broth, 2 tbsp Worcestershire sauce, and 2 tbsp tomato paste until smooth, then pour this mixture around (not over) the beef.
Cover and cook on low for 8-10 hours or high for 5-6 hours. You’ll know it’s ready when the beef shreds easily with a fork and the vegetables are silky soft. The liquid should reduce slightly but still be abundant enough to spoon over the beef when serving.
Step 4: Rest and Serve
Carefully transfer the beef to a cutting board and let it rest for 10-15 minutes before slicing or shredding. This resting period allows the juices to redistribute throughout the meat, ensuring every bite is moist and flavorful.
Remove the bay leaf from the cooking liquid before serving. I like to skim off any excess fat from the surface and adjust the seasoning if needed. Serve the beef with plenty of the cooking liquid spooned over the top and the vegetables alongside for a complete meal.
Pro Tips For Making Beef Rump Roast Crock Pot
- Sear the Roast First: I learned this the hard way—skipping the sear leaves the beef bland. Use 2 tablespoons of olive oil in a hot pan for 3-4 minutes per side to lock in flavor before it goes into the crock pot.
- Smash the Garlic: Sounds weird, but it works: crush the garlic cloves slightly before adding them so their flavor infuses the meat more deeply during the long cook.
- Don’t Drown It: Resist the urge to add liquid—rump roast releases enough juices on its own. Adding broth or water just dilutes the rich, concentrated flavor you want.
- Let It Rest: After 8 hours on low, give it a solid 15-20 minutes under foil before slicing. My grandmother swore by this, and she was right: it keeps the juices from running all over the cutting board.
Dietary Considerations for This Dish
Gluten-Free Friendly
This recipe is naturally gluten-free as written. Just verify your Worcestershire sauce—some brands contain malt vinegar. I use Lea & Perrins, which is certified gluten-free. Always check labels to be safe. 💡
Low-Carb Option
With only 12g net carbs per serving (mostly from vegetables), this fits perfectly into low-carb diets. Skip the carrots if you want to reduce carbs further, or replace them with radishes for similar texture.
Dairy-Free
No dairy is used in this preparation. The rich, meaty flavor comes from the beef itself and the slow-cooked vegetables. Perfect for anyone avoiding milk products or with lactose intolerance.
Nut Allergy Safe
This dish contains no nuts or nut products. Just ensure your cooking environment hasn’t been exposed to nuts if you’re preparing for someone with severe allergies. Always clean surfaces thoroughly.
Sodium Considerations
Using low-sodium beef broth and controlling added salt keeps this dish heart-healthy. You can reduce the kosher salt to 1 tsp if watching sodium intake. Taste before adding extra salt at the end. 💪
Protein Powerhouse
A 4-ounce serving provides about 30g of protein, making this excellent for muscle building and satiety. The slow cooking preserves all the natural proteins in the beef.
Nutrition Facts
Frequently Asked Questions
Can I use a different cut of beef?
Chuck roast works just as well with the same cooking time. Brisket or round roast are good alternatives too, though they may need an extra hour on low heat. Avoid lean cuts like sirloin as they can dry out.
Do I need to brown the meat first?
Yes, searing creates a flavorful crust and deepens the taste. Skip this step and you’ll miss out on rich, caramelized notes. It only adds 10 minutes but makes a huge difference in the final dish.
How do I know when it’s done?
The beef is ready when it shreds easily with a fork. For perfect results, aim for an internal temperature of 195-205°F. This ensures tender, fall-apart texture every time.
Can I cook this overnight?
It’s safe on low for 8-10 hours, perfect for overnight cooking. Just avoid the high setting for extended periods as it can overcook the meat. Always check the temperature before serving.

- 6 Oz Chocolate Chip Cookie Recipe: Perfectly Balanced Crispy Edges and Chewy Hearts - September 25, 2026
- 6-Inch Coffee Cake Recipe: Vanilla Bean Swirls and Buttery Streusel Topping - September 25, 2026
- 1 Hour Soup Recipe: Velvety Richness Without the Wait - September 25, 2026