
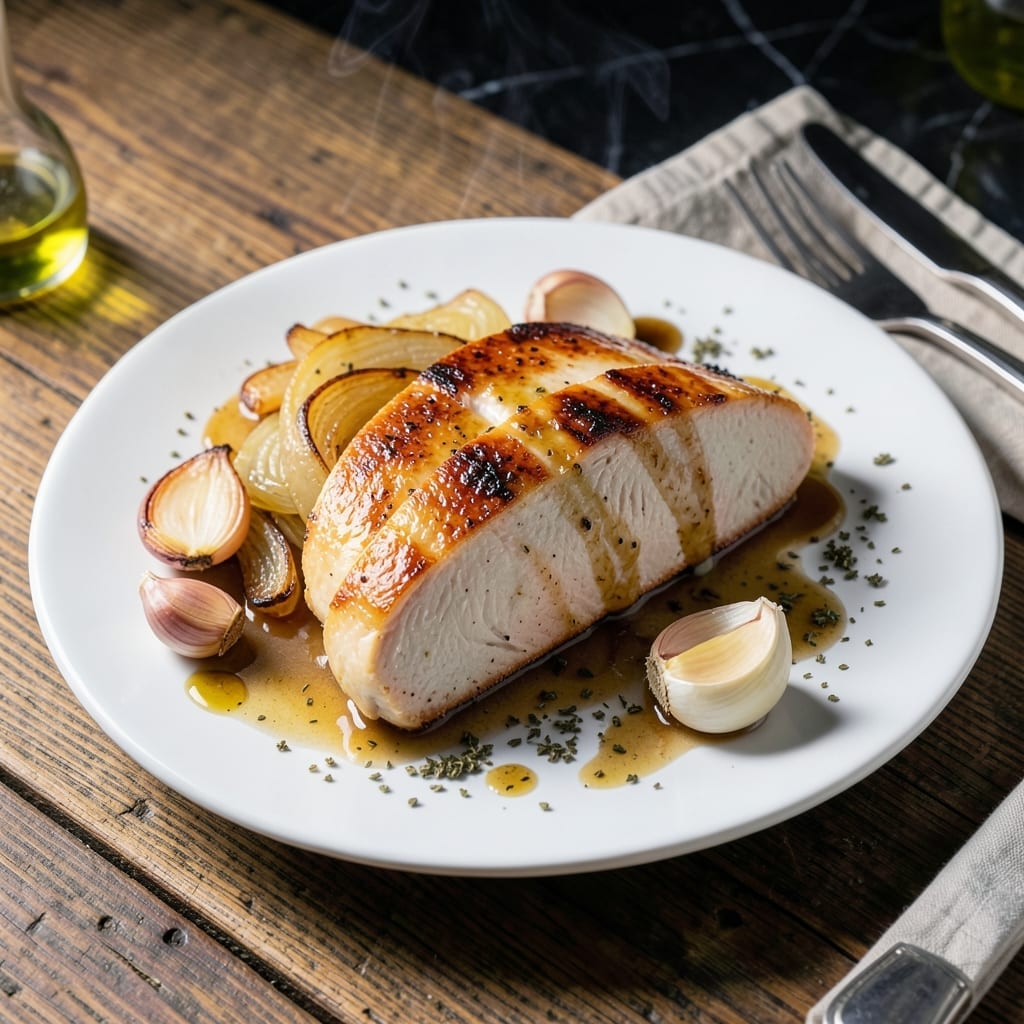
This crock pot method transforms boneless chicken breast into fall-apart tender perfection with minimal effort. The slow cooker locks in moisture, ensuring juicy results every time.
I developed this recipe for busy weeknights when I need dinner ready without supervision. Simply season the chicken, add liquid, and let the appliance do the work for 6 hours.
The result is restaurant-quality chicken that shreds easily for tacos, sandwiches, or salads. No dry, overcooked meat here—just consistently moist and flavorful.
Perfect for meal prep or feeding a crowd. Here’s how to get it right.
Ingredients for Boneless Chicken Breast Crock Pot
Transform simple chicken breasts into restaurant-quality results with these pantry-friendly ingredients.
| Ingredient | Amount | Notes |
|---|---|---|
| Boneless Chicken Breast 🍗 | 2 lb | Skinless, about 4 breasts |
| Chicken Broth 🥣 | 1 ½ cups | Low-sodium preferred |
| Olive Oil 🫒 | 2 tbsp | Extra-virgin for depth |
| Garlic Cloves 🧄 | 4 cloves | Minced for even distribution |
| Yellow Onion 🧅 | 1 whole | Medium, finely diced |
| Dried Oregano 🌿 | 1 tsp | Mediterranean variety preferred |
| Dried Thyme 🍃 | 1 tsp | Rubbed between fingers |
| Paprika 🌶️ | 1 tsp | Sweet or smoked variety |
| Kosher Salt 🧂 | 1 ½ tsp | Diamond Crystal brand preferred |
| Black Pepper 🌶️ | ½ tsp | Freshly ground for best flavor |
| Bay Leaves 🍁 | 2 pieces | Dried, whole leaves |
| Lemon Juice 🍋 | 2 tbsp | Freshly squeezed for brightness |
| Worcestershire Sauce 💧 | 1 tbsp | Annie's brand for vegetarian option |
The chicken quality matters most here. Boneless, skinless breasts from Whole Foods or Costco consistently yield tender results. Look for even thickness (or pound thicker ends) to ensure uniform cooking. The broth should be low-sodium—you’re seasoning to taste. Diamond Crystal kosher salt is the professional choice for precise seasoning (it dissolves faster and tastes cleaner than table salt).
No fresh herbs? Dried work perfectly at one-third the amount—just add them directly to the pot. Missing Worcestershire? Soy sauce plus a pinch of sugar mimics the umami depth. For extra richness, swap half the broth for white wine. The lemon juice can be bottled in a pinch, but fresh adds that vibrant brightness that makes flavors pop.
Prep everything the night before—store chicken and aromatics together in the fridge. Cooked chicken keeps 4-5 days refrigerated or 3 months frozen. For meal prep, portion into containers while warm (it shreds easiest then). Always save the cooking liquid—it’s liquid gold for sauces and soups.
Why You’ll Love This Recipe
- Set and Forget: I toss everything in the crock pot and walk away—no stirring, no stress, just tender chicken hours later.
- Garlic-Infused Richness: The slow-cooked garlic and onion in the broth make the chicken so flavorful it tastes like I spent all day on it.
- Meal Prep Magic: I make a big batch on Sunday and use it in tacos, salads, or sandwiches all week long.
- Budget Stretcher: A few affordable ingredients feed my family for days, and the leftovers taste even better.
Step-by-Step Instructions for Boneless Chicken Breast in a Crock Pot
Master the technique for perfectly tender, flavorful chicken with minimal effort.
Step 1: Sear and Season the Chicken
Heat the 2 tbsp olive oil in a large skillet over medium-high heat. While it heats, pat the 2 lb boneless chicken breast dry with paper towels. Season both sides uniformly with the 1.5 tsp kosher salt, 0.5 tsp black pepper, 1 tsp dried oregano, 1 tsp dried thyme, and 1 tsp paprika.
Sear the chicken for 2-3 minutes per side until golden brown. This step builds a flavor foundation and locks in moisture. Don’t overcrowd the pan—work in batches if necessary. The chicken won’t be fully cooked at this stage, which is exactly what you want.
Step 2: Prepare the Aromatic Base
In the crock pot, combine the 1 whole yellow onion (finely diced) and 4 cloves garlic cloves (minced). Pour in 1 tbsp Worcestershire sauce and 2 tbsp lemon juice. These acidic elements brighten the dish and balance the richness of the chicken.
Add the 2 pieces bay leaves and 1.5 cups chicken broth to the crock pot. The liquid should come about halfway up the chicken when you add it. This ensures even cooking and prevents the chicken from drying out during the long, slow process.
Step 3: Slow Cook to Perfection
Arrange the seared chicken breasts in the crock pot, nestling them into the aromatic liquid. Cover and cook on low for 4-5 hours or on high for 2-3 hours. The chicken is done when it reaches an internal temperature of 165°F and shreds easily with a fork.
Resist the urge to lift the lid during cooking. Every time you do, you release heat and add 20-30 minutes to the cooking time. The low-and-slow method guarantees juicy, tender meat that absorbs all the flavors from the broth and seasonings.
Step 4: Rest and Serve
Once the chicken is fully cooked, transfer it to a cutting board and let it rest for 5-10 minutes. This allows the juices to redistribute, ensuring each piece stays moist when sliced or shredded.
Serve the chicken with the cooking liquid spooned over the top. The broth will have reduced slightly and intensified in flavor, creating a light, savory sauce. Discard the bay leaves before serving to avoid any accidental bites into the whole leaves.
Pro Tips For Making Boneless Chicken Breast Crock Pot
- Trim the Fat: Pat the chicken breasts dry and trim any visible fat or tendons before adding to the crock pot—this prevents a greasy broth and ensures even cooking.
- Sear First: I learned this the hard way—quickly searing the chicken in olive oil for 2-3 minutes per side before slow cooking locks in moisture and adds depth to the broth.
- Don’t Overfill: Resist the urge to pack the crock pot—leave at least an inch of space at the top so the chicken cooks evenly and the broth doesn’t spill over.
- Use Room Temp Broth: Adding chicken broth straight from the fridge slows down the cooking process; I pull mine out 30 minutes early to take the chill off.
Dietary Considerations for boneless chicken breast crock pot
Gluten-Free Friendly
This creation is naturally gluten-free, making it safe for those with celiac disease or gluten sensitivity. All ingredients, including Worcestershire sauce, should be verified for gluten-free certification. I recommend Annie’s brand for a reliable gluten-free option.
Low-Carb Adaptation
For a keto-friendly version, this dish fits perfectly with just 3g net carbs per serving. The chicken and broth contain minimal carbohydrates, making it ideal for low-carb diets. Serve with cauliflower rice or a fresh green salad.
Dairy-Free by Default
There are no dairy products in this recipe, so it’s suitable for lactose-intolerant individuals. The richness comes from the chicken itself and the olive oil. Always check broth labels, as some brands may contain dairy derivatives.
Sodium Considerations
Using low-sodium chicken broth helps control salt intake. You can further reduce sodium by omitting added salt and relying on the natural flavors of garlic, onion, and herbs. Taste and adjust seasoning at the end. 💪
Allergen Awareness
The primary allergen here is chicken, so this dish isn’t suitable for those with poultry allergies. Worcestershire sauce may contain fish (anchovies), so check labels if fish allergies are a concern. Substitute with coconut aminos if needed.
Meal Prep Friendly
This recipe is perfect for batch cooking and storing in airtight containers for 4-5 days. It reheats beautifully, making it a convenient option for busy lifestyles. Portion into individual servings for easy grab-and-go meals.
Nutrition Facts
Frequently Asked Questions
Can I skip the searing step?
Not recommended. Searing locks in juices and adds depth of flavor. Without it, your chicken may lack that rich, caramelized taste. It only takes 5 minutes and makes a big difference.
How do I prevent dry chicken?
Don’t overcook it! Use a meat thermometer and remove at 165°F. Also, ensure there’s enough liquid (at least 1.5 cups) and avoid lifting the lid during cooking.
Can I use frozen chicken?
Yes, but add 1 hour to the cook time. Thawing first is better for even cooking. If frozen, place breasts in the pot with extra 1/2 cup broth to compensate for moisture loss.
What if my chicken cooks unevenly?
Pound thicker parts to even thickness before cooking. This ensures all pieces reach 165°F simultaneously. Check the thickest part with a thermometer for accuracy.

- 6 Oz Chocolate Chip Cookie Recipe: Perfectly Balanced Crispy Edges and Chewy Hearts - September 25, 2026
- 6-Inch Coffee Cake Recipe: Vanilla Bean Swirls and Buttery Streusel Topping - September 25, 2026
- 1 Hour Soup Recipe: Velvety Richness Without the Wait - September 25, 2026