
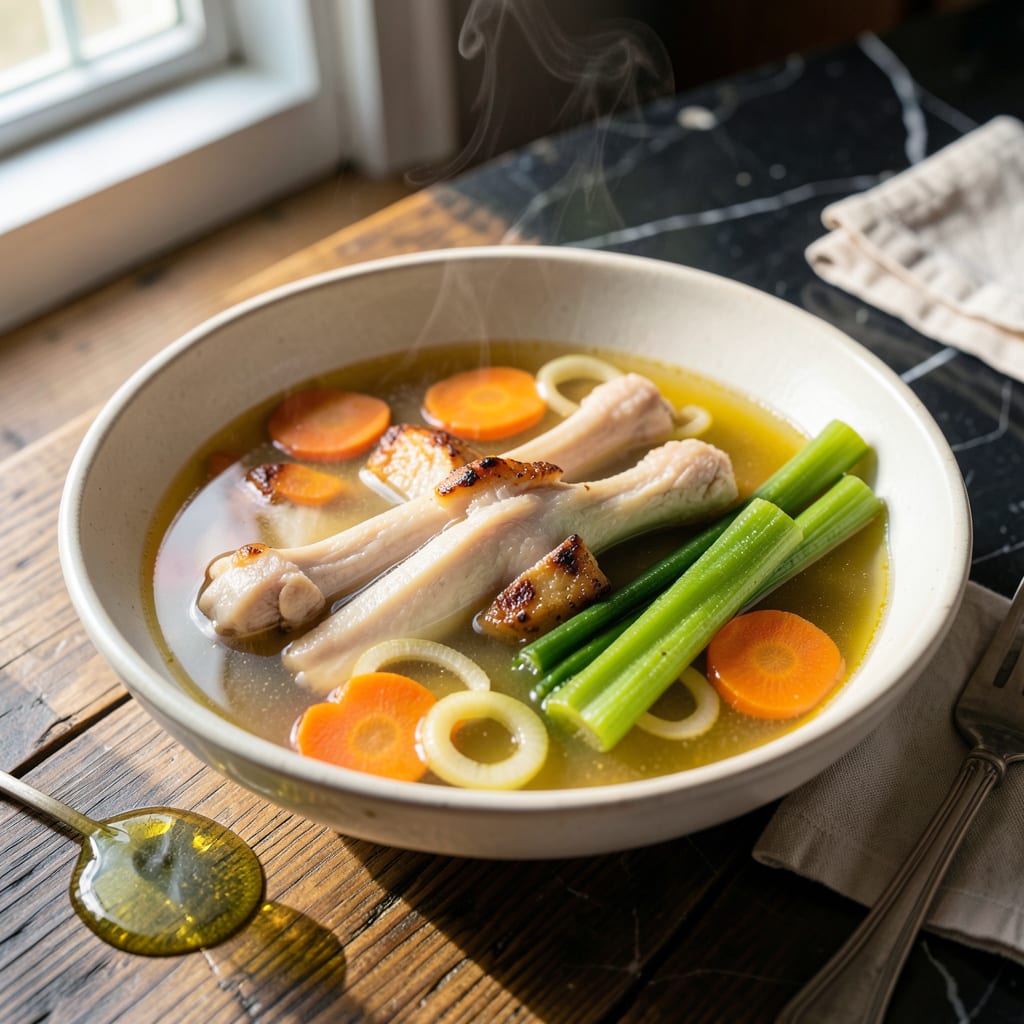
This fat-free chicken broth delivers rich, clean flavor without any added fat or oil. The secret lies in proper skimming and gentle simmering to create a clear, flavorful base perfect for soups, sauces, and cooking.
Using chicken bones, vegetables, and herbs, this method extracts maximum flavor while maintaining a zero-fat profile. The result is a versatile kitchen staple that enhances any dish without unwanted richness.
Ingredients for Fat Free Chicken Broth
Clean, light ingredients build a flavorful foundation without any added richness or oil.
| Ingredient | Amount | Notes |
|---|---|---|
| Chicken Bones 🍗 | 2 lb | Necks, backs, or carcasses preferred |
| Cold Water 💧 | 4 cups | Enough to cover bones completely |
| Yellow Onion 🧅 | 1 whole | Quartered, skin on for color |
| Carrots 🥕 | 2 whole | Cut into large chunks |
| Celery Stalks 🌿 | 2 whole | Cut into large chunks |
| Garlic Cloves 🧄 | 4 cloves | Smashed, skin on |
| Fresh Parsley Stems 🌿 | 1 cup | Tied in cheesecloth if available |
| Bay Leaves 🍃 | 2 whole | Dried or fresh |
| Whole Black Peppercorns 🌶️ | 1 tsp | Lightly crushed |
| Salt 🧂 | 1 tsp | Added at the end to taste |
| White Vinegar 💧 | 1 tbsp | For skimming clarification |
The chicken bones are critical here—use necks, backs, or carcasses (save them from roasts). Whole Foods or local butchers often sell these cheaply. Rinse bones first to remove blood, which can cloud broth. Cold water start is non-negotiable for clarity. Vegetables should be fresh but don’t waste perfect produce on this—wilted carrots or celery work fine (just trim any mold).
No chicken bones? Turkey bones work identically. For a deeper color, roast bones at 400°F for 20 minutes first. Skip the onion skin if you want pale broth. Apple cider vinegar can replace white vinegar. The parsley stems are often discarded—this is their moment to shine. Herbs like thyme or a parmesan rind (if not fat-free) can be added.
Broth keeps 4-5 days refrigerated or 6 months frozen. Skim fat only after chilling completely—it solidifies on top. For crystal-clear broth, strain through cheesecloth. Use within a week for best flavor, or freeze in ice cube trays for easy portioning.
Why You’ll Love This Recipe
- Set and Forget: I toss everything in the pot, let it simmer, and walk away—no babysitting required.
- Deep Rich Flavor: The slow simmer pulls every bit of goodness from the bones and veggies, giving me a broth that tastes way richer than its zero-fat label.
- Meal Prep Magic: I make a big batch on Sunday and use it all week for soups, grains, or sauces. Honestly, it’s my kitchen’s MVP.
- Pennywise Stock: Chicken bones I’d normally throw away turn into liquid gold, and a single batch costs me less than a store-bought carton.
Step-by-Step Instructions for Fat Free Chicken Broth
Here is the method I use to extract maximum flavor while keeping this broth completely free of fat.
Step 1: Prepare and Blanch the Chicken Bones
Place the 2 lb Chicken Bones in a large stockpot and cover with the 4 cups Cold Water. Bring to a boil over high heat, then reduce to a simmer for 5 minutes. This blanching step draws out impurities that would otherwise cloud your broth.
You’ll notice a grayish foam rising to the surface as the bones release their impurities. Skim this off with a fine-mesh strainer or spoon. The water will turn slightly cloudy, which is normal. After 5 minutes, drain the bones in a colander and rinse them under cold water to remove any remaining residue.
Rinsing the bones after blanching is crucial—this removes the scum that would otherwise make your broth bitter. Don’t skip this step, as it’s the foundation for a clean, clear final product.
Step 2: Build the Aromatic Base
Return the blanched Chicken Bones to the cleaned stockpot. Add the 1 whole Yellow Onion (quartered with skin on for color), 2 whole Carrots (cut into large chunks), 2 whole Celery Stalks (cut into large chunks), 4 cloves Garlic Cloves (smashed with skin on), 1 cup Fresh Parsley Stems (tied in cheesecloth if available), and 2 whole Bay Leaves.
Pour in fresh Cold Water to cover the bones by 2 inches. The vegetables and herbs should be fully submerged. Lightly crush the 1 tsp Whole Black Peppercorns and add them to the pot. The crushing releases their aromatic oils without grinding them into a powder.
This combination of mirepoix and aromatics creates a balanced flavor profile. The onion skin adds a subtle golden hue, while the parsley stems and bay leaves provide depth without overpowering the chicken flavor.
Step 3: Simmer Gently for Maximum Extraction
Bring the pot to a boil over high heat, then immediately reduce to a gentle simmer. A proper simmer should produce small bubbles that occasionally break the surface—never a rolling boil, which would emulsify fat into your broth. Skim off any foam that rises during the first 30 minutes of simmering.
Add the 1 tbsp White Vinegar to the pot. The acidity helps draw out minerals from the bones and clarifies the broth. Partially cover the pot and maintain a steady simmer for 4-6 hours. The longer you simmer, the more gelatin and flavor you’ll extract, but avoid exceeding 6 hours or the broth may become bitter.
Occasionally skim the surface during cooking to remove any fat or impurities that rise. This attention to detail ensures your final product remains perfectly clear and fat-free.
Step 4: Strain and Finish the Broth
After simmering, carefully strain the broth through a fine-mesh sieve lined with cheesecloth into a clean pot or large bowl. Press gently on the solids to extract all the liquid, but don’t squeeze—this would force bitter compounds into your broth. Discard the solids.
Allow the broth to cool slightly, then refrigerate until the fat solidifies on the surface. This typically takes 1-2 hours. Once chilled, the fat will form a solid layer that’s easy to lift off with a spoon. This final step guarantees your broth is completely fat-free.
Stir in the 1 tsp Salt to taste. I recommend starting with less and adjusting to your preference. Your broth should taste well-seasoned but not salty, as it will often be reduced in recipes or served with other seasoned dishes.
Pro Tips For Making Fat Free Chicken Broth
- Skim Early and Often: Start skimming the foam and fat within the first 30 minutes of simmering, and keep checking every 20 minutes—I learned this the hard way after ending up with a cloudy broth that looked more like dishwater.
- Roast the Bones: Toss the chicken bones in a 400°F oven for 20 minutes until golden. Sounds like an extra step, but it deepens the flavor so much that I now do it even on busy days.
- Keep It Gentle: Resist the urge to boil—maintain a low simmer where tiny bubbles occasionally break the surface. After burning three batches, I finally figured out that a rolling boil makes broth bitter and murky.
- Cold Water Start: Always cover the bones with cold water and bring to heat gradually. My grandmother swore by this, and she was right: it helps draw out impurities so they’re easier to skim off before they break down.
Best Sauces and Condiments for fat free chicken broth
Classic Sauce Pairings
This broth forms the perfect base for a light velouté sauce. Melt 2 tbsp cornstarch in ¼ cup cold broth, then whisk into 2 cups hot broth. Simmer until thickened for a silky, fat-free sauce that coats pasta beautifully.
Asian-Inspired Drizzles
Mix 3 tbsp broth with 1 tbsp low-sodium soy sauce, 1 tsp grated ginger, and 1 minced garlic clove. Reduce by half for a umami-packed drizzle over grilled vegetables or tofu. The clean broth lets the other flavors shine. 💫
Herb-Infused Variations
Simmer 1 cup broth with 2 sprigs fresh thyme and 1 sprig rosemary for 10 minutes. Strain and use to deglaze pans or as a base for pan sauces. I love this with roasted chicken—it adds depth without any fat.
Spicy Kick Options
Combine ½ cup broth with 1 tbsp hot sauce and 1 tsp apple cider vinegar for a tangy, spicy dip. Perfect for poached shrimp or steamed vegetables. The acidity balances the heat beautifully.
Creamy Substitutes
Blend 1 cup broth with ½ cup cooked white beans for a fat-free, creamy sauce base. This works wonderfully in casseroles or as a pasta sauce. It’s my go-to for comfort food without the guilt. 💪
Reduction Techniques
Reduce 2 cups broth by half for a concentrated glaze. Add 1 tsp balsamic vinegar at the end for a sweet-tart finish. Drizzle over roasted meats or vegetables for an elegant, fat-free touch.
Nutrition Facts
Frequently Asked Questions
Why blanch chicken bones first?
Blanching removes impurities that cloud broth. It draws out blood and proteins that would make your final product bitter or murky.
How long does this broth last?
Store in the fridge for 4-5 days or freeze for up to 6 months. For longest shelf life, freeze in ice cube trays.
Can I use a slow cooker?
Yes! Cook on low for 8-10 hours. Skim foam during the first hour, then let it work its magic.
What if my broth is cloudy?
This usually means it boiled too hard. Next time, keep it at a gentle simmer. Straining through cheesecloth helps.

- 1 Hour Soup Recipe: Velvety Richness Without the Wait - September 25, 2026
- 3 Dozen Deviled Eggs Recipe: Classic Bites With Creamy Yolk Magic - September 25, 2026
- 3-Ingredient Baked Chicken Wings Recipe: Crispy, Juicy, and Ready in 25 Minutes - September 25, 2026