
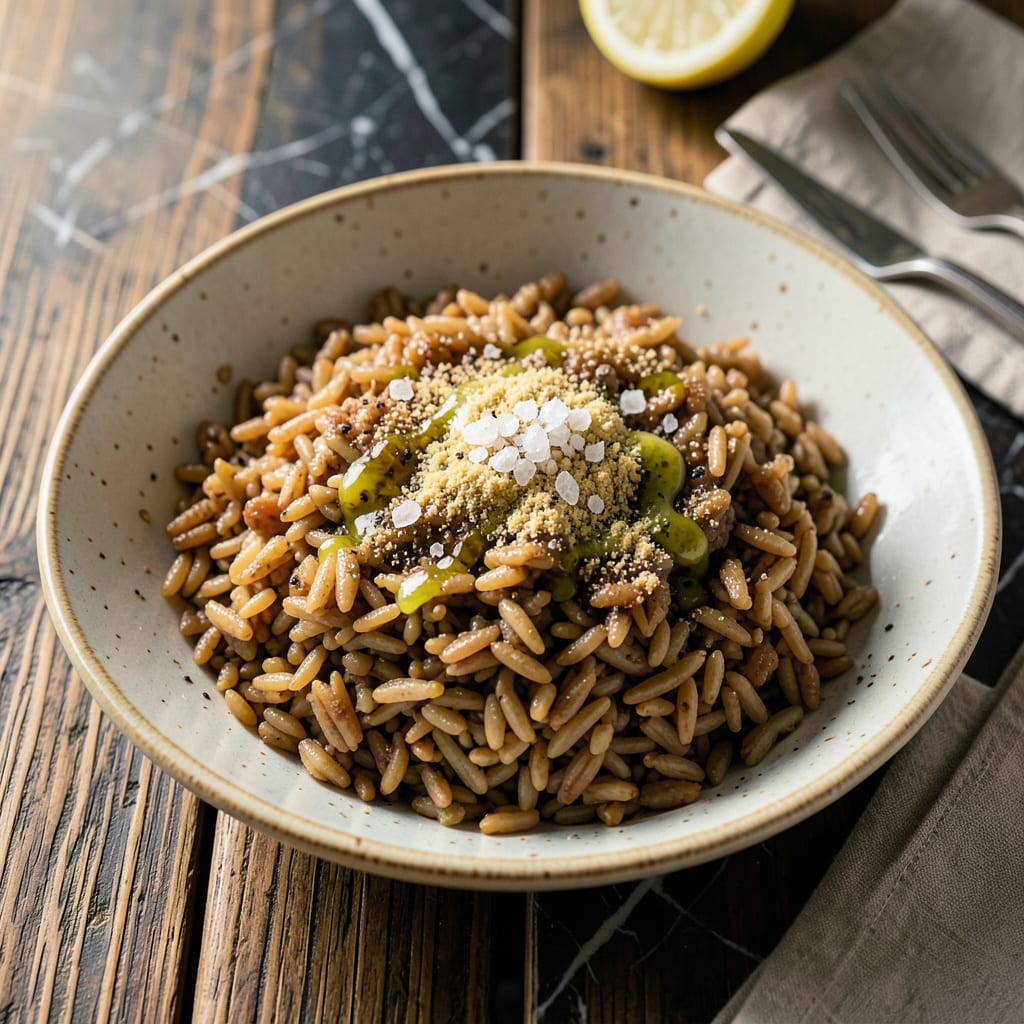
Perfectly cooked brown rice in the Instant Pot is a game-changer for busy cooks. This method delivers fluffy, tender grains with zero guesswork—no more mushy or undercooked results. The secret lies in the precise rice-to-liquid ratio and controlled pressure cooking that mimics traditional stovetop techniques without the constant monitoring.
What sets this recipe apart is its reliability. Whether you’re meal prepping for the week or need a quick side dish, the Instant Pot transforms basic brown rice into a consistent, foolproof staple. The hands-off approach means you can focus on the rest of your meal while the rice cooks to perfection every single time.
Ingredients for Brown Rice Recipe Instant Pot
Eight simple ingredients for foolproof brown rice—no babysitting, just perfect results every time.
| Ingredient | Amount | Notes |
|---|---|---|
| Long-Grain Brown Rice 🌾 | 2 cups | Rinsed until water runs clear |
| Filtered Water 💧 | 2 ½ cups | Or vegetable broth for extra flavor |
| Extra-Virgin Olive Oil 🫒 | 1 tbsp | Cold-pressed for best quality |
| Fine Sea Salt 🧂 | ½ tsp | Adjust to taste after cooking |
| Fresh Lemon Juice 🍋 | 1 tsp | Brightens the finished rice |
| Garlic Powder 🧄 | ½ tsp | Or 2 fresh cloves, minced |
| Bay Leaf 🌿 | 1 whole | Optional for subtle aroma |
| Ground Black Pepper 🌶️ | ¼ tsp | Freshly cracked preferred |
The rice quality matters here. Lundberg Family Farms or Nishiki brown rice gives the best texture—avoid quick-cooking varieties (they turn mushy). I grab mine from Whole Foods bulk bins when possible, but any grocery store’s organic section works. Rinse until the water runs completely clear (this removes excess starch for fluffier grains). The water ratio is non-negotiable—2.5 cups liquid per 2 cups rice—so measure precisely. A pinch of salt in the cooking water seasons the rice from within.
No olive oil? Avocado oil or melted vegan butter works too. Out of fresh lemon? Apple cider vinegar at half the amount adds similar brightness. The bay leaf is optional but worth it—just don’t forget to remove it before serving. For extra flavor, swap water for low-sodium vegetable broth (I like Imagine Foods or Pacific brands). Garlic powder can be fresh minced garlic (double the amount), but powder distributes more evenly in the rice.
Cooked rice keeps 4-5 days in the fridge—store in an airtight container with a paper towel on top to absorb moisture. Freeze portions in ziplock bags (squeeze out air) for up to 3 months. Reheat with a splash of water and microwave covered, or crisp in a skillet with a little oil. The lemon juice is best added fresh when serving, so hold off if meal prepping.
Why You’ll Love This Recipe
- Set-and-Forget Simple: I dump everything in—rice, water, a glug of olive oil, pinch of salt—then walk away. The Instant Pot does all the work while I tackle laundry or answer emails, and 22 minutes later? Fluffy, nutty brown rice without a single stir or watchful eye.
- Bright, Nutty Magic: That splash of lemon juice at the end cuts through the earthiness of the brown rice like a secret weapon. The olive oil gives it this subtle richness, and the salt? Just enough to make each bite taste intentional—not bland health food.
- Meal Prep MVP: Between us, I make a double batch every Sunday. It’s my grain base for grain bowls, stir-fry filler, and even a quick fried rice when I toss in last night’s veggies. Stays perfect in the fridge for five days—no mushy texture, no wasted rice.
- Budget Stretch Wonder: A two-pound bag of brown rice costs less than my coffee habit, and this recipe turns it into six generous servings. Honestly, it’s the one thing I can rely on to bulk up soups, stretch a roast chicken into two meals, or feed my teen’s bottomless pit without breaking the bank.
Step-by-Step Instructions for Brown Rice in the Instant Pot
Here’s the foolproof method I use every time—no more mushy or undercooked results.
Step 1: Rinse and Prepare the Rice
Start by rinsing the 2 cups long-grain brown rice under cold running water until the water runs completely clear. I use a fine-mesh strainer for this and swirl the rice with my fingers to ensure every grain gets rinsed. This removes excess starch that can make your rice gummy.
After rinsing, let the rice drain for 2-3 minutes while you gather your other ingredients. I’ve found this extra draining time prevents any residual water from throwing off your liquid-to-rice ratio. The grains should look clean and separated, not clumped together.
Step 2: Sauté the Aromatics
Set your Instant Pot to the “Sauté” function on normal heat. When the display reads “Hot,” add the 1 tbsp extra-virgin olive oil and let it heat for 30 seconds. Then add the 0.5 tsp garlic powder and 0.25 tsp ground black pepper, stirring constantly for 45 seconds until fragrant.
This quick sauté step blooms the spices and creates a flavor foundation for your rice. You’ll notice the garlic powder becoming more aromatic—this means it’s ready. Immediately add the drained rice and stir to coat the grains in the oil and spices for 1 minute. The rice should start to look slightly translucent at the edges.
Step 3: Add Liquids and Pressure Cook
Pour in the 2.5 cups filtered water, 0.5 tsp fine sea salt, 1 tsp fresh lemon juice, and add the 1 whole bay leaf. Give everything a good stir to distribute the ingredients evenly. Make sure all the rice is submerged in the liquid—this ensures even cooking.
Secure the lid, set the valve to “Sealing,” and cook on High Pressure for 22 minutes. It’ll take about 10 minutes for the pot to come to pressure before the cooking time starts. When the timer beeps, let the pressure release naturally for 10 minutes, then carefully turn the valve to “Venting” to release any remaining pressure.
Step 4: Fluff and Finish
Once all pressure has released, open the lid and remove the bay leaf. Let the rice sit uncovered for 5 minutes—this allows any excess moisture to evaporate. Then, use a fork to gently fluff the rice, separating the grains and distributing any moisture evenly.
The rice should be tender with a slight bite, and all the liquid should be absorbed. If there’s any excess water at the bottom, simply drain it off before fluffing. Taste and adjust the seasoning with additional salt if needed, though I usually find the initial amount perfect.
Step 5: Rest Before Serving
Cover the Instant Pot with a clean kitchen towel and let the rice rest for 5-10 minutes before serving. This final rest allows the grains to firm up slightly and absorb any remaining steam, giving you that perfect fluffy texture.
When you’re ready to serve, give the rice one final gentle fluff with a fork. The grains should be separate and light, with a subtle lemon brightness and the warm aroma of garlic. This resting step makes all the difference between good rice and restaurant-quality rice.
Dietary Considerations for This Dish
Naturally Vegan
This basic brown rice recipe is inherently 100% plant-based, making it perfect for vegan diets. The simple combination of rice, water, and olive oil contains zero animal products. I love that it serves as a blank canvas for both vegan and omnivore meals—just customize the toppings later. 🌱
Gluten-Free Friendly
Brown rice is naturally gluten-free, making this recipe safe for those with celiac disease or gluten sensitivity. Just be sure to use certified gluten-free rice if cross-contamination is a concern. I always check the packaging for the gluten-free label when shopping for clients with allergies.
Low-Fat Option
With only 1 tbsp olive oil for 4 servings, this recipe keeps fat content minimal while maintaining flavor. For an even lighter version, you can reduce the oil to 1 tsp or use low-sodium vegetable broth instead of water. The texture remains perfect either way.
Diabetic-Friendly
Brown rice has a lower glycemic index than white rice, making it a better choice for blood sugar management. The fiber content (about 3.5g per serving) helps slow digestion. I often recommend pairing it with protein and vegetables to create balanced meals for diabetic clients.
Nut-Free
This recipe contains no nuts or nut-derived ingredients, making it safe for those with nut allergies. Just be cautious with any toppings or mix-ins you add later. I always keep nut-free versions separate when cooking for groups with allergies—better safe than sorry!
Low-Sodium Adaptation
To reduce sodium, simply cut the salt to ¼ tsp or omit it entirely. The lemon juice and garlic powder still provide plenty of flavor. For those on strict low-sodium diets, I suggest using no-salt-added vegetable broth instead of water. The rice will still taste delicious. 💛
Nutrition Facts
Frequently Asked Questions
Why does my brown rice turn out mushy?
Mushy rice usually means too much liquid or insufficient draining. Always rinse until water runs clear, then drain for 2-3 minutes. The 2.5:1 liquid-to-rice ratio is critical—measure precisely. A 10-minute natural release helps prevent overcooking too.
Can I double the recipe in the same pot?
Yes, but never exceed half the Instant Pot’s capacity (about 4 cups dry rice in a 6-quart model). Double all ingredients proportionally, but keep cook time the same. Overfilling risks uneven cooking or clogging the steam valve.
What if my Instant Pot doesn’t come to pressure?
Check the sealing ring is properly seated and the valve is set to “Sealing.” Ensure the lid is locked completely. If using broth, foam might block the valve—add 1 tsp oil to the liquid to prevent this. Cold ingredients can also delay pressurization.
How do I store leftovers?
Cool completely, then transfer to an airtight container with a paper towel on top to absorb moisture. Refrigerate for 4-5 days or freeze for 3 months. Reheat with a splash of water and microwave covered, or crisp in a skillet.
Can I use broth instead of water?
Swap water for low-sodium vegetable broth (1:1 ratio) for extra flavor. Chicken or mushroom broth works too, but may alter the vegan status. Reduce added salt by half since broths are already seasoned.

- 8 Bean Soup Recipe Crock Pot: Hearty Vegetable Medley in One Pot - September 25, 2026
- 4C Bread Crumbs Meatballs Recipe: Crispy Crust and Juicy Centers - September 25, 2026
- 6 Oz Chocolate Chip Cookie Recipe: Perfectly Balanced Crispy Edges and Chewy Hearts - September 25, 2026