
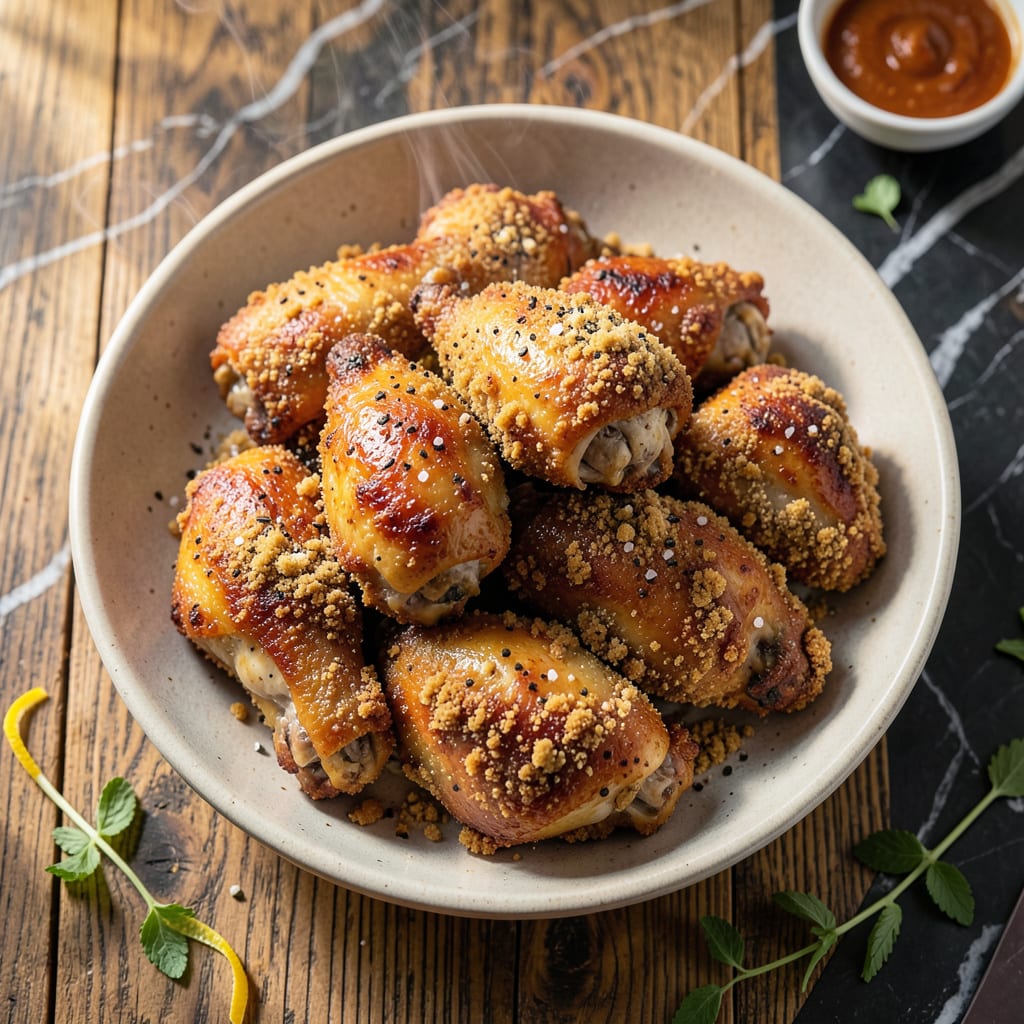
This double-dipped method guarantees crispy, golden-brown chicken with a shatteringly crunchy crust. The secret lies in the two-step breading process, ensuring every bite delivers maximum texture and flavor.
Perfectly seasoned and fried to a perfect crispy finish, this method transforms simple ingredients into a restaurant-quality dish. Follow the steps precisely for the best results every time.
Ingredients for Deep Fat Fried Chicken
Simple ingredients transform into a restaurant-quality crispy chicken with this double-dipped method.
| Ingredient | Amount | Notes |
|---|---|---|
| Chicken Thighs 🍗 | 3 lb | Bone-in, skin-on, cut into pieces |
| Buttermilk 🥛 | 2 cups | Full-fat for best texture |
| All-Purpose Flour 🌾 | 3 cups | Plus extra for dredging |
| Cornstarch 🌽 | ½ cup | For extra crispiness |
| Kosher Salt 🧂 | 1 ½ tbsp | Diamond Crystal preferred |
| Black Pepper 🌶️ | 1 tbsp | Freshly ground preferred |
| Garlic Powder 🧄 | 1 tbsp | Not garlic salt |
| Onion Powder 🧅 | 1 tbsp | Fresh ground preferred |
| Paprika 🌶️ | 1 tbsp | Sweet or smoked variety |
| Cayenne Pepper 🔥 | ½ tsp | Adjust for heat preference |
| Vegetable Oil 🫒 | 8 cups | For deep frying, high smoke point |
| Large Eggs 🥚 | 2 whole | For enhanced breading adhesion |
The chicken is the foundation here. Bone-in, skin-on thighs yield the juiciest, most flavorful results—Costco or Whole Foods offer excellent quality. For the flour, King Arthur all-purpose is a reliable choice (avoid cake flour). The buttermilk must be full-fat for proper adhesion—Organic Valley is widely available and consistently thick.
No buttermilk? Whole milk plus 1 tbsp vinegar per cup works in a pinch. Swap cornstarch for arrowroot powder at equal amounts if needed. For heat-sensitive palates, reduce cayenne to 1/4 tsp. The vegetable oil can be substituted with peanut or canola oil (both have high smoke points). Skip pre-ground pepper—freshly ground makes a noticeable difference.
The breaded chicken keeps 1 day refrigerated before frying (store uncovered to prevent sogginess). Fried chicken stays crispy 2-3 days in the fridge—reheat in a 375°F oven for 15 minutes to revive the crust. Never freeze breaded raw chicken; cook first, then freeze for up to 1 month.
Why You’ll Love This Recipe
- No-Fuss Marinade: The buttermilk does all the work overnight, so I just dump and forget.
- Crispy Outside, Juicy Inside: That cornstarch in the flour mix gives it a shatter-crack crust while keeping the thighs ridiculously tender.
- Feeds a Hungry Crowd: I’ve served this at backyard BBQs and lazy Sunday suppers—always disappears first.
- Leftovers? Still Great: Cold from the fridge or reheated in the air fryer, it stays crispy for days.
Step-by-Step Instructions for Deep Fat Fried Chicken
Master this method for a shatteringly crisp exterior with juicy, flavorful meat every time.
Step 1: Marinate the Chicken Thighs in Buttermilk
Begin by cutting the 3 lb Chicken Thighs into consistent, manageable pieces if not already pre-cut. I prefer bone-in, skin-on for maximum flavor and moisture retention. Place the chicken in a large bowl and pour over all 2 cups Buttermilk.
Ensure each piece is fully submerged, then cover and refrigerate for at least 4 hours, or ideally overnight. The buttermilk’s acidity tenderizes the meat while its fat content prevents drying during frying. The longer it marinates, the more pronounced the flavor and tenderness.
Step 2: Prepare the Double-Dredge Breading Station
In a large bowl, whisk together the 3 cups All-Purpose Flour, 0.5 cup Cornstarch, 1.5 tbsp Kosher Salt, 1 tbsp Black Pepper, 1 tbsp Garlic Powder, 1 tbsp Onion Powder, 1 tbsp Paprika, and 0.5 tsp Cayenne Pepper. The cornstarch is the secret to an ultra-crispy crust.
In a separate shallow bowl, beat the 2 whole Large Eggs with 2 tablespoons of the buttermilk marinade. This egg wash will act as the glue between the chicken and the flour mixture. The double-dredge technique ensures a thick, craggy coating that stays put during frying.
Step 3: Dredge and Rest the Chicken
Remove the chicken from the buttermilk, allowing excess to drip off. Dredge each piece thoroughly in the flour mixture, pressing firmly to adhere. Shake off any loose flour, then dip into the egg wash, letting excess drip off. Dredge a second time in the flour mixture for maximum crunch.
Place the breaded chicken on a wire rack set over a baking sheet. Let it rest at room temperature for 15-20 minutes. This rest allows the coating to hydrate and adhere better, preventing it from falling off during frying. The coating should look dry and slightly crusty on the surface when ready.
Step 4: Deep Fry to Golden Perfection
In a deep, heavy pot or Dutch oven, heat the 8 cups Vegetable Oil to 350°F. Use a deep-fry or candy thermometer to monitor the temperature—this is critical for even cooking. The oil should be deep enough to fully submerge the chicken pieces without crowding the pot.
Fry the chicken in batches to avoid lowering the oil temperature, which would result in greasy, soggy coating. Carefully lower 3-4 pieces into the oil at a time. Fry for 12-15 minutes, turning occasionally, until the coating is deep golden brown and the internal temperature reaches 165°F.
Drain on a wire rack or paper towels. The rack is preferred as it allows air circulation, keeping the coating crisp on all sides. Serve immediately while hot and crispy.
Pro Tips For Making Deep Fat Fried Chicken
- Heat the Oil First: I learned this the hard way—if the oil isn’t at 350°F before the chicken goes in, you’ll get greasy, soggy crust instead of that shatteringly crisp shell.
- Brine Overnight: Soak those thighs in buttermilk with a tablespoon of kosher salt for at least 12 hours—it tenderizes the meat and keeps it juicy even if you overcook it a little.
- Skip the Crowding: After burning three batches, I finally figured out that frying too many pieces at once drops the oil temp fast, leading to undercooked insides and sad, limp crusts.
- Add Cornstarch: Sounds weird, but it works: mix a 1:1 ratio of cornstarch to flour in your dredge—it makes the coating extra crispy and holds up better to the hot oil.
Common Mistakes When Making This Recipe
Oil Temperature Neglect
Never skip the thermometer. Frying without one often leads to oil that’s too cool, resulting in greasy, soggy chicken. I always use my Taylor Classic candy thermometer to maintain a steady 350°F throughout the process.
Overcrowding the Pot
Adding too many pieces at once drops the oil temperature drastically. This causes uneven cooking and a limp crust. I fry in batches of 3-4 pieces at a time, giving each room to swim freely. 🔥
Skipping the Rest
Rushing straight to frying after breading causes the coating to fall off. That 15-20 minute rest lets the flour hydrate and stick properly. I set a timer to ensure I don’t skip this crucial step.
Inconsistent Pieces
Uneven chicken sizes mean some pieces cook faster than others. I always cut my bone-in thighs into uniform pieces, about 2-3 inches each. This ensures everything finishes at the same time.
Ignoring Internal Temp
Color isn’t enough—always check with a meat thermometer. I pull pieces when they hit 165°F internally. Dark meat can handle a few degrees higher without drying out.
Poor Draining Method
Stacking fried chicken on paper towels traps steam, making the crust soggy. I use a wire rack set over a baking sheet for proper air circulation. This keeps every piece crispy on all sides.
Nutrition Facts
Frequently Asked Questions
What’s the ideal oil temperature for frying?
Maintain 350°F for perfect crispiness. Use a thermometer to monitor—too low causes greasy coating, too high risks burning.
Can I use boneless chicken instead?
Yes, but bone-in, skin-on yields juicier results. If using boneless, reduce frying time to 10-12 minutes to prevent drying.
Why does the coating fall off sometimes?
Skipping the 15-20 minute rest after breading is the usual culprit. This step lets the flour hydrate and stick properly.
How do I keep fried chicken crispy after cooking?
Drain on a wire rack, not paper towels. This allows air circulation, preventing steam from making the crust soggy.

- 8 Bean Soup Recipe Crock Pot: Hearty Vegetable Medley in One Pot - September 25, 2026
- 4C Bread Crumbs Meatballs Recipe: Crispy Crust and Juicy Centers - September 25, 2026
- 6 Oz Chocolate Chip Cookie Recipe: Perfectly Balanced Crispy Edges and Chewy Hearts - September 25, 2026