
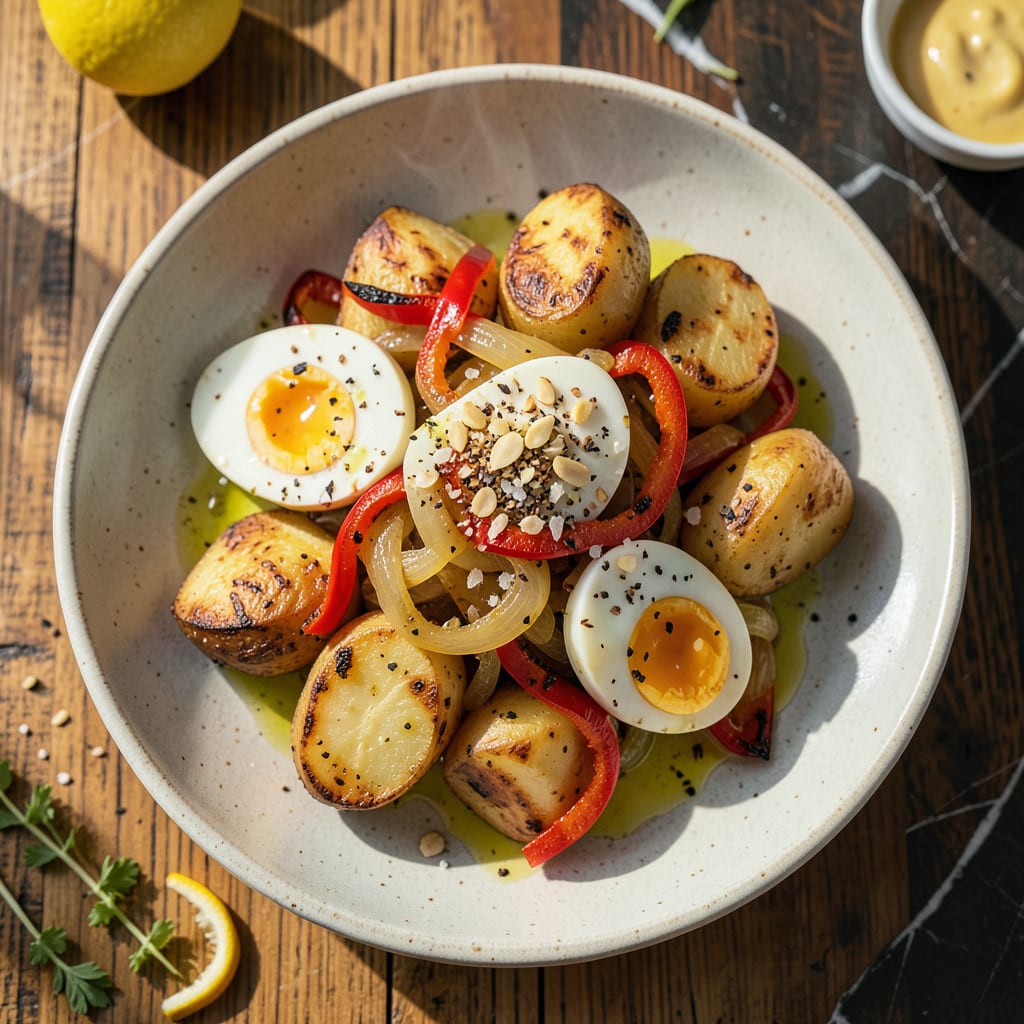
Some mornings call for a breakfast that’s both hearty and fast—this skillet hash delivers on both. I’ve made this more times than I can count when I needed something filling but didn’t want to spend all morning cooking. The secret is getting those potatoes golden and crispy while keeping the eggs just right.
You’ll end up with a pan full of crispy-edged potatoes, perfectly cooked eggs, and whatever veggies you’ve got on hand. It’s the kind of breakfast that keeps you full until lunch without weighing you down. One skillet, 20 minutes, and you’re ready to tackle the day.
Ingredients for Egg Potato
Crispy potatoes, fluffy eggs, and pantry staples—this is breakfast magic in one skillet.
| Ingredient | Amount | Notes |
|---|---|---|
| Yukon Gold Potatoes 🥔 | 1 ½ lb | Diced into 1/2-inch cubes |
| Large Eggs 🥚 | 6 whole | Room temperature preferred |
| Red Bell Pepper 🌶️ | 1 whole | Diced, seeds removed |
| Yellow Onion 🧅 | 1 whole | Medium dice for even cooking |
| Garlic Cloves 🧄 | 3 cloves | Minced for maximum flavor |
| Extra-Virgin Olive Oil 🫒 | 3 tbsp | Divided for cooking stages |
| Unsalted Butter 🧈 | 2 tbsp | For crispy potato edges |
| Kosher Salt 🧂 | 1 ½ tsp | Divided, to taste |
| Freshly Ground Black Pepper 🌶️ | ½ tsp | Adjust to preference |
| Smoked Paprika 🌶️ | ½ tsp | For depth of flavor |
| Fresh Parsley 🌿 | 2 tbsp | Chopped, for garnish |
| Shredded Cheddar Cheese 🧀 | ½ cup | Optional, for topping |
The potatoes are the star here—Yukon Golds give you that perfect crispy-outside, creamy-inside texture. I grab mine from Trader Joe’s or the local farmers market when they’re in season. Cut them into even 1/2-inch cubes so they cook uniformly. The butter matters too—unsalted lets you control the salt level (and yes, butter makes them crispier than oil alone). For the eggs, room temp is ideal but straight-from-the-fridge works in a pinch (they’ll just take 30 seconds longer).
No red bell pepper? Green bell pepper or zucchini work great—just adjust cook time slightly. Out of smoked paprika? Regular paprika plus a pinch of cayenne gets you close. The cheese is optional but if you’re using it, sharp cheddar gives the best melt. Want to make it vegan? Swap the eggs for crumbled tofu and use nutritional yeast instead of cheese. The olive oil can be any neutral oil, but extra-virgin adds nice flavor.
Leftovers keep 3-4 days in the fridge—reheat in a skillet to crisp the potatoes again. The hash freezes well for up to 2 months (portion before freezing for easy mornings). I always make extra and stash portions in the freezer—just add a fried egg when reheating. The parsley garnish is worth it (adds freshness), but skip if you’re meal-prepping ahead.
Why You’ll Love This Recipe
- One-Pan Magic: Between us, this is my lazy-day lifesaver. Yukon Golds roast alongside the peppers and onions while the eggs cook right on top—no extra pots, no fuss.
- That Golden Crisp: Here’s what sold me—the way the potato edges turn buttery-crisp while the centers stay fluffy, then you crack an egg over it all. The garlic? Non-negotiable.
- Breakfast or Dinner? Yes.: I’ve served this at 7 AM with hot sauce and at 7 PM with a side salad. My picky nephew skips the peppers but still cleans his plate. (Weeknight win.)
- Stretches Like a Pro: Honestly, five ingredients feed four of us for under $8. Leftovers? Even better—reheat with cheese for a next-day scramble that’s 100% intentional.
Step-by-Step Instructions for Egg and Potato Hash
Here’s how to create perfectly crispy potatoes and creamy eggs in one skillet—simple, fast, and foolproof.
Step 1: Parcook the Potatoes for Even Crispiness
Start by placing the 1.5 lb Yukon Gold Potatoes (already diced into ½-inch cubes) in a large microwave-safe bowl. Add 2 tablespoons of water, cover with a damp paper towel, and microwave on high for 5-6 minutes until the potatoes are just fork-tender but not mushy. This head start ensures they’ll crisp up beautifully in the pan without burning.
Drain any excess water and spread the potatoes on a clean kitchen towel to dry completely. I always press another towel on top to absorb all moisture—this is the secret to extra-crispy edges. While they dry, heat 1 tablespoon of the extra-virgin olive oil in a large cast-iron skillet over medium-high heat until it shimmers but doesn’t smoke.
Step 2: Build Flavor with Vegetables and Spices
Add the remaining 2 tablespoons extra-virgin olive oil to the hot skillet along with the 2 tablespoons unsalted butter. When the butter melts and stops foaming, add the yellow onion and red bell pepper. Cook for 4-5 minutes, stirring occasionally, until the onions turn translucent and the peppers soften slightly.
Stir in the minced garlic cloves, ½ teaspoon smoked paprika, 1 teaspoon kosher salt, and ½ teaspoon black pepper. Cook for 30 seconds until you can smell the garlic’s aroma—don’t let it brown. Immediately add the dried potatoes to the skillet, spreading them in an even layer. Press down gently with a spatula to maximize contact with the pan.
Step 3: Achieve the Perfect Crispy Texture
Let the potatoes cook undisturbed for 4-5 minutes until the bottoms develop a deep golden-brown crust. I like to peek underneath with a spatula to check the color. Once crispy, flip the potatoes in sections rather than stirring—this preserves those beautiful crispy edges you’ve worked for.
Continue cooking for another 4-5 minutes, then reduce heat to medium. Create six small wells in the potato mixture and crack each of the 6 large eggs directly into the wells. Cover the skillet immediately to trap steam—this helps the egg whites set while keeping the yolks runny.
Step 4: Finish and Garnish for Maximum Flavor
Cook covered for 4-5 minutes until the egg whites are set but the yolks are still jiggly. Remove from heat and sprinkle with the remaining ½ teaspoon kosher salt. For cheesy version, scatter the ½ cup shredded cheddar cheese over the top and return the covered skillet to low heat just until the cheese melts—about 1 minute.
Garnish with the 2 tablespoons chopped fresh parsley and let rest for 2 minutes before serving. This brief rest allows the flavors to meld together. Serve directly from the skillet while hot, making sure each portion gets a perfectly cooked egg and plenty of those crispy potato edges we worked so hard to create.
Dietary Considerations for This egg potato
Vegetarian Friendly
This dish is naturally vegetarian, making it perfect for meat-free mornings. The combination of eggs and potatoes provides complete protein with all nine essential amino acids. I love that it’s filling enough to keep me energized without any meat. The cheddar cheese adds extra protein and calcium if you choose to include it.
Gluten-Free Adaptation
For those avoiding gluten, this recipe is already safe as written—no flour or bread products are used. Just double-check your spices and cheese labels to ensure they’re certified gluten-free. I’ve served this to gluten-sensitive friends many times without any issues. The crispy potatoes and eggs make it satisfying without needing gluten-containing ingredients.
Dairy-Free Option
To make this dairy-free, simply omit the cheddar cheese and unsalted butter. Replace the butter with an additional 1 tablespoon olive oil for cooking. The potatoes will still get crispy, and the eggs provide plenty of richness. I’ve made it this way often, and honestly, you don’t miss the dairy when the potatoes are perfectly seasoned.
Lower-Carb Version
If you’re watching carbs, reduce the potatoes to 1 lb and add 1 cup diced zucchini or cauliflower rice to bulk it up. The eggs and cheese (if using) will help balance the macros. I find this version still satisfies my breakfast cravings while keeping carbs in check. The zucchini adds nice texture contrast too.
Egg-Free Alternative
For vegan or egg-free diets, swap the eggs for ½ cup crumbled firm tofu seasoned with ¼ tsp turmeric and ¼ tsp black salt (for that eggy flavor). Add it when you’d normally cook the eggs. The tofu soaks up all the smoky, garlicky flavors beautifully. I was surprised how well this worked when I tested it for my vegan sister.
Allergy Considerations
This recipe is naturally free from nuts, soy, and shellfish. For nut allergies, just ensure your cooking environment is nut-free. The only potential allergen is eggs, which can be omitted as mentioned above. I always appreciate recipes that are naturally allergy-friendly—it makes hosting so much easier when you don’t have to worry about cross-contamination. 💛
Nutrition Facts
Frequently Asked Questions
Can I use a different type of potato?
Russet potatoes work well for extra crispiness, but they’ll be less creamy inside. Avoid waxy red potatoes—they don’t crisp up as nicely. Stick with Yukon Golds for the best balance of crispy edges and tender centers.
Why microwave the potatoes first?
This 5-6 minute head start ensures even cooking without burning. Raw potatoes take too long to soften in the pan, risking burnt outsides before the insides cook through. The microwave method guarantees perfectly crispy results every time.
Can I make this ahead for meal prep?
Cook the potato base completely, then store in the fridge for 3-4 days. Reheat in a skillet, make fresh wells, and add eggs. The potatoes will re-crisp beautifully. Freeze portions (without eggs) for up to 2 months.
What if my eggs aren’t setting properly?
Keep the heat at medium and ensure your skillet is fully covered. If whites are still runny after 5 minutes, add 1 tablespoon water to the pan and cover for another 1-2 minutes. The steam will help them set.

- 8 Bean Soup Recipe Crock Pot: Hearty Vegetable Medley in One Pot - September 25, 2026
- 4C Bread Crumbs Meatballs Recipe: Crispy Crust and Juicy Centers - September 25, 2026
- 6 Oz Chocolate Chip Cookie Recipe: Perfectly Balanced Crispy Edges and Chewy Hearts - September 25, 2026