
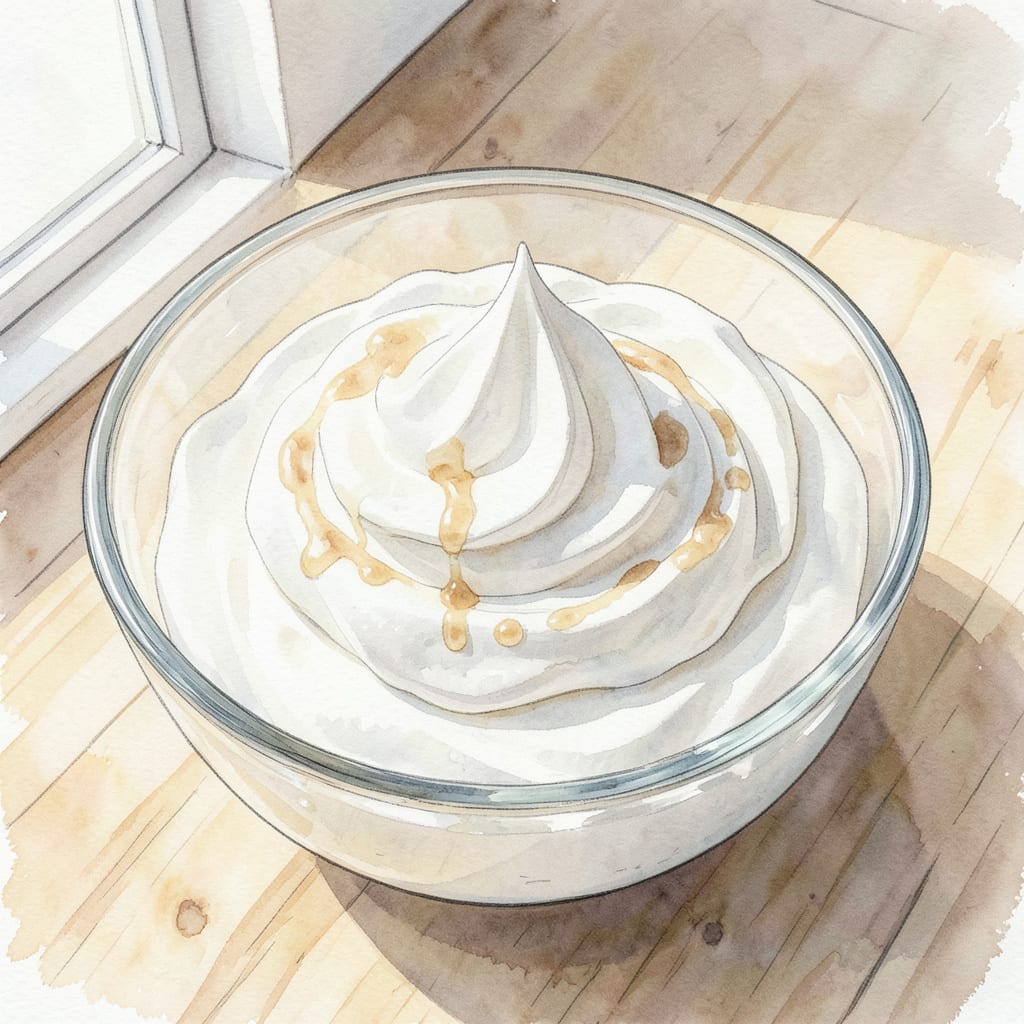
Egg white whipped cream is a game-changer for dessert lovers looking for a lighter alternative to traditional whipped cream. By whipping egg whites with sugar and cream of tartar, you’ll create a stable, airy topping that’s perfect for cakes, pies, and other sweet treats.
This recipe is surprisingly simple and requires just a few ingredients. With precise measurements and a bit of patience, you’ll be rewarded with a beautifully whipped cream that holds its shape and adds a delightful texture to your desserts.
Ingredients for Egg White Whipped Cream
Simple ingredients come together to create this light and airy dessert topping.
| Ingredient | Amount | Notes |
|---|---|---|
| Egg Whites 🥚 | 3 whole | Room temperature preferred |
| Granulated Sugar 🍮 | ¾ cup | Superfine or caster sugar |
| Cream of Tartar 🧂 | ¼ tsp | Stabilizes egg whites |
| Vanilla Extract 🌿 | ½ tsp | Optional, for flavor |
For the best results, make sure your egg whites are at room temperature—this helps them whip up fluffier. I like to separate them the night before and let them sit on the counter. Organic egg whites work great if you’ve got them, but regular ones are fine too. The cream of tartar is key here—it stabilizes the mixture and helps it hold its shape.
No superfine sugar? Just pulse granulated sugar in a food processor until it’s finer—that’ll do the trick. If you’re feeling fancy, add a pinch of salt to help stabilize the egg whites further. Vanilla extract is optional, but it adds a nice depth of flavor (I usually add it, but you can skip it if you’re out).
This whipped cream is best used immediately, but it can be stored in an airtight container in the fridge for up to 24 hours. Give it a good whip before using again—it might need a bit of re-whipping to get it back to its original fluffiness. If you’re making it ahead, consider adding the vanilla just before serving for the best flavor.
Step-by-Step Instructions for Egg White Whipped Cream
Creating this light and airy dessert topping is easier than you think – let’s get started.
Step 1: Prepare the Egg Whites
Begin by ensuring your 3 whole Egg Whites are at room temperature – this makes a huge difference in how well they whip up. I like to take them out of the fridge about 30 minutes before starting. In a large, clean mixing bowl (glass or stainless steel works best), combine the Egg Whites and 0.25 tsp Cream of Tartar. The Cream of Tartar is crucial as it stabilizes the egg whites and helps them hold their structure.
Beat the mixture on medium speed using an electric mixer until it becomes frothy and bubbly. You’ll notice this happening within about 1-2 minutes. The mixture will start to look like soapy water – that’s your signal that you’re on the right track.
Step 2: Gradually Add Sugar
With the mixer still running, gradually add the 0.75 cup Granulated Sugar in a slow, steady stream. I like to add it over about 30 seconds to 1 minute – too fast and it won’t incorporate properly. Continue beating until the mixture becomes thick and glossy, forming soft peaks. This should take about 5-7 minutes total from when you started adding the sugar.
You’ll know you’re getting close when you see the mixture start to hold its shape in the bowl. Keep beating until you achieve those soft peaks – when you lift the beaters, the peaks should flop over slightly. Be careful not to overbeat at this stage.
Step 3: Whip to Stiff Peaks
Continue whipping the mixture on high speed until you achieve stiff peaks. This is when the mixture becomes very thick and holds its shape firmly – when you lift the beaters, the peaks should stand straight up. This usually takes another 2-3 minutes after you’ve reached the soft peak stage.
If you’re using the 0.5 tsp Vanilla Extract, add it during the last 10 seconds of whipping. This preserves the delicate flavor and prevents it from cooking off. Stop the mixer occasionally to scrape down the sides of the bowl – this ensures everything gets fully incorporated.
Step 4: Final Check and Use
Stop the mixer and examine your whipped cream. It should be thick, glossy, and hold its shape beautifully. If it’s still a bit too soft, continue whipping for another 30 seconds to 1 minute until it reaches the desired consistency. Be careful not to over-whip, as this can cause the mixture to break and become grainy.
Use your Egg White Whipped Cream immediately, or store it in the refrigerator for up to 24 hours. If it loses some volume after refrigeration, a quick whip with the mixer will restore it to its original fluffiness. This topping is perfect for desserts, hot chocolate, or as a light accompaniment to fresh fruit – it makes about 4 servings, so you can share or save some for later.
Dietary Considerations for This Dish
Keto Considerations
This egg white whipped cream is naturally keto-friendly since it’s made with just egg whites, sugar (which can be substituted with a keto sweetener), and cream of tartar. To make it fully keto, replace the ¾ cup granulated sugar with a sugar substitute like erythritol or monk fruit sweetener. Be sure to choose a powdered version to avoid graininess. 💪
Gluten-Free Status
This whipped cream recipe is inherently gluten-free, making it suitable for those with celiac disease or gluten sensitivity. The ingredients—egg whites, sugar, and cream of tartar—contain no gluten. Just be cautious with your sugar source if you’re highly sensitive, as some sugars may be processed in facilities that handle gluten-containing grains.
Dairy-Free Adaptation
While traditional whipped cream contains dairy, this egg white version is already dairy-free. You can use it as a topping for dairy-free desserts or with non-dairy milks. For an extra creamy texture, some people add a splash of coconut cream, though this will change the flavor slightly.
Low-Carb Variations
To reduce the carb count even further, use a low-carb sweetener like allulose or xylitol. These sugar substitutes provide sweetness without the carbohydrates. Start with a small amount and adjust to taste, as some sugar substitutes are sweeter than sugar.
Storage and Safety
Since this whipped cream contains raw egg whites, it’s essential to store it properly. Keep it refrigerated at 40°F or below and consume within 24 hours. If you’re concerned about raw eggs, consider using pasteurized egg whites to minimize the risk of foodborne illness. 🔥
Allergy Considerations
This recipe is egg-based, so it’s not suitable for those with egg allergies. However, it’s free from common allergens like nuts, dairy, and gluten, making it a good option for many with dietary restrictions. Always check with your guests about specific allergies before serving.
Nutrition Facts
120kcal

- 8 Bean Soup Recipe Crock Pot: Hearty Vegetable Medley in One Pot - September 25, 2026
- 4C Bread Crumbs Meatballs Recipe: Crispy Crust and Juicy Centers - September 25, 2026
- 6 Oz Chocolate Chip Cookie Recipe: Perfectly Balanced Crispy Edges and Chewy Hearts - September 25, 2026