
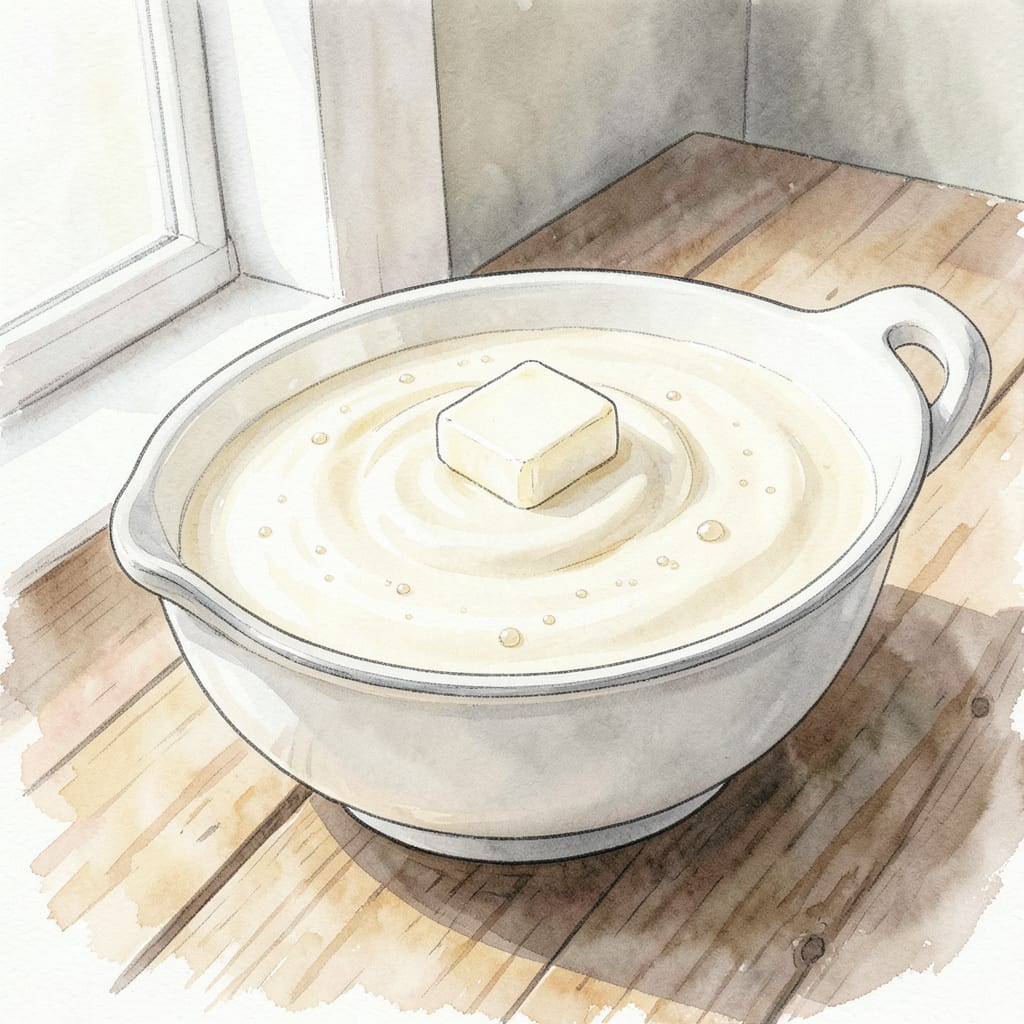
I’ve perfected a light cream recipe that’s both rich and creamy, making it an excellent homemade alternative to store-bought versions. This sauce/condiment recipe is incredibly versatile and can be used in various dishes.
By combining simple ingredients like heavy cream, milk, and a touch of butter, you’ll achieve a creamy texture that’s homemade goodness at its finest. This recipe is perfect for those seeking a lighter cream option without sacrificing flavor.
Ingredients for Light Cream
Simple ingredients create a rich and creamy homemade light cream alternative.
| Ingredient | Amount | Notes |
|---|---|---|
| Heavy Cream 🥛 | 1 cup | High quality, full-fat preferred |
| Whole Milk 🥛 | ½ cup | For lighter consistency |
| Unsalted Butter 🧈 | 2 tbsp | Melted for blending |
For the best results, use high-quality heavy cream—the kind you’d actually drink. Cold ingredients make blending easier. If you’re using this in savory dishes, skip the sugar. For desserts, a pinch of sugar helps balance flavors. The butter adds richness, so don’t skip it.
No heavy cream? Half-and-half works too, but reduce the milk slightly. Want it even lighter? More milk, less cream—just be aware it won’t be as rich. For a dairy-free version, try coconut cream with a splash of non-dairy milk. The butter can be replaced with vegan butter if needed.
This keeps for 5-7 days in the fridge. Give it a good whisk before using since it might separate. If you’re making it ahead, you can refrigerate overnight and re-whisk in the morning. Freezing isn’t recommended as it can affect texture.
Step-by-Step Instructions for Light Cream
Creating this rich and creamy homemade alternative is straightforward with these detailed steps.
Step 1: Combine the Heavy Cream and Whole Milk
In a medium saucepan, gently combine the 1 cup Heavy Cream and 0.5 cup Whole Milk. I prefer using a saucepan with a heavy bottom as it distributes heat evenly, preventing scorching. The mixture of heavy cream and whole milk provides a perfect balance between richness and lightness.
Place the saucepan over medium heat, stirring occasionally to prevent the cream from sticking to the bottom. You’ll notice the mixture starting to warm up and develop a subtle sheen on its surface. Be patient during this step, as heating the mixture gently is crucial for achieving the right consistency.
Step 2: Melt the Unsalted Butter and Blend
While the cream mixture is warming, melt the 2 tbsp Unsalted Butter in a separate small saucepan over low heat. I find that melting the butter slowly helps it incorporate more smoothly into the cream mixture later. Once melted, remove it from the heat and let it cool slightly.
When the cream mixture reaches a gentle simmer (around 170°F to 180°F), remove it from the heat. Slowly pour the melted butter into the cream mixture while gently whisking. This step is critical as it helps to emulsify the mixture, giving your homemade light cream its smooth and creamy texture.
Step 3: Cool and Chill the Mixture
Allow the mixture to cool to room temperature. I recommend transferring it to a clean container to speed up the cooling process. Once cooled, cover the container with plastic wrap, pressing the wrap directly onto the surface of the cream to prevent a skin from forming.
Refrigerate the mixture for at least 2 hours or until it is thoroughly chilled. Chilling is essential as it allows the flavors to meld together and the mixture to thicken slightly, enhancing its overall quality and usability in various recipes.
Step 4: Final Preparation and Storage
Before using, give the chilled light cream a good stir to ensure it’s smooth and well combined. If you find it too thick for your needs, you can gently whisk in a little more whole milk to achieve your desired consistency.
Transfer the homemade light cream to an airtight container for storage. It will keep in the refrigerator for up to 3 days. I always label my containers with the date to keep track of freshness. This homemade alternative is perfect for various culinary applications, from sauces and soups to desserts and baked goods.
Dietary Considerations for These Flavors
Dietary Modifications
For a lower-fat version, you can substitute the heavy cream with half-and-half or reduce the amount of heavy cream and increase the whole milk. This will result in a lighter consistency while still maintaining some richness. Keep in mind that using low-fat milk will further reduce the calorie content.
Dairy-Free Alternatives
If you’re looking for a dairy-free alternative, you can use coconut cream as a substitute for heavy cream. Mix it with a non-dairy milk like almond milk or soy milk to achieve the desired consistency. The melted butter can be replaced with vegan butter or a dairy-free alternative to maintain the creamy texture.
Gluten-Free Considerations
This light cream recipe is naturally gluten-free, making it suitable for those with gluten intolerance or sensitivity. Just ensure that any additional ingredients you mix into the cream are also gluten-free. Always check the labels of store-bought ingredients like flavorings or thickeners to confirm they meet gluten-free standards.
Storage and Shelf Life
Proper storage is crucial for maintaining the quality of your homemade light cream. Store it in an airtight container in the refrigerator at a temperature below 40°F. It will typically last for 5-7 days. If you won’t be using it within that timeframe, consider freezing it, though the texture may change upon thawing.
Reheating Tips
When reheating your light cream, do so gently over low heat, whisking constantly to prevent it from breaking or curdling. If it has thickened too much in the fridge, you can thin it out with a small amount of whole milk or water. This will help restore its original creamy consistency.
Versatility in Recipes
This homemade light cream is incredibly versatile and can be used in a variety of dishes, from savory sauces and soups to desserts and baked goods. Its mild flavor makes it a great base for adding different seasonings or sweeteners, depending on your needs. Experiment with it in your favorite recipes to add a touch of homemade goodness. 🥛
Nutrition Facts
120kcal

- 8 Bean Soup Recipe Crock Pot: Hearty Vegetable Medley in One Pot - September 25, 2026
- 4C Bread Crumbs Meatballs Recipe: Crispy Crust and Juicy Centers - September 25, 2026
- 6 Oz Chocolate Chip Cookie Recipe: Perfectly Balanced Crispy Edges and Chewy Hearts - September 25, 2026