
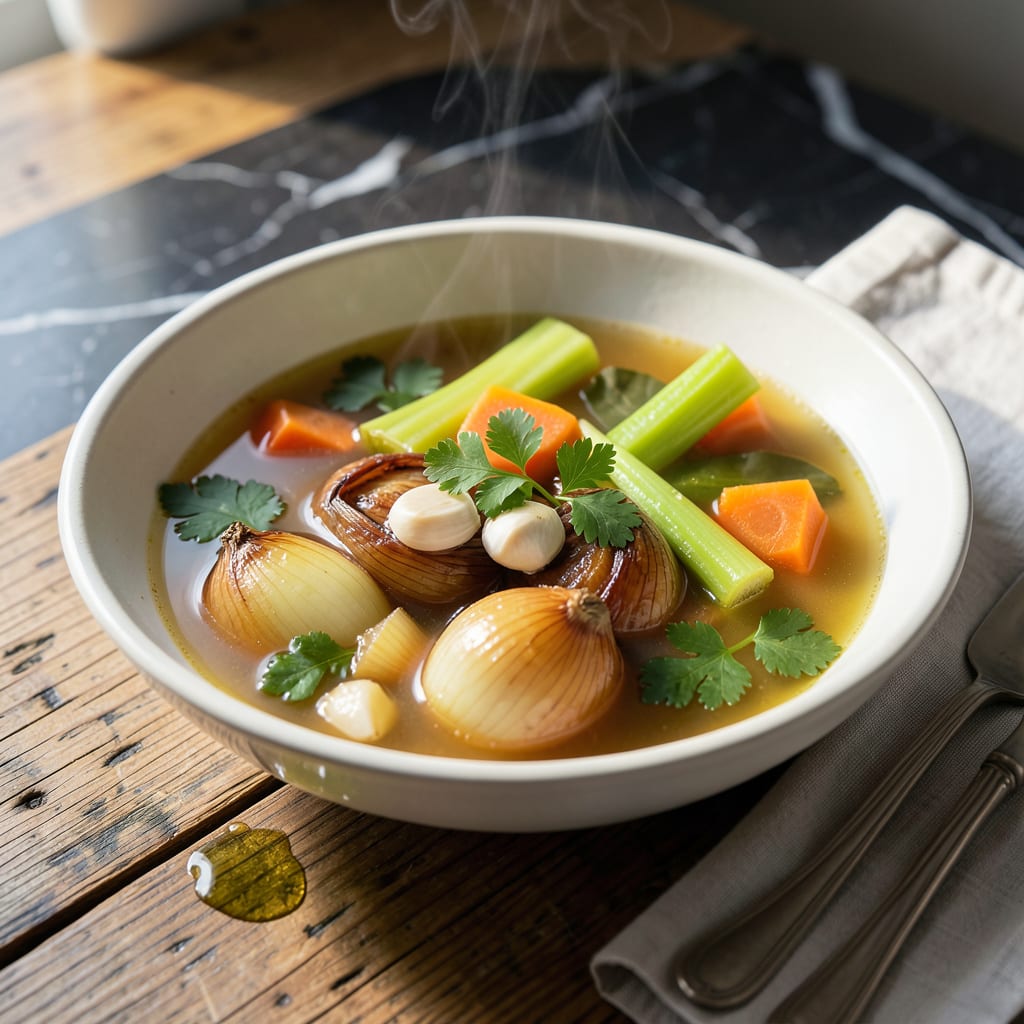
This zero-calorie broth delivers rich flavor without any fat, creating a perfect base for countless recipes. The secret lies in a long, gentle simmer that extracts maximum depth from vegetables and herbs.
With just a few simple ingredients and 2 hours of simmering, you’ll have a versatile, fat-free foundation that enhances soups, sauces, and grains without adding calories.
Ingredients for Fat Free Broth
A handful of vegetables and herbs simmered slowly for bold, zero-calorie depth.
| Ingredient | Amount | Notes |
|---|---|---|
| Yellow Onions 🧅 | 2 whole | Quartered, skins on for color |
| Carrots 🥕 | 3 whole | Scrubbed, cut into chunks |
| Celery Stalks 🌿 | 3 whole | Including leafy tops |
| Garlic Cloves 🧄 | 6 cloves | Smash to release flavor |
| Fresh Parsley 🌿 | 1 bunch | Stems included for depth |
| Bay Leaves 🍃 | 2 whole | Dried, whole leaves |
| Black Peppercorns 🌶️ | 1 tsp | Whole, lightly crushed |
| Dried Thyme 🌿 | 1 tsp | Or 3 sprigs fresh |
| Mushroom Stems 🍄 | 1 cup | From cremini or button |
| Tomato Paste 🍅 | 2 tbsp | For umami depth |
| Water 💧 | 12 cups | Filtered or cold tap |
| Apple Cider Vinegar 🍏 | 1 tbsp | Balances flavors naturally |
[recipeingredientscaler]
The vegetables form the flavor base here. Organic produce isn’t mandatory, but it delivers cleaner taste—Whole Foods or your local farmers market are ideal. Don’t peel the onions or carrots; those skins release rich color and nutrients. For the mushrooms, save stems from other recipes (cremini or button work best). Fresh herbs are preferable, but dried will suffice if that’s what you have on hand.
No tomato paste? Miso paste at half the amount adds similar umami. Swap apple cider vinegar for white wine vinegar or lemon juice—both brighten the broth. For extra depth, add a parmesan rind (if not strictly vegan) or a piece of kombu. The key is patience—2 hours of gentle simmering extracts maximum flavor without fat or calories.
Strain and cool before storing. Keeps in the fridge for 5 days or freeze for 6 months. Use it as a base for soups, grains, or sauces—anywhere you want rich flavor without the fat. Portion into ice cube trays for easy single-serving use.
Why You’ll Love This Recipe
- Dump and Simmer: I just toss in the onions, carrots, celery, and garlic—no fussing with fat or oil, then let it bubble away.
- Rich Without Guilt: Honestly, the slow-simmered garlic and parsley give it a depth that tastes indulgent, but it’s completely fat-free.
- Meal Prep Magic: I make a big batch on Sunday and use it all week for soups, grains, or braising veggies.
- Pennywise Pot: Between us, a handful of humble veggies and herbs turns into quarts of broth for almost nothing.
Step-by-Step Instructions for Fat Free Broth
This method ensures maximum flavor extraction while maintaining a completely fat-free, clear result.
Step 1: Prepare and Toast the Aromatics
Begin by quartering the 2 whole Yellow Onions (skins on) and cutting the 3 whole Carrots and 3 whole Celery Stalks into large chunks. The onion skins contribute a deep amber color to the broth, so don’t peel them. Smash the 6 cloves Garlic Cloves lightly to release their oils.
Heat a large stockpot over medium-high heat without any oil. Add the prepared vegetables and toast for 5-7 minutes, stirring occasionally, until they begin to brown lightly and release their fragrance. This caramelization step develops complex flavors that will infuse into the broth.
Step 2: Build the Flavor Foundation
Once the vegetables are toasted, add the 1 cup Mushroom Stems, 2 tbsp Tomato Paste, 1 tsp Black Peppercorns (lightly crushed), 1 tsp Dried Thyme, 2 whole Bay Leaves, and 1 bunch Fresh Parsley (stems included) to the pot. Stir to combine with the vegetables.
The tomato paste adds umami depth, while the herbs and spices create a balanced aromatic base. The parsley stems, often discarded, contain concentrated flavor that enhances the broth significantly. Toast these ingredients together for 2-3 minutes to bloom their flavors.
Step 3: Simmer for Maximum Extraction
Pour in the 12 cups Water and 1 tbsp Apple Cider Vinegar. The vinegar helps extract minerals from the vegetables and bones if you were using them, but here it simply brightens the overall flavor profile. Stir well to incorporate all the toasted ingredients.
Bring the mixture to a boil, then reduce the heat to low to maintain a gentle simmer. Partially cover the pot and let it simmer for 2 to 2.5 hours. Skim off any foam that rises to the surface during the first 30 minutes of simmering—this ensures a clean, clear broth.
Step 4: Strain and Finish
After simmering, the liquid should have reduced slightly and taken on a rich, golden color. Remove the pot from heat and let it sit for 10 minutes to allow the solids to settle.
Set a fine-mesh strainer over a large bowl or another clean pot. Line it with cheesecloth if you want an exceptionally clear broth. Carefully ladle the broth through the strainer, pressing gently on the solids to extract all the liquid. Discard the spent vegetables and aromatics. Your fat-free broth is now ready to use or store.
Pro Tips For Making Fat Free Broth
- Char the Veggies: Roast the onions, carrots, and celery in a dry pan until deeply browned—this builds rich flavor without any added fat.
- Skip the Peeling: Just scrub the carrots and celery well; the peels add depth and body to fat-free broth.
- Cold Water Start: Always begin with cold water to gently extract flavors from the aromatics, rather than shocking them with hot water.
- Simmer, Don’t Boil: Keep it at a gentle simmer—hard boiling makes the broth cloudy and can turn the vegetables bitter.
Pro Cooking Tips for fat free broth
Skip the Skim
Always skim the foam during the first 30 minutes of simmering—this removes impurities that could cloud your broth. I use a fine-mesh skimmer from OXO for this. The clearer the broth, the cleaner the flavor in your final dishes.
Toast for Depth
Toasting the vegetables before adding water is non-negotiable. It develops the Maillard reaction that creates deep, complex flavors. Heat your stockpot to medium-high and toast for 5-7 minutes until lightly browned.
Vinegar’s Role
The 1 tbsp Apple Cider Vinegar isn’t just for acidity—it helps extract every bit of flavor and minerals from the vegetables. Don’t skip it, and don’t substitute with wine vinegar, which has a sharper taste. 💡
Low and Slow
Maintain a gentle simmer, never a rolling boil. Boiling can make the broth bitter and cloudy. Partially cover the pot to retain moisture while allowing steam to escape. This ensures a clean, flavorful result.
Strain Twice
For crystal-clear broth, strain first through a fine-mesh sieve, then through cheesecloth. Press the solids gently—squeezing too hard can make the broth bitter. I reuse my Cuisinox strainer for this step.
Cool Properly
Let the broth cool to room temperature before refrigerating. Placing hot liquid directly in the fridge can raise its internal temperature. I spread my pot in a sink of ice water to speed this up safely. ❄️
Nutrition Facts
Frequently Asked Questions
Can I use frozen vegetables for this?
Yes, frozen works but fresh yields better flavor. Thaw first to avoid excess water diluting your broth. Frozen veggies can be less vibrant but still contribute good depth when simmered for 2 hours.
Why toast the vegetables first?
Toasting develops the Maillard reaction, creating deeper, more complex flavors. It’s the difference between flat and rich broth. Use medium-high heat for 5-7 minutes to achieve this.
How long can I store the broth?
Store in the fridge for up to 5 days or freeze for 6 months. For freezing, portion into airtight containers or ice cube trays for easy use.
What if my broth turns cloudy?
Cloudiness usually means you didn’t skim foam or boiled too hard. Strain through cheesecloth to clarify. Next time, maintain a gentle simmer and skim during the first 30 minutes.

- 8 Bean Soup Recipe Crock Pot: Hearty Vegetable Medley in One Pot - September 25, 2026
- 4C Bread Crumbs Meatballs Recipe: Crispy Crust and Juicy Centers - September 25, 2026
- 6 Oz Chocolate Chip Cookie Recipe: Perfectly Balanced Crispy Edges and Chewy Hearts - September 25, 2026