
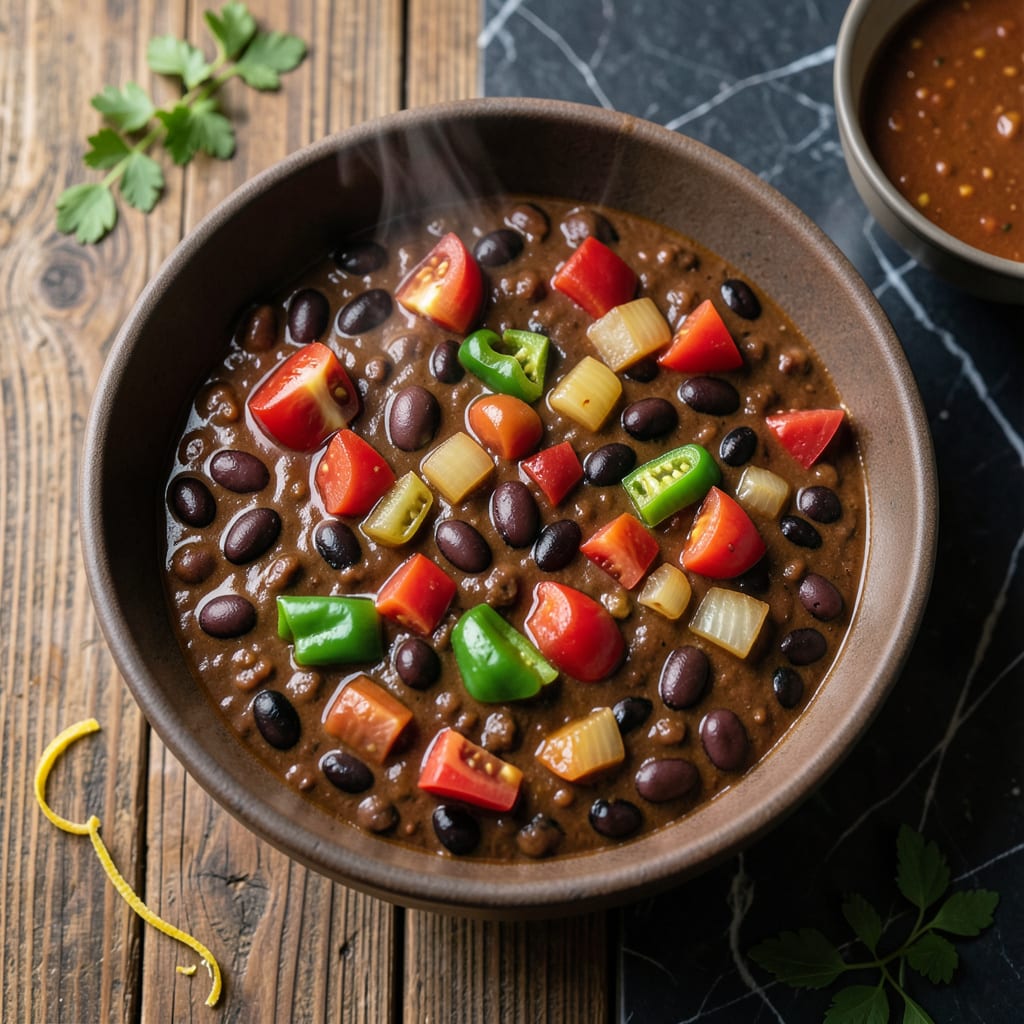
This chili delivers bold flavor without compromising on health. A carefully balanced blend of beans, vegetables, and spices creates a dish that’s both satisfying and completely fat-free.
Slow simmering allows the ingredients to meld together, producing a thick, hearty texture. The result is a comforting bowl that proves you don’t need fat for richness.
Ingredients for Fat Free Chili
Bold, hearty, and completely fat-free. These pantry staples deliver rich, satisfying flavor without compromise.
| Ingredient | Amount | Notes |
|---|---|---|
| Black Beans 🫘 | 2 cans | Drained and rinsed |
| Kidney Beans 🫘 | 2 cans | Drained and rinsed |
| Diced Tomatoes 🍅 | 2 cans | No salt added preferred |
| Tomato Paste 🍅 | 2 tbsp | For depth of flavor |
| Yellow Onion 🧅 | 1 whole | Medium, finely diced |
| Green Bell Pepper 🌶️ | 1 whole | Medium, finely diced |
| Garlic Cloves 🧄 | 4 cloves | Minced for maximum flavor |
| Vegetable Broth 🍲 | 2 cups | Low-sodium preferred |
| Chili Powder 🌶️ | 2 tbsp | Adjust for heat preference |
| Ground Cumin 🌿 | 1 tbsp | Toasted for deeper flavor |
| Smoked Paprika 🌶️ | 1 tsp | For smoky depth |
| Dried Oregano 🍃 | 1 tsp | Mexican oregano if available |
| Cayenne Pepper 🔥 | ¼ tsp | Optional for heat |
| Salt 🧂 | 1 tsp | Diamond Crystal preferred |
| Black Pepper 🌶️ | ½ tsp | Freshly ground |
The beans are the foundation here. Goya or Eden Organic offer consistent quality and texture. For the tomatoes, Muir Glen fire-roasted adds a subtle smokiness that elevates the dish. Fresh vegetables matter—choose firm, vibrant bell peppers and onions without soft spots. I always grab low-sodium vegetable broth to control the seasoning myself, and Penzeys spices are my go-to for potency and freshness.
No black beans? Pinto beans work just as well. Out of kidney beans? Red beans add similar texture and color. Fresh tomatoes can replace canned in a pinch (use about 4 whole), though the flavor profile will differ slightly. For extra depth, a splash of balsamic vinegar at the end mimics the richness fat would provide. The cayenne can be omitted for a milder version, or increased for more heat.
This chili tastes even better the next day once flavors meld. Stores in the fridge for 5 days or freezes for 3 months. Portion into airtight containers for easy grab-and-go meals. The texture thickens upon standing, so a splash of water or broth may be needed when reheating.
Why You’ll Love This Recipe
- One Pot Wonder: I toss everything in at once—beans, tomatoes, onion—and let it simmer. No fuss, no extra pans to wash.
- Rich Without Fat: The tomato paste and onions build deep flavor, so you don’t miss the oil or meat one bit.
- Feeds a Crowd: I make a double batch for game day or potlucks. It’s always the first thing gone.
- Budget Stretcher: Black beans and kidney beans cost pennies and fill you up. Honestly, it’s my cheapest meal that still feels hearty.
Step-by-Step Instructions for Fat Free Chili
This method builds layers of flavor while maintaining a light, healthy profile.
Step 1: Sauté Aromatic Vegetables
Heat a large pot over medium heat and add the finely diced yellow onion and green bell pepper. Cook for 5-6 minutes, stirring occasionally, until the vegetables soften and the onion becomes translucent.
This base creates the foundation for your chili’s depth of flavor. The natural sweetness of the onion and pepper will caramelize slightly, adding complexity without any added fat. Watch for the edges of the onion to turn light golden—that’s your visual cue.
Step 2: Bloom Spices and Add Garlic
Stir in the minced garlic, chili powder, ground cumin, smoked paprika, dried oregano, cayenne pepper, salt, and black pepper. Cook for 1 minute until the spices become fragrant.
This technique, called blooming, awakens the spices’ essential oils, maximizing their flavor impact. The mixture should look like a thick paste coating the vegetables. Be careful not to let the garlic burn—it should sizzle but not darken.
Step 3: Build the Base with Tomatoes and Paste
Add the diced tomatoes (with their juice) and tomato paste. Stir well to incorporate, then pour in the vegetable broth. Bring the mixture to a gentle boil, then reduce heat to low.
The tomato paste will darken slightly as it cooks, deepening in color from bright red to a richer, brick-red hue. This color change signals that the raw tomato flavor is cooking out, leaving behind concentrated umami richness.
Step 4: Simmer with Beans
Add the black beans and kidney beans (drained and rinsed). Stir to combine, then let the chili simmer uncovered for 20-25 minutes.
You’ll notice the liquid reducing slightly and the flavors melding together. The beans should remain intact but become tender and absorb some of the liquid. Stir occasionally to prevent sticking, and adjust thickness with a splash of water if needed.
Step 5: Adjust and Finish
Taste and adjust seasoning. The chili should have a balanced, robust flavor with a slight smokiness from the paprika. If you prefer more heat, this is the moment to add a pinch more cayenne pepper.
Let the chili rest for 5-10 minutes off the heat before serving. This allows the flavors to fully marry and the liquid to thicken slightly. The final texture should coat the back of a spoon, with beans suspended in a rich, flavorful sauce.
Pro Tips For Making Fat Free Chili
- Bloom the Paste: Cook the tomato paste for 2-3 minutes in the pot before adding liquids—this deepens the flavor and removes the raw taste that can make fat-free chili taste flat.
- Drain the Beans: Rinse and drain both black and kidney beans thoroughly to remove excess starch, which can make the chili gummy instead of thick and hearty.
- Skip the Salt Early: Hold off on salting until the end, since canned beans and tomatoes already contain sodium; I learned this the hard way after oversalting three batches in a row.
- Simmer Uncovered: Let the chili simmer uncovered for the last 10-15 minutes to reduce and concentrate the flavors—it’s the easiest way to make fat-free chili taste rich instead of watery.
Storing and Reheating Leftovers
Refrigerator Storage
Let your chili cool for no more than 2 hours before transferring to airtight containers. I use glass Pyrex with snap-on lids for easy storage. Store at 40°F or below for up to 5 days. The flavors actually improve overnight as the spices meld. ❄️
Freezer Storage
This chili freezes beautifully for up to 3 months without quality loss. I recommend quart-size freezer bags—they stack efficiently and thaw faster than containers. Leave 1 inch of headspace for expansion and squeeze out excess air to prevent freezer burn.
Stovetop Reheating
This is my preferred method because it maintains the best texture. Pour chili into a heavy-bottomed pot, add ¼ cup water or vegetable broth to prevent sticking, and heat over medium-low heat for 10-15 minutes. Stir occasionally and adjust seasonings if needed. 🔥
Microwave Reheating
For quick meals, microwave individual portions covered with a damp paper towel. Heat on 70% power for 2-3 minutes, stir, then continue in 1-minute intervals until reaching 165°F. Add a splash of water if it looks dry.
Thawing Tips
For best results, thaw overnight in the refrigerator. If you’re in a hurry, submerge the sealed bag in cold water, changing the water every 30 minutes. Never thaw at room temperature—this can lead to uneven heating and potential food safety issues.
Nutrition Facts
Frequently Asked Questions
Can I make this in a slow cooker?
Combine all ingredients and cook on low for 6-8 hours or high for 3-4 hours. The longer cook time deepens the flavors beautifully.
What if my chili is too thin?
Simmer uncovered for an extra 10-15 minutes to reduce the liquid. For a quicker fix, mash some beans to thicken it naturally.
Can I add meat substitutes?
Yes, try 1 cup of crumbled tempeh or textured vegetable protein. Brown it first for better texture and flavor.
How do I make it spicier?
Increase the cayenne to ½ teaspoon or add 1 chopped jalapeño with the bell pepper. Taste and adjust gradually.

- 8 Bean Soup Recipe Crock Pot: Hearty Vegetable Medley in One Pot - September 25, 2026
- 4C Bread Crumbs Meatballs Recipe: Crispy Crust and Juicy Centers - September 25, 2026
- 6 Oz Chocolate Chip Cookie Recipe: Perfectly Balanced Crispy Edges and Chewy Hearts - September 25, 2026