
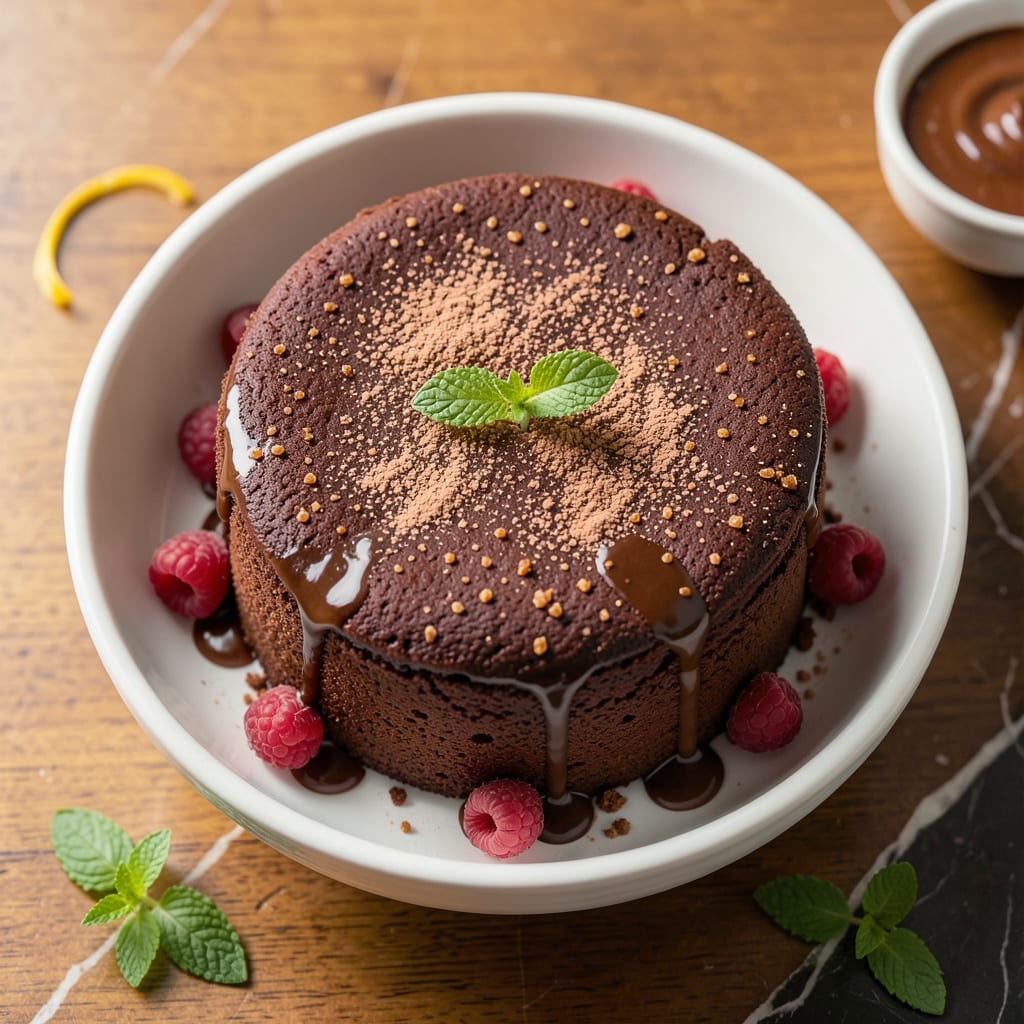
This recipe proves you don’t need butter to achieve moist, rich chocolate cake. I developed it to satisfy cravings without the guilt, using simple ingredient swaps that maintain decadence.
The key is applesauce and Greek yogurt, which replace fat while keeping the texture tender. The result is a surprisingly luscious cake that even skeptics won’t believe is fat free.
Ingredients for Fat Free Chocolate Cake
Pantry staples plus a couple clever swaps make this cake surprisingly luscious.
| Ingredient | Amount | Notes |
|---|---|---|
| All-Purpose Flour 🌾 | 2 cups | Sifted for lighter texture |
| Granulated Sugar 🍚 | 1 ½ cups | Fine white sugar preferred |
| Unsweetened Cocoa Powder 🍫 | ¾ cup | Dutch-processed for richness |
| Baking Soda 🧂 | 1 ½ tsp | Ensures proper rise |
| Baking Powder 🧂 | 1 tsp | Double-acting for best results |
| Salt 🧂 | ½ tsp | Enhances chocolate flavor |
| Large Eggs 🥚 | 2 whole | Room temperature for best volume |
| Unsweetened Applesauce 🍎 | 1 ½ cups | Replaces butter for moisture |
| Plain Nonfat Greek Yogurt 🥛 | ½ cup | Adds tenderness without fat |
| Vanilla Extract 🌿 | 2 tsp | Pure extract for best flavor |
| Brewed Coffee ☕ | 1 cup | Enhances chocolate depth |
| Hot Water 💧 | ½ cup | Helps bloom cocoa |
The cocoa powder is doing heavy lifting here—Hershey’s Special Dark (the one in the red can) has the right intensity without being bitter. King Arthur Flour is my go-to for all-purpose, but any brand works. The applesauce should be unsweetened (sweetened adds sugar you can’t account for). I grab Mott’s Natural at the regular grocery store—no fuss, always in stock.
No Greek yogurt? Regular nonfat yogurt works in a pinch (strain it in a sieve for 10 minutes first). Out of applesauce? Mashed banana at the same amount but expect a hint of banana flavor. The coffee can be decaf, cold brew concentrate, or even hot water with a teaspoon of instant coffee. Want more richness? Swap the granulated sugar for light brown sugar.
Cake stays moist for 3-4 days at room temp under a cake dome. Refrigerating dries it out, so avoid unless it’s humid. Freezes beautifully—wrap slices in plastic then foil for up to 3 months. Thaw at room temperature before serving (microwaving makes it gummy).
Why You’ll Love This Recipe
- One Bowl Wonder: I just dump the flour, sugar, cocoa, baking soda, and powder in a bowl—no creaming, no fuss.
- Rich Without Guilt: The cocoa powder gives it this deep chocolate flavor that tastes indulgent, even without butter or oil.
- Crowd Pleaser: I’ve served this at birthdays and potlucks, and nobody believes it’s fat free.
- Budget Bake: Flour, sugar, cocoa—pantry staples I always have on hand. No special trips to the store.
Step-by-Step Instructions for Fat Free Chocolate Cake
Here’s how to make this cake super moist without any butter at all.
Step 1: Combine Dry Ingredients and Bloom the Cocoa
In a large bowl, whisk together the 2 cups All-Purpose Flour, 1.5 cups Granulated Sugar, 0.75 cup Unsweetened Cocoa Powder, 1.5 tsp Baking Soda, 1 tsp Baking Powder, and 0.5 tsp Salt. I sift my flour first for a lighter texture, but whisking works too.
In a separate small bowl, combine the 0.5 cup Hot Water and 1 cup Brewed Coffee. Pour this over the 0.75 cup Unsweetened Cocoa Powder and whisk until smooth. This blooms the cocoa for maximum chocolate flavor. Let it sit for 2-3 minutes while you prep the wet ingredients.
Step 2: Mix Wet Ingredients for Maximum Moisture
In another large bowl, beat the 2 whole Large Eggs lightly, then whisk in the 1.5 cups Unsweetened Applesauce and 0.5 cup Plain Nonfat Greek Yogurt. The applesauce replaces butter beautifully, and the yogurt adds tenderness without any fat.
Add the 2 tsp Vanilla Extract and the bloomed cocoa mixture from step one. Whisk everything together until completely smooth and well combined. The batter will be thin—that’s normal for this type of cake.
Step 3: Combine Wet and Dry Ingredients
Pour the wet ingredients into the bowl with the dry ingredients. Using a spatula or wooden spoon, fold everything together gently until just combined. Be careful not to overmix—you want to avoid developing the gluten in the flour.
The batter will be thick but pourable. If you see any pockets of dry flour, keep folding gently until they disappear. A few small lumps are fine and will bake out in the oven.
Step 4: Bake Until Set and Springy
Preheat your oven to 350°F and grease a 9×13-inch baking pan or line it with parchment paper. Pour the batter into the prepared pan and spread it evenly with your spatula.
Bake for 30-35 minutes or until a toothpick inserted into the center comes out clean or with just a few moist crumbs. The top should look set and spring back lightly when touched. Don’t overbake, or the cake will lose its promised moistness.
Step 5: Cool Completely Before Serving
Let the cake cool in the pan on a wire rack for 10-15 minutes. Then, run a knife around the edges and either serve it directly from the pan or transfer it to a serving platter to cool completely.
This cake tastes even better the next day as the flavors meld. Store it covered at room temperature for up to 3 days. The applesauce and yogurt keep it incredibly moist, so you won’t need any frosting—though a light dusting of powdered sugar never hurts.
Pro Tips For Making Fat Free Chocolate Cake
- Preheat the Oven: I learned this the hard way—cold ovens lead to dense, sunken cakes. Crank it to 350°F and give it a full 15 minutes to stabilize before the batter goes in.
- Sift the Cocoa: Sounds tedious, but it works: sifting the unsweetened cocoa powder breaks up clumps and guarantees a smoother, richer chocolate flavor in every bite.
- Don’t Overmix: After burning three batches to rubbery oblivion, I finally figured out that stirring just until the flour disappears keeps the crumb light and tender.
- Swap Applesauce In: Replace any liquid fat in the recipe with unsweetened applesauce—about 1 cup does the trick. The cake stays moist, and no one notices it’s fat free.
Essential Equipment for Perfect Results
Mixing Bowls
You’ll need at least 2 large mixing bowls for dry and wet ingredients. I prefer Pyrex glass bowls because they’re sturdy, easy to clean, and let me see how well ingredients are combining. A 3-quart size works perfectly for this recipe.
Whisk and Spatula
A good balloon whisk is essential for mixing dry ingredients and blooming the cocoa. I use a stainless steel whisk from OXO. For combining wet and dry, a silicone spatula helps scrape every last bit of batter from the bowl.
Baking Pan
Use a standard 9×13-inch baking pan for even baking. I recommend USA Pan with its nonstick coating and reinforced corners. If using metal, grease it well or line with parchment paper to prevent sticking. 💡
Measuring Tools
Accurate measurements matter in baking. I use OXO Good Grips measuring cups and spoons—they nest for easy storage and have clear markings. A kitchen scale isn’t essential here but helps with flour for consistent results.
Cooling Rack
Proper cooling prevents a soggy bottom. A simple wire cooling rack elevates the pan to allow air circulation. I place mine over a baking sheet to catch any drips. This setup costs under $15 at most kitchen stores.
Toothpick Tester
Don’t guess doneness—use a wooden toothpick or cake tester. Insert it into the center; it should come out clean or with a few moist crumbs. This old-school method works better than any high-tech gadget for this cake.
Nutrition Facts
Frequently Asked Questions
Why use applesauce instead of oil?
Applesauce replaces fat while adding natural sweetness and moisture. Its 1.5 cups in the recipe mimics butter’s texture without the calories. The result is a tender crumb that stays soft for days.
Can I use a different pan size?
A 9-inch round pan works but requires 25-30 minutes baking time. For cupcakes, fill liners 2/3 full and bake for 18-20 minutes. Adjust time based on your oven’s behavior.
How do I prevent a dry cake?
Don’t overbake! Remove it when a toothpick has just a few moist crumbs. The 30-35 minutes range at 350°F is ideal for most ovens. Let it cool completely before slicing.

- 8 Bean Soup Recipe Crock Pot: Hearty Vegetable Medley in One Pot - September 25, 2026
- 4C Bread Crumbs Meatballs Recipe: Crispy Crust and Juicy Centers - September 25, 2026
- 6 Oz Chocolate Chip Cookie Recipe: Perfectly Balanced Crispy Edges and Chewy Hearts - September 25, 2026