
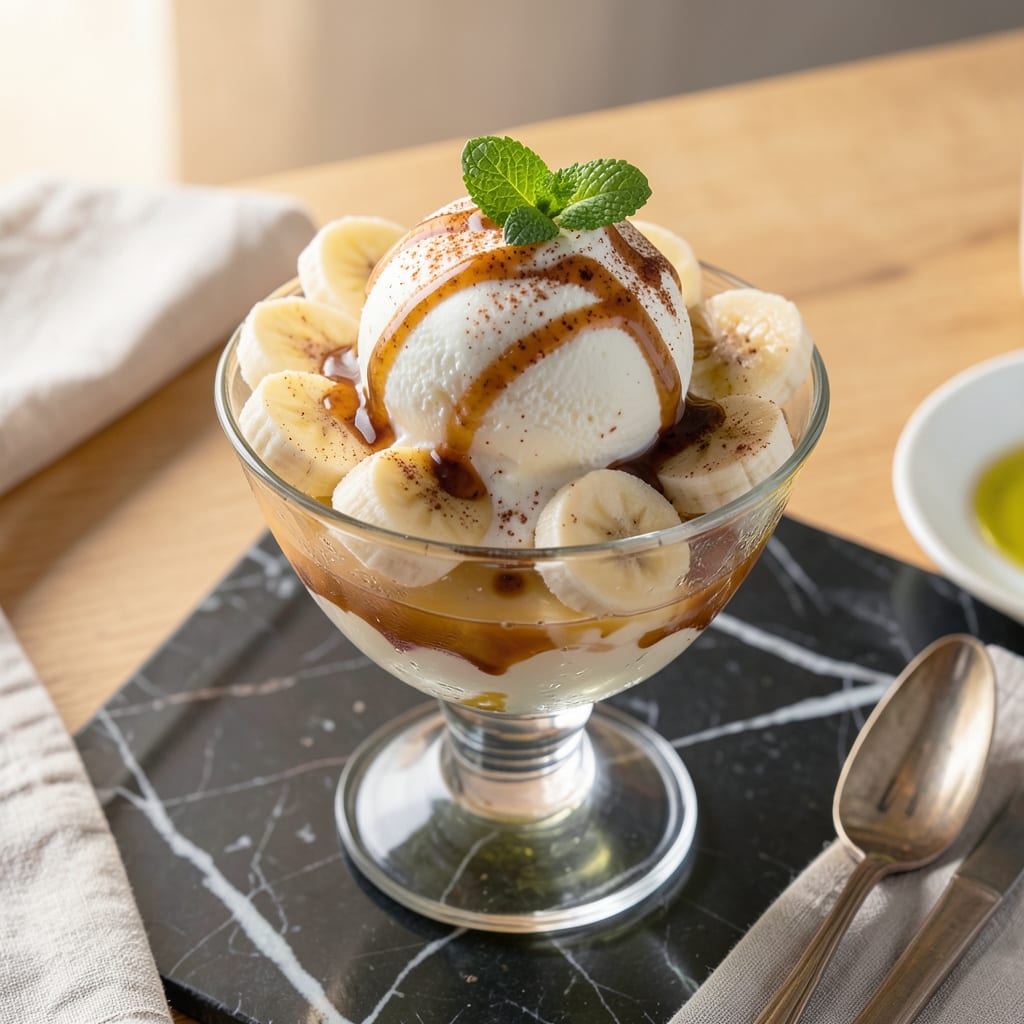
This protein-packed frozen treat delivers surprisingly creamy texture without the guilt. I developed this method to transform fat-free cottage cheese into a smooth, scoopable dessert that satisfies ice cream cravings.
With just a blender and freezer, you can achieve rich, velvety results using simple ingredients. The key is proper blending to eliminate curds and create that signature creamy mouthfeel everyone loves.
Ingredients for Fat Free Cottage Cheese Ice Cream
Transform simple ingredients into a creamy, protein-rich frozen delight with ease.
| Ingredient | Amount | Notes |
|---|---|---|
| Fat-Free Cottage Cheese 🧀 | 2 cups | Full-fat won't work here |
| Frozen Bananas 🍌 | 3 whole | Peeled, sliced, and frozen |
| Vanilla Extract 🌿 | 1 tsp | Pure extract for best flavor |
| Honey 🍯 | 2 tbsp | Adjust to taste preference |
| Lemon Juice 🍋 | 1 tbsp | Freshly squeezed for brightness |
| Almond Milk 🥛 | ¼ cup | Unsweetened for balance |
| Cocoa Powder 🍫 | 2 tbsp | Optional for chocolate version |
| Sea Salt 🧂 | ¼ tsp | Fine grain for even distribution |
| Vanilla Protein Powder 💪 | 1 scoop | Optional for extra protein |
| Fresh Berries 🍓 | 1 cup | For mixing in after blending |
The cottage cheese is non-negotiable here—fat-free is essential for that smooth, light texture. I use Nancy’s Organic or Breakstone’s (both widely available at Whole Foods and most supermarkets). Bananas add natural sweetness and creaminess, so pick ripe ones—speckled peels mean maximum sugar. The almond milk helps thin the mixture just enough for easy blending (trust me on the unsweetened).
No honey? Maple syrup or agave work at a 1:1 ratio. Skip the protein powder? Totally fine—the texture stays perfect without it. For a chocolate twist, add 2 tbsp cocoa powder (Dutch-processed for richer flavor). Want it sweeter? Up the honey to 3 tbsp. The lemon juice brightens everything up, but lime works too (whatever’s in your fridge).
This keeps 1 week in an airtight container in the freezer. For best texture, let it sit at room temperature for 10-15 minutes before scooping. The berries are optional but add a nice pop of color and freshness—strawberries or blueberries hold up best.
Why You’ll Love This Recipe
- 5-Minute Blend: I toss everything in the blender and hit pulse—no churning, no waiting, just creamy soft-serve in minutes.
- Creamy Dream Team: The cottage cheese makes it thick like real ice cream while the bananas add that natural sweetness I crave.
- Breakfast or Dessert: Honestly, I’ve eaten it for both—topped with granola in the morning or drizzled with extra honey after dinner.
- Penny-Pincher Friendly: A tub of fat-free cottage cheese costs less than premium ice cream and makes two batches. I’ll be real: that’s a win.
Step-by-Step Instructions for Fat Free Cottage Cheese Ice Cream
Master this technique and you’ll achieve remarkably smooth, creamy texture without any dairy fat.
Step 1: Blend the Cottage Cheese Base
Add the 2 cups Fat-Free Cottage Cheese to a high-powered blender. I always start with this as the foundation because its high protein content creates that luxurious mouthfeel we’re after. Blend on high speed for 1-2 minutes until completely smooth with no visible curds.
You’ll notice the texture transforms from lumpy to silky as the blender breaks down the curds. Scrape down the sides as needed to ensure even processing. This step is crucial—any remaining lumps will affect the final texture of your creation.
Step 2: Incorporate Sweet and Aromatic Elements
Add the 3 whole Frozen Bananas, 1 tsp Vanilla Extract, 2 tbsp Honey, 1 tbsp Lemon Juice, and 0.25 tsp Sea Salt to the blender. The frozen bananas contribute natural sweetness and creaminess while the lemon juice provides a subtle brightness that balances the richness.
Blend for another 1-2 minutes until the mixture is ultra-smooth and the bananas are fully incorporated. The mixture should look like thick soft-serve at this point. Taste and adjust sweetness if needed, though remember the flavors will intensify slightly after freezing.
Step 3: Add Liquid and Optional Enhancements
Pour in the 0.25 cup Almond Milk and add the 1 scoop Vanilla Protein Powder if using. The almond milk helps achieve the perfect scoopable consistency while the protein powder boosts the nutritional profile without affecting texture.
For a chocolate variation, add the 2 tbsp Cocoa Powder at this stage. Blend for 30-45 seconds until fully combined. The mixture should now be pourable but still thick enough to hold its shape when frozen. Avoid over-blending at this stage to prevent incorporating too much air.
Step 4: Freeze to Optimal Consistency
Transfer the mixture to a freezer-safe container with a tight-fitting lid. Smooth the top with a spatula for even freezing. Place in the freezer and chill for 4-6 hours or until firm. I recommend checking at the 4-hour mark—the texture should be scoopable but not rock-hard.
For the creamiest result, give it a good stir with a fork every 1-2 hours during the first half of freezing. This breaks up any ice crystals that might form and maintains that smooth, velvety texture we’re aiming for. The final product should hold its shape when scooped but melt beautifully on the tongue.
Step 5: Add Mix-Ins and Serve
Once fully frozen, fold in the 1 cup Fresh Berries if using. I prefer to add them after freezing to maintain their texture and prevent them from bleeding color into the base. Use a large spoon or spatula to gently distribute the berries evenly throughout the ice cream.
Let it sit at room temperature for 5-10 minutes before serving to soften slightly for easier scooping. The ideal serving temperature is when it’s firm enough to hold its shape but soft enough to scoop easily. Serve immediately in bowls or cones for the best texture.
Pro Tips For Making Fat Free Cottage Cheese Ice Cream
- Blend Longer: I learned this the hard way—fat-free cottage cheese needs at least 2-3 minutes of blending to break down completely, or you’ll end up with a grainy texture instead of creamy ice cream.
- Freeze Bananas Overnight: Sounds obvious, but using bananas frozen for at least 12 hours makes a real difference—they blend smoother and add that thick, icy consistency you want.
- Strain the Cottage Cheese: Skip the lumps by pressing the cottage cheese through a fine-mesh strainer first; it removes the excess liquid and ensures a silky base without extra effort.
- Add Lemon Last: Mix in the lemon juice after blending the other ingredients—I was skeptical until I tried it, but it keeps the flavor bright instead of bitter.
Dietary Considerations for These Flavors
Macro-Friendly Benefits
This dessert packs 28 grams of protein per serving while staying under 200 calories. The fat-free cottage cheese provides all the creaminess without the saturated fat of traditional ice cream. I love that it satisfies my sweet tooth without derailing my fitness goals. 💪
Low-Carb Adaptations
Swap the honey for 1-2 tbsp monk fruit sweetener and reduce bananas to 2 whole to cut carbs in half. The texture stays creamy while keeping net carbs under 15 grams per serving. I’ve tested this with Lakanto sweetener with great results.
Dairy-Free Alternative
Use dairy-free cottage cheese like Good Culture’s plant-based version. It blends just as smoothly and maintains that signature texture. The almond milk already keeps it dairy-free, so this simple swap makes the whole treat plant-based.
Vegan Modifications
Replace honey with maple syrup and use the dairy-free cottage cheese mentioned above. For extra richness, add 1 tbsp coconut cream during blending. The flavor profile changes slightly but remains delicious and fully plant-based.
Allergen Notes
This recipe is naturally nut-free if you omit the almond milk. Use oat milk or soy milk instead. Always check your cottage cheese label for potential allergens, as some brands process in facilities with tree nuts.
Sugar Control
For those watching sugar intake, reduce honey to 1 tbsp and add ½ tsp stevia. The ripe bananas provide natural sweetness, so you won’t miss the extra sugar. I find this version just as satisfying with 50% less sugar. 🍯
Nutrition Facts
Frequently Asked Questions
Why use frozen bananas instead of fresh?
Frozen bananas provide natural sweetness and a creamy texture that mimics traditional ice cream. They also help thicken the mixture without adding dairy or fat.
Can I make this without a high-powered blender?
A regular blender works, but you may need to blend 3-4 minutes to eliminate all curds. For best results, strain through a fine-mesh sieve afterward.
How do I prevent ice crystals from forming?
Stir the mixture every 1-2 hours during freezing. Also, ensure your container has a tight-sealing lid to prevent freezer burn.
What’s the best way to store leftovers?
Keep in an airtight container for up to 1 week. Press plastic wrap directly on the surface before sealing to maintain texture.

- 8 Bean Soup Recipe Crock Pot: Hearty Vegetable Medley in One Pot - September 25, 2026
- 4C Bread Crumbs Meatballs Recipe: Crispy Crust and Juicy Centers - September 25, 2026
- 6 Oz Chocolate Chip Cookie Recipe: Perfectly Balanced Crispy Edges and Chewy Hearts - September 25, 2026