
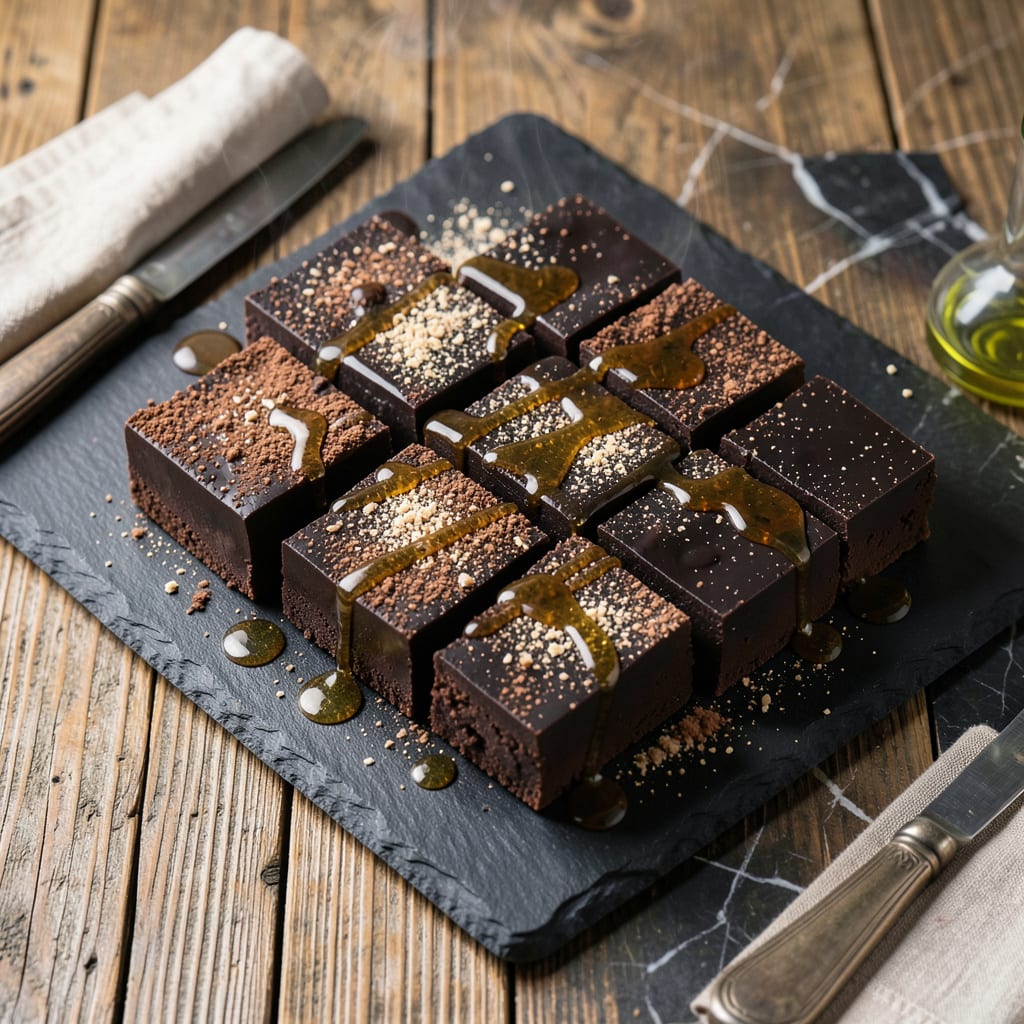
I’ve perfected a way to enjoy rich, velvety fudge without a trace of fat in the recipe. The secret lies in using ripe bananas and applesauce to replace traditional fats while maintaining that signature melt-in-your-mouth texture.
This approach delivers decadent chocolate flavor that satisfies cravings, all while being completely vegan-friendly. The result proves you don’t need butter or oil to create fudge that tastes indulgent.
Ingredients for Fat Free Fudge
Ripe bananas and applesauce replace fat while keeping it decadent and completely plant-based.
| Ingredient | Amount | Notes |
|---|---|---|
| Ripe Bananas 🍌 | 2 whole | Very ripe, heavily speckled |
| Unsweetened Applesauce 🍎 | 1 cup | Smooth, no chunks |
| Unsweetened Cocoa Powder 🍫 | ¾ cup | Dutch-processed preferred |
| Pure Maple Syrup 🍁 | ½ cup | Grade A or B |
| Pure Vanilla Extract 🌿 | 2 tsp | No artificial substitutes |
| Sea Salt 🧂 | ¼ tsp | Fine grain for even distribution |
| Almond Butter 🥜 | ¼ cup | Creamy, no added sugar |
| Chopped Walnuts 🌰 | ½ cup | Optional, for texture |
| Dark Chocolate Chips 🍫 | ½ cup | Dairy-free, 70% cocoa |
| Oat Flour 🌾 | ¼ cup | Certified gluten-free if needed |
The bananas are non-negotiable here—they need to be extremely ripe (black-spotted peels) for natural sweetness and creaminess. Trader Joe’s has great organic applesauce pouches—no sugar added. For cocoa, Hershey’s Special Dark or Ghirardelli Dutch-processed gives the deepest chocolate flavor. The maple syrup is your liquid sweetener, so use real stuff (not pancake syrup).
No almond butter? Cashew or peanut butter works in a pinch—just stir well to redistribute oils. Swap walnuts for pecans or hazelnuts (or skip entirely). The oat flour thickens things up, but blended rolled oats do the same job. For extra richness, add 1 tbsp coconut oil (though this does introduce minimal fat).
Store in an airtight container at room temp for 1 week, or refrigerate for 2 weeks. Freezes beautifully for 3 months—thaw at room temp before serving. The texture firms up as it chills, so patience pays off (worth the extra minute).
Why You’ll Love This Recipe
- No-Bake Bliss: I just toss everything in one bowl—mashed bananas, applesauce, cocoa, and a splash of vanilla. No oven, no fuss.
- Rich Without Guilt: The cocoa and maple syrup make it taste indulgent, but the bananas keep it naturally sweet and light.
- Kid-Approved Snack: Honestly, my picky nephew devours these after school. Works for lunchboxes or midnight cravings.
- Budget-Friendly Batch: Five ingredients I already had in my pantry, and it makes enough to share—or not.
Step-by-Step Instructions for Fat Free Fudge
This method delivers rich, velvety fudge with no added fats—just pure chocolate satisfaction.
Step 1: Blend the Wet Base
In a food processor, combine the 2 whole ripe bananas, 1 cup unsweetened applesauce, 0.5 cup pure maple syrup, 2 tsp pure vanilla extract, and 0.25 tsp sea salt. Pulse until completely smooth—about 1-2 minutes.
The bananas should be heavily speckled (almost black) for maximum sweetness and creaminess. Stop and scrape down the sides as needed to ensure everything incorporates evenly. The mixture will be thick but pourable.
Step 2: Incorporate the Dry Ingredients
Add the 0.75 cup unsweetened cocoa powder and 0.25 cup oat flour to the wet mixture. Pulse again for 30-45 seconds until no dry streaks remain. The cocoa powder gives it that deep chocolate flavor, while the oat flour binds everything together without adding density.
Here’s the thing—this step transforms the mixture from a liquid into a thick, pudding-like consistency. If it seems too thick, add a splash of water, but I’ve found the applesauce usually provides enough moisture.
Step 3: Fold in the Extras
Transfer the mixture to a bowl and fold in the 0.25 cup almond butter, 0.5 cup dark chocolate chips, and 0.5 cup chopped walnuts by hand using a spatula. The almond butter adds richness without fat, while the chocolate chips melt slightly into the mixture for pockets of gooey goodness.
Real talk: the walnuts are optional, but they add a satisfying crunch that balances the fudge’s smooth texture. If you’re nut-free, simply skip them—this recipe is forgiving.
Step 4: Set and Chill to Perfection
Line an 8×8-inch baking dish with parchment paper, leaving an overhang on the sides for easy removal. Spread the fudge mixture evenly into the dish, smoothing the top with the back of a spoon or spatula.
Refrigerate for at least 2 hours, or until firm to the touch. I know it’s hard to wait, but this step is non-negotiable—the fudge needs time to set properly. For best results, let it chill overnight.
Step 5: Slice and Serve
Once fully set, lift the fudge out of the dish using the parchment paper overhang. Place it on a cutting board and slice into 16 squares (this recipe serves 4, so 4 squares per serving).
The fudge should be dense, slightly chewy, and intensely chocolatey with a velvety texture. Store leftovers in an airtight container in the refrigerator for up to 5 days—if they last that long.
Pro Tips For Making Fat Free Fudge
- Chill Before Cutting: After mixing, refrigerate the fudge for at least 2 hours—any less and it’ll stick to the knife like melted chocolate on a toddler’s fingers. I learned this the hard way after ruining my first three batches.
- Use Spotty Bananas: The riper the banana, the sweeter the fudge—skip the green ones. I was skeptical until I tried it, but overripe bananas with brown spots blend smoother and cut the need for extra sweetener.
- Measure Cocoa Carefully: Unsweetened cocoa powder can turn bitter fast if you heavy-hand it. Stick to the recipe’s ratio, about ½ cup per 2 bananas, or the fudge will taste like a sad, dry chocolate bar.
- Swap Syrup Gradually: If substituting honey for maple syrup, start with 2 tablespoons less—it’s sweeter and runnier. Sounds weird, but it works and saves you from a sticky, overly sweet mess.
Pro Cooking Tips for This Recipe
Banana Ripeness Matters
Use bananas with black-spotted peels for maximum natural sweetness and creaminess. I’ve found underripe bananas make the fudge grainy. The starch converts to sugar as bananas ripen, creating that signature fudgy texture without fat. 💪
Applesauce Consistency
Choose smooth, unsweetened applesauce for the best results. I prefer Trader Joe’s organic pouches. Chunky applesauce can create an uneven texture in your finished fudge, ruining the velvety mouthfeel.
Cocoa Quality Counts
Dutch-processed cocoa like Hershey’s Special Dark gives the deepest chocolate flavor. Natural cocoa works but may taste slightly more acidic. The difference is noticeable in the final richness.
Patience Pays Off
Chill the fudge for at least 2 hours—overnight is ideal. This allows the ingredients to fully set and develop their flavors. Cutting too soon results in a gooey mess rather than clean squares. ❄️
Even Mixing
Scrape down the food processor sides thoroughly between pulses. Uneven mixing leaves dry pockets of cocoa powder. I use a rubber spatula to ensure every bit incorporates smoothly.
Storage Solution
Store in an airtight container at room temperature for up to 1 week. The fudge firms up as it chills, so let it sit at room temperature for 10 minutes before serving for the best texture.
Nutrition Facts
Frequently Asked Questions
Can I substitute the bananas with another fruit?
No, bananas are essential for texture and sweetness. Their starch converts to sugar as they ripen, creating that fudgy consistency. Other fruits won’t provide the same binding properties.
How long does it take to set in the freezer?
Freezing speeds up the process to about 1 hour. However, refrigerating for 2 hours or overnight yields the best texture. Avoid freezing for storage unless keeping longer than 1 week.
Why is my fudge grainy instead of smooth?
Graininess usually means the bananas weren’t ripe enough or the cocoa wasn’t fully incorporated. Always use heavily speckled bananas and pulse until completely smooth. Scrape the processor bowl often.
Can I make this without a food processor?
Yes, but it requires extra effort. Mash bananas finely by hand, then whisk vigorously with other wet ingredients. Sift cocoa to avoid lumps. The texture may be slightly less smooth.

- 8 Bean Soup Recipe Crock Pot: Hearty Vegetable Medley in One Pot - September 25, 2026
- 4C Bread Crumbs Meatballs Recipe: Crispy Crust and Juicy Centers - September 25, 2026
- 6 Oz Chocolate Chip Cookie Recipe: Perfectly Balanced Crispy Edges and Chewy Hearts - September 25, 2026