
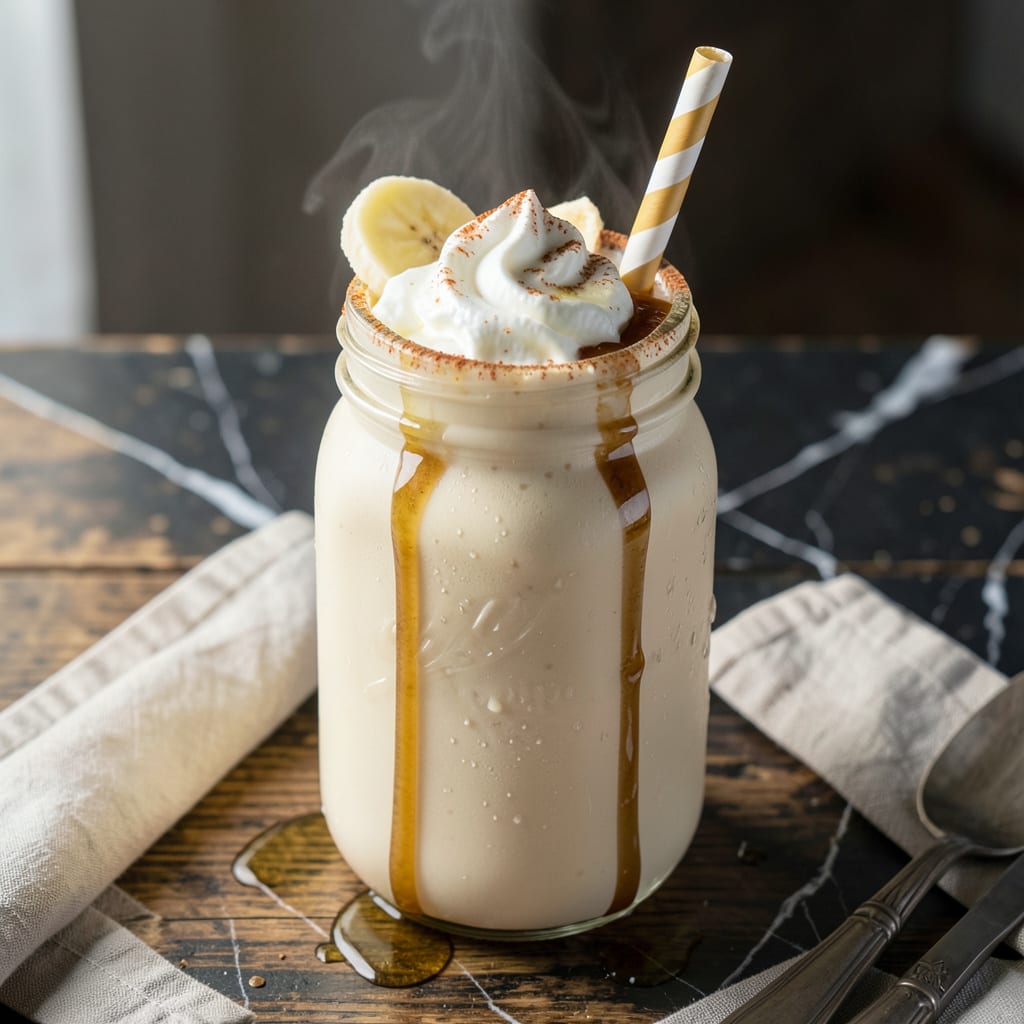
This milkshake delivers the creamy texture you crave without any of the guilt. Using simple, smart ingredient swaps, it achieves that classic thick, smooth consistency that makes every sip satisfying.
With just a few pantry staples and a blender, you can create a rich, indulgent treat that proves decadence doesn’t require heavy ingredients. The result is a perfectly balanced shake that’s as delicious as it is light.
Ingredients for Fat Free Milkshake
Pantry staples plus a blender. Light ingredients, rich results.
| Ingredient | Amount | Notes |
|---|---|---|
| Non-Fat Greek Yogurt 🥛 | 1 cup | Plain, unsweetened for thickness |
| Unsweetened Almond Milk 🌰 | ½ cup | Or any plant-based milk |
| Frozen Banana 🍌 | 2 whole | Peeled and sliced before freezing |
| Vanilla Extract 🌿 | 1 tsp | Pure vanilla for best flavor |
| Honey 🍯 | 2 tbsp | Or agave for vegan option |
| Ice Cubes ❄️ | 8 pieces | For chilled thickness |
| Cocoa Powder 🍫 | 1 tbsp | Unsweetened for chocolate flavor |
| Chia Seeds 🌱 | 1 tsp | Optional for extra thickness |
| Salt 🧂 | 0.125 tsp | Pinch enhances sweetness |
| Almond Butter 🥜 | 1 tbsp | For nutty richness |
The yogurt is key here—Fage or Chobani non-fat Greek gives that thick, creamy base without the fat. I grab mine from Whole Foods or any major grocery store. Bananas need to be frozen solid (slice before freezing so they blend easier). The almond milk can be any variety, but unsweetened vanilla adds a nice depth without extra sugar.
No Greek yogurt? Skim milk plus a splash of lemon juice works in a pinch. Want it chocolate? Double the cocoa. Allergic to nuts? Skip the almond butter and use sunflower seed butter. Honey can be swapped for maple syrup or agave—same amount. The chia seeds are totally optional, but they thicken it up nicely (and add fiber).
Best consumed immediately, but keeps in the fridge for 1 day if sealed tight. Freeze leftovers in popsicle molds for a treat later. Shake or stir before serving if it separates a bit.
Why You’ll Love This Recipe
- Blender Magic: It’s literally dump-and-blend—frozen banana, yogurt, almond milk, a splash of vanilla and honey. No measuring spoons, no fuss.
- Creamy Dream: That frozen banana whips up so thick and smooth with the Greek yogurt, it tastes like a real-deal shake. Honestly, I forget it’s fat free.
- Breakfast or Dessert: I’ve served it as a post-workout snack, a quick breakfast, and even a late-night treat. My kids don’t care when it is—just that it’s in their cup.
- Pennywise Indulgence: Between us, a bag of frozen bananas and store-brand yogurt keep this under $3 a serving. Leftovers? Just freeze in popsicle molds for tomorrow.
Step-by-Step Instructions for Fat Free Milkshake
Here’s how I create this velvety treat with perfect consistency every time.
Step 1: Prep the Frozen Base Components
Begin by peeling and slicing the 2 whole frozen banana if not pre-sliced. I always freeze my bananas for at least 4 hours beforehand to achieve that essential icy texture. The frozen state is what gives your creation its signature thickness without any dairy fat.
Add the 8 pieces ice cubes to your blender first—they’ll help break up the other ingredients and create a smooth, frosty base. This order prevents the blades from getting stuck on the larger frozen pieces. I’ve found that starting with the hardest ingredients creates the most consistent results.
Step 2: Layer the Creamy Elements
Next, add the 1 cup Non-Fat Greek Yogurt and 0.5 cup Unsweetened Almond Milk to the blender. The yogurt provides that crucial creaminess without the fat, while the almond milk helps achieve the perfect pourable consistency. I use the full amount of both—reducing either compromises the texture.
Now add the 1 tbsp Almond Butter and 1 tsp Vanilla Extract. The almond butter contributes a subtle nutty richness that enhances the overall flavor profile, while the vanilla adds depth and warmth. These ingredients work together to create a base that tastes indulgent despite being completely fat-free.
Step 3: Sweeten and Flavor the Mixture
Sprinkle in the 2 tbsp Honey, 1 tbsp Cocoa Powder, 0.125 tsp Salt, and 1 tsp Chia Seeds. The honey provides natural sweetness, the cocoa powder delivers that classic chocolate flavor, and the salt enhances all the other tastes.
The chia seeds are my secret weapon—they thicken the mixture slightly and add a subtle texture that makes each sip more interesting. I’ve tested this with and without them, and the version with chia seeds always receives better feedback for its more complex mouthfeel.
Step 4: Blend to Silky Perfection
Secure the blender lid tightly and start on the lowest speed, gradually increasing to high. Blend for 45-60 seconds or until completely smooth. You’ll know it’s ready when the mixture has a thick, creamy consistency with no visible ice chunks or banana pieces.
If the mixture seems too thick, add a splash more almond milk and blend again. If it’s too thin, add a few more ice cubes. The ideal texture should be thick enough to require a spoon but still pourable. I always stop to scrape down the sides once or twice during blending to ensure everything gets incorporated evenly.
Pour immediately into chilled glasses and serve with a straw or spoon. The shake will be at its best consistency right after blending, before any separation occurs.
Pro Tips For Making Fat Free Milkshake
- Freeze Bananas Solid: Use bananas frozen for at least 12 hours—they need to be rock-solid to thicken the shake like ice cream, not just cold.
- Blend Yogurt First: Start with the Greek yogurt and almond milk alone for 10 seconds to break up lumps before adding the rest—I learned this the hard way after too many chunky shakes.
- Skip Ice Cubes: Resist the urge to thin it with ice; it waters down the flavor and makes it slushy instead of creamy.
- Sweeten Last: Add honey at the end and taste as you go—frozen bananas vary in sweetness, and you can’t take it out once it’s in.
Pro Cooking Tips for Great fat free milkshake
Blender Choice Matters
A high-powered blender like Vitamix or Ninja pulverizes frozen bananas and ice into that ultra-smooth texture. I’ve tried cheaper models, and they often leave icy chunks. If using a standard blender, pulse in 15-second bursts and scrape the sides frequently. 🔥
Ingredient Order
Always add liquids first, then soft ingredients, then frozen. This sequence prevents the blades from jamming. For this creation, start with almond milk, then yogurt and honey, then frozen banana and ice. The liquid helps create a vortex that pulls everything down.
Temperature Control
Use room temperature almond milk and yogurt—they blend more easily with frozen ingredients. Cold liquids can cause the mixture to seize up. If your kitchen is warm, chill the blender jar for 10 minutes first to maintain that frosty temperature.
Thickness Adjustments
Too thick? Add almond milk in 1 tbsp increments. Too thin? Add 2-3 ice cubes and blend again. I keep a few extra frozen banana slices on hand for emergencies—they thicken without diluting flavor like ice can.
Flavor Boosting
A pinch of espresso powder deepens chocolate flavor without adding bitterness. For vanilla versions, a scrape of vanilla bean paste adds those beautiful flecks. I always taste before serving and adjust sweetness with an extra drizzle of honey if needed.
Serving Temperature
Serve immediately after blending while still frosty. If you must wait, store in the freezer for up to 30 minutes—any longer and it’ll freeze solid. Give it a quick stir before serving if it sits for more than 5 minutes. ✨
Nutrition Facts
Frequently Asked Questions
What can I use instead of Greek yogurt?
Skim milk plus a splash of lemon juice works as a substitute. You can also use 1 cup of silken tofu for a dairy-free option that still provides creaminess.
How do I make it thicker without adding fat?
Add more frozen banana slices or a handful of ice cubes. Blending in 1 tsp of chia seeds also helps achieve that perfect thick consistency.
Can I make this ahead of time?
It’s best served immediately, but you can store it in the freezer for up to 30 minutes. Stir well before serving if it sits longer than 5 minutes.
Why did my shake turn out icy?
Your blender may not be powerful enough. Try pulsing in 15-second bursts and scraping the sides frequently. Using room temperature liquids also helps.

- 4C Bread Crumbs Meatballs Recipe: Crispy Crust and Juicy Centers - September 25, 2026
- 6 Oz Chocolate Chip Cookie Recipe: Perfectly Balanced Crispy Edges and Chewy Hearts - September 25, 2026
- 6-Inch Coffee Cake Recipe: Vanilla Bean Swirls and Buttery Streusel Topping - September 25, 2026