
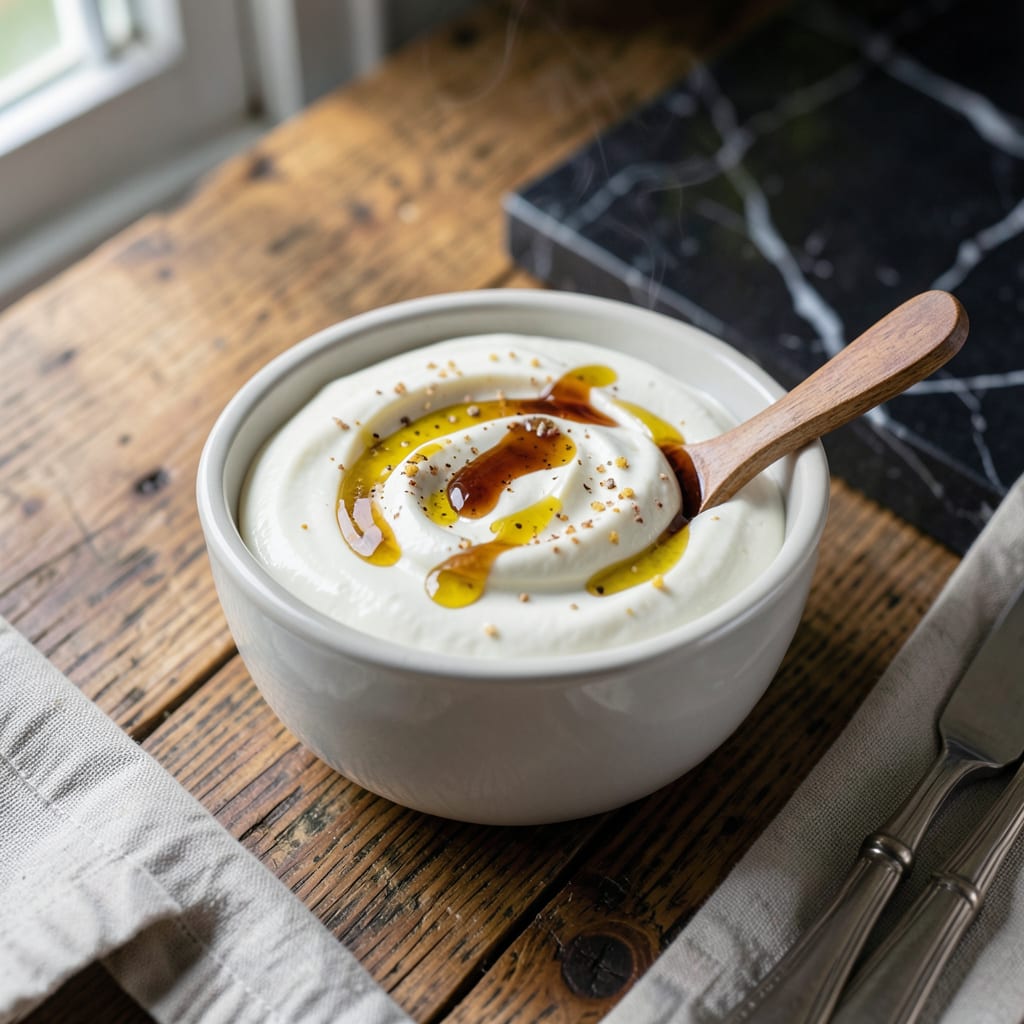
Creamy, oil-free vegan mayo is absolutely possible with the right technique. This recipe delivers that classic silky texture without any dairy or fat.
Using aquafaba as the base, we create a stable emulsion that mimics traditional mayo. It keeps well in the fridge and works perfectly for sandwiches, dressings, or dips.
Ingredients for Fat Free Vegan Mayo
Nine simple ingredients transform into a silky, oil-free emulsion perfect for any dish.
| Ingredient | Amount | Notes |
|---|---|---|
| Aquafaba 🥫 | ½ cup | Chickpea brine, unsalted |
| Apple Cider Vinegar 🍎 | 1 tbsp | Or white vinegar |
| Dijon Mustard 🟡 | 2 tsp | Smooth, no seeds |
| Lemon Juice 🍋 | 1 ½ tbsp | Freshly squeezed preferred |
| Garlic Powder 🧄 | ½ tsp | Optional for depth |
| Onion Powder 🧅 | ½ tsp | Optional for flavor |
| Sea Salt 🧂 | ½ tsp | Fine grain preferred |
| White Sugar 🍚 | ¼ tsp | Optional, balances acidity |
| Agar-Agar Powder ⚪ | 0.125 tsp | Optional stabilizer |
The aquafaba is non-negotiable—use the liquid from canned chickpeas (unsalted) or reduced sodium for best results. I recommend Eden Organic or Westbrae Natural brands for consistent viscosity. The vinegar choice matters less, but avoid balsamic as its color and flavor are too assertive. Fresh lemon juice brightens the flavor profile, but bottled works in a pinch (just check for additives).
No aquafaba? Cooking liquid from white beans can work, though the flavor is milder. Out of Dijon? Yellow mustard at double the amount substitutes adequately. Skip the stabilizers if unavailable—this recipe emulsifies well without them. For sweetness, maple syrup or agave can replace sugar, though the flavor profile will shift slightly.
Store in an airtight container in the fridge for up to 10 days. The emulsion may separate slightly over time—simply whisk before use. For longer storage, freeze in ice cube trays for up to 3 months.
Why You’ll Love This Recipe
- 5-Minute Whip: I just dump everything in a blender—aquafaba, vinegar, mustard—and it thickens like magic.
- Tangy Kick: That lemon and Dijon combo gives it a zing that beats store-bought every time.
- Sandwich Superstar: I slather it on burgers, mix it into potato salad, even use it as a dip for fries.
- Pantry Friendly: Honestly, I always have chickpea water and vinegar on hand, so I never run out.
Step-by-Step Instructions for Fat Free Vegan Mayo
Achieve a stable, creamy emulsion using precise technique and the right balance of acidity and seasoning.
Step 1: Activate the Agar-Agar Stabilizer
In a small saucepan, whisk together the 0.125 tsp Agar-Agar Powder with the 1.5 tbsp Lemon Juice. Agar-agar requires heat to activate, so this preliminary step ensures it disperses evenly without clumping. Place the saucepan over medium-low heat and warm the mixture for 1-2 minutes, stirring constantly.
You’ll notice the liquid thicken slightly as the agar-agar begins to hydrate. Remove from heat immediately once it reaches a smooth, slightly syrupy consistency—overheating can cause the agar-agar to set prematurely. This stabilized base will prevent separation in your final emulsion.
Step 2: Whip the Aquafaba to Optimal Volume
In a chilled mixing bowl, add the 0.5 cup Aquafaba and beat with an electric mixer on high speed for 2-3 minutes. The aquafaba should transform from a thin liquid to a frothy, voluminous foam with soft peaks. This step is critical: the air incorporated here creates the structure that mimics traditional mayo.
Watch for the texture to resemble beaten egg whites at the soft peak stage. If it doesn’t hold peaks, continue whipping—under-whipped aquafaba won’t emulsify properly with the remaining ingredients. The bowl and beaters should be completely clean and grease-free to ensure maximum volume.
Step 3: Incorporate Acid and Seasoning Base
With the mixer running on low speed, slowly drizzle in the activated agar-lemon mixture, followed by the 1 tbsp Apple Cider Vinegar, 2 tsp Dijon Mustard, 0.5 tsp Sea Salt, 0.5 tsp Garlic Powder, 0.5 tsp Onion Powder, and 0.25 tsp White Sugar. Add each ingredient one at a time, allowing 10-15 seconds between additions for full integration.
The mixture will temporarily thin out as the liquids are incorporated, but the agar-agar will begin to stabilize the emulsion almost immediately. The mustard acts as an emulsifier, while the vinegar and lemon juice provide the necessary acidity to balance the flavors and enhance stability.
Step 4: Achieve Full Emulsion Through Controlled Whipping
Increase the mixer speed to medium-high and whip for an additional 3-5 minutes. The mayo will thicken significantly, transforming from a loose liquid to a creamy, spreadable consistency. Stop the mixer periodically to scrape down the sides of the bowl with a silicone spatula—this ensures all ingredients are fully emulsified.
You’ll know it’s ready when the mixture holds its shape when the spatula is lifted, and the texture is smooth and glossy. If it appears too thin, continue whipping for 1-2 more minutes—the agar-agar will fully set as it cools, so slight thinness at this stage is normal.
Transfer to an airtight container and refrigerate for at least 1 hour to allow the agar-agar to set completely and the flavors to meld. This resting period is essential for achieving the final thick, stable texture.
Pro Tips For Making Fat Free Vegan Mayo
- Chill the Aquafaba: Use aquafaba straight from the fridge—room temperature liquid struggles to emulsify properly. I learned this the hard way after three broken batches.
- Slow Oil Drizzle: If adding any oil (even a splash for richness), drizzle it in painfully slow while blending. A rushed pour turns mayo into sad, oily soup.
- Acid Balance Check: Taste before finishing—if it’s too sharp, the apple cider vinegar or lemon juice might need a pinch of sugar to round it out. Sounds weird, but it works.
- Blend Longer: Don’t stop at “looks thick”—keep blending 30-60 seconds extra to guarantee stability. My first few attempts separated because I pulled the plug too soon.
Creative Variations of This Recipe
Garlic-Herb Infusion
Blend in 1 tbsp fresh dill and 1 minced garlic clove after the initial emulsion forms. This adds a bright, herby kick perfect for potato salads or veggie wraps. The fresh herbs give it that gourmet touch I love. 🌿
Spicy Chipotle Twist
Stir in 1 tsp chipotle powder and ½ tsp smoked paprika for a smoky, spicy version. This works wonderfully in tacos or as a dip for sweet potato fries. I always keep a jar in my fridge.
Lemon-Dill Variation
Increase the lemon juice to 3 tbsp and add 1 tbsp chopped fresh dill. This zesty version is my go-to for seafood sandwiches or as a creamy base for coleslaw.
Sweet and Tangy
Add 1 tbsp maple syrup and an extra ½ tsp apple cider vinegar. The sweetness balances beautifully with the tang, making it ideal for vegan chicken salad or as a fry sauce. 💛
Avocado Blend
For a richer texture, blend in ½ ripe avocado at the end. This adds creaminess and healthy fats while keeping it plant-based. I use this for BLTs or as a topping for grain bowls.
Smoky BBQ Style
Mix in 1 tbsp BBQ sauce and ½ tsp liquid smoke. This variation is fantastic for burgers or as a base for vegan mac and cheese sauce. The smoky depth is addictive.
Nutrition Facts
Frequently Asked Questions
Can I use a different bean liquid?
Yes, white bean cooking liquid works as a substitute. It has a milder flavor than chickpea brine but may produce slightly less stable results.
Why did my mayo separate after refrigeration?
This happens if the emulsion wasn’t fully stable. Simply re-whisk before use. Adding agar-agar helps prevent this issue.
How can I make it thicker?
Whip longer—up to 5 minutes on high speed. For immediate results, chill for 30 minutes to let stabilizers work.
Does it taste like traditional mayo?
It has a similar creamy texture but a lighter, tangier flavor. Adjust seasoning to match your preference.

- 8 Bean Soup Recipe Crock Pot: Hearty Vegetable Medley in One Pot - September 25, 2026
- 4C Bread Crumbs Meatballs Recipe: Crispy Crust and Juicy Centers - September 25, 2026
- 6 Oz Chocolate Chip Cookie Recipe: Perfectly Balanced Crispy Edges and Chewy Hearts - September 25, 2026