
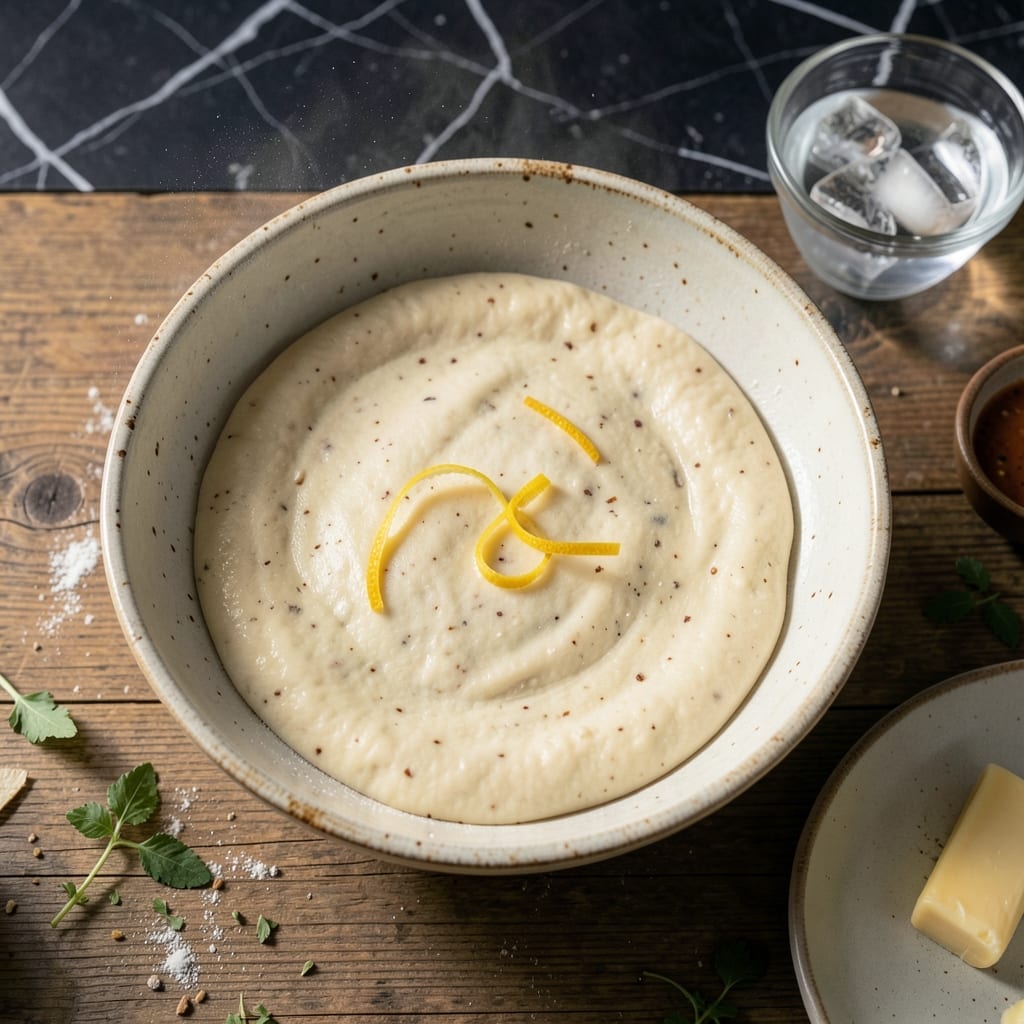
After years of testing, I’ve finally developed a gluten free pot pie dough that delivers the flaky layers you’ve been missing. This recipe uses a precise blend of alternative flours to mimic traditional texture without compromising on taste.
The key is chilling the dough between each step, which prevents the fat from melting too soon. Cold ingredients create those coveted layers, while xanthan gum provides the structure gluten normally would.
You’ll get a golden, tender crust that holds its shape in the oven and complements any filling. The technique is straightforward, but timing and temperature matter more than ever with gluten free baking.
Perfect for savory pies, hand pies, or even sweet versions. This dough changes what’s possible in a gluten free kitchen.
Ingredients for Gluten Free Pot Pie Dough
A precise blend of flours and chilled fats creates flaky, golden layers in this dough.
| Ingredient | Amount | Notes |
|---|---|---|
| Gluten-Free All-Purpose Flour 🌾 | 2 cups | Plus extra for dusting |
| Tapioca Starch 🌾 | ½ cup | For chewiness and structure |
| Almond Flour 🌰 | ½ cup | Blanched, fine texture |
| Xanthan Gum 🧪 | 1 tsp | Essential for binding |
| Cold Unsalted Butter 🧈 | 1 cup | Cubed, keep chilled |
| Ice Water 💧 | ½ cup | Plus 1-2 tbsp as needed |
| Fine Sea Salt 🧂 | 1 tsp | Dissolved in water |
| Granulated Sugar 🍚 | 1 tsp | Optional, for sweet versions |
| Large Egg 🥚 | 1 whole | For richness and color |
| Apple Cider Vinegar 🍏 | 1 tbsp | Helps tenderize dough |
| Psyllium Husk Powder 🌾 | 1 tsp | Optional, for elasticity |
The flour blend is critical here. King Arthur’s gluten-free flour works beautifully, but a custom mix of all-purpose gluten-free, tapioca, and almond flours yields the best texture. Bob’s Red Mill is a reliable brand for all three. Cold butter is non-negotiable—cut it into cubes and keep it in the freezer until the last moment. The xanthan gum acts as gluten’s stand-in, so don’t skip it.
No almond flour? Sunflower seed flour (ground from seeds) works as a substitute. For a nut-free version, replace with more tapioca starch, but expect a slightly denser crust. Egg-free? Use an additional 1 tbsp ice water and 1 tsp psyllium husk powder. The vinegar can be white vinegar or lemon juice—just keep it acidic.
The dough will keep in the fridge for 2 days or in the freezer for 1 month. Wrap it tightly in plastic to prevent drying. For best results, let it rest at room temperature for 10 minutes before rolling. This dough handles like a dream when cold.
Why You’ll Love This Recipe
- I’ll be real: I double the batch, freeze the extras, and pull out a crust whenever I need a quick pot pie.
- One Bowl Easy: I just dump the dry ingredients, cut in the cold butter, and it’s ready for the filling—no rolling pin required.
- Buttery Flaky Layers: The almond flour and cold butter create this ridiculously good crispness that holds up to any filling.
- Freezer Friendly: I’ll be real: I double the batch, freeze the extras, and pull out a crust whenever I need a quick pot pie.
Step-by-Step Instructions for Gluten Free Pot Pie Dough
Here’s the method I use to achieve flaky, tender layers in this gluten-free dough.
Step 1: Mix Dry Ingredients for Structure
In a large bowl, whisk together the 2 cups Gluten-Free All-Purpose Flour, 0.5 cup Tapioca Starch, 0.5 cup Almond Flour, 1 tsp Xanthan Gum, and 1 tsp Psyllium Husk Powder. This combination creates the base structure that mimics traditional wheat flour.
The xanthan gum is essential here—it replaces the gluten that would normally hold the dough together. Whisk vigorously for 1-2 minutes to ensure even distribution. You should see a uniform, fine powder with no lumps. Set this aside while you prepare the wet ingredients.
Step 2: Combine Wet Ingredients
In a separate bowl, dissolve the 1 tsp Fine Sea Salt and 1 tsp Granulated Sugar in the 0.5 cup Ice Water. Then add the 1 whole Large Egg and 1 tbsp Apple Cider Vinegar. Whisk until the mixture is fully combined and the egg is broken up into the liquid.
The vinegar helps tenderize the dough while the egg adds richness and color. The ice water is crucial—it keeps the butter from melting prematurely when you combine everything. This temperature control is what creates those flaky layers we’re after.
Step 3: Cut in Cold Butter
Add the 1 cup Cold Unsalted Butter (cubed) to your dry ingredients. Using a pastry cutter or your fingers, work the butter into the flour mixture until you achieve a coarse, crumbly texture with pea-sized butter pieces visible throughout. This should take 3-5 minutes of consistent cutting.
Don’t overwork the butter—you want those visible pieces to remain intact. They’ll create pockets in the dough that turn into flaky layers during baking. If the butter starts to soften or melt, pop the bowl in the refrigerator for 5-10 minutes to chill it back down before proceeding.
Step 4: Form and Chill the Dough
Create a well in the center of your butter-flour mixture. Pour in the wet ingredients all at once. Using a fork, gently stir the mixture until it just begins to come together. Then, turn the dough out onto a surface dusted with additional Gluten-Free All-Purpose Flour.
Knead the dough gently 4-5 times just until it forms a cohesive ball. Don’t overwork it—this isn’t bread dough. Divide it into two equal portions, flatten into discs, wrap in plastic, and refrigerate for at least 1 hour (or up to 2 days). This chilling step relaxes the dough and makes it easier to roll out.
Step 5: Roll and Shape for Pot Pie
Remove one disc from the refrigerator and let it sit at room temperature for 5-10 minutes to soften slightly. On a well-floured surface, roll the dough to ⅛-inch thickness. Use a dry pastry brush to sweep off any excess flour as you work.
Transfer the rolled dough to your pot pie dish, pressing it gently into the bottom and up the sides. Trim any excess, leaving a ½-inch overhang. Repeat with the second disc for the top crust. The dough should hold together well but still be tender—this is the sign of properly made gluten-free pot pie dough.
Pro Tips For Making Gluten Free Pot Pie Dough
- Chill the Dough: After mixing, refrigerate the dough for at least 30 minutes—I learned this the hard way after my first few pies turned out tough from overworking warm dough.
- Use Ice-Cold Butter: Cut the butter into small cubes and keep it in the freezer until the last second; gluten-free flours need that cold fat to create flaky layers.
- Don’t Overmix: As soon as the dough comes together, stop mixing—xanthan gum gets gummy if worked too long, and your crust will turn dense.
- Add Vinegar: Sounds weird, but it works: a teaspoon of apple cider vinegar in the liquid keeps the almond flour from turning bitter and tenderizes the crust.
Pro Cooking Tips for Great gluten free pot pie dough
Keep Everything Ice Cold
Your butter must stay frozen-solid until it hits the oven. I cut mine into ½-inch cubes, freeze for 15 minutes, then keep the bowl in the fridge between steps. Even your flour should be chilled—spread it on a tray and pop it in the freezer for 10 minutes before starting. 🌡️
Work Quickly and Lightly
Gluten-free dough overworks easily. Handle it just enough to bring it together—4-5 gentle kneads max. Use a light touch when rolling, letting the weight of the pin do the work. If cracks appear, press edges together with cold fingers.
Prevent Sticking Disasters
Dust your surface with gluten-free flour and re-dust frequently. I use a pastry brush to sweep off excess. For tricky transfers, roll the dough onto the pin, then unroll it over the pie dish. A silicone rolling mat helps prevent sticking.
Chill Between Layers
After rolling the bottom crust, chill the lined dish for 20 minutes before adding filling. This prevents shrinking. For the top crust, cut vents before chilling 15 minutes so it holds its shape when baked. Cold dough = flaky layers.
Bake on the Lower Rack
Place your pot pie on the lower third of the oven. This ensures the bottom crust bakes through without over-browning the top. Rotate the dish halfway through baking for even color. I check for doneness at 35-40 minutes. 💡
Test for Doneness
The crust should be golden brown and pull away slightly from the dish edges. Tap the center—it should sound hollow. If the top browns too quickly, tent with foil. Let rest 10 minutes before serving to set the filling.
Nutrition Facts
Frequently Asked Questions
Can I make this ahead of time?
The dough keeps well in the fridge for 2 days or freezer for 1 month. Wrap discs tightly in plastic to prevent drying.
Why does my crust crack when rolling?
Let the dough rest at room temperature for 10 minutes first. Press cracks together with cold fingers. Too much flour can also cause this.
Can I use a different flour blend?
Yes, but avoid single flours. A mix of rice, tapioca, and potato starch works best. Test small batches first.
How do I prevent a soggy bottom crust?
Chill the lined dish for 20 minutes before filling. Bake on the lower oven rack for even browning.

- 6 Oz Chocolate Chip Cookie Recipe: Perfectly Balanced Crispy Edges and Chewy Hearts - September 25, 2026
- 6-Inch Coffee Cake Recipe: Vanilla Bean Swirls and Buttery Streusel Topping - September 25, 2026
- 1 Hour Soup Recipe: Velvety Richness Without the Wait - September 25, 2026