
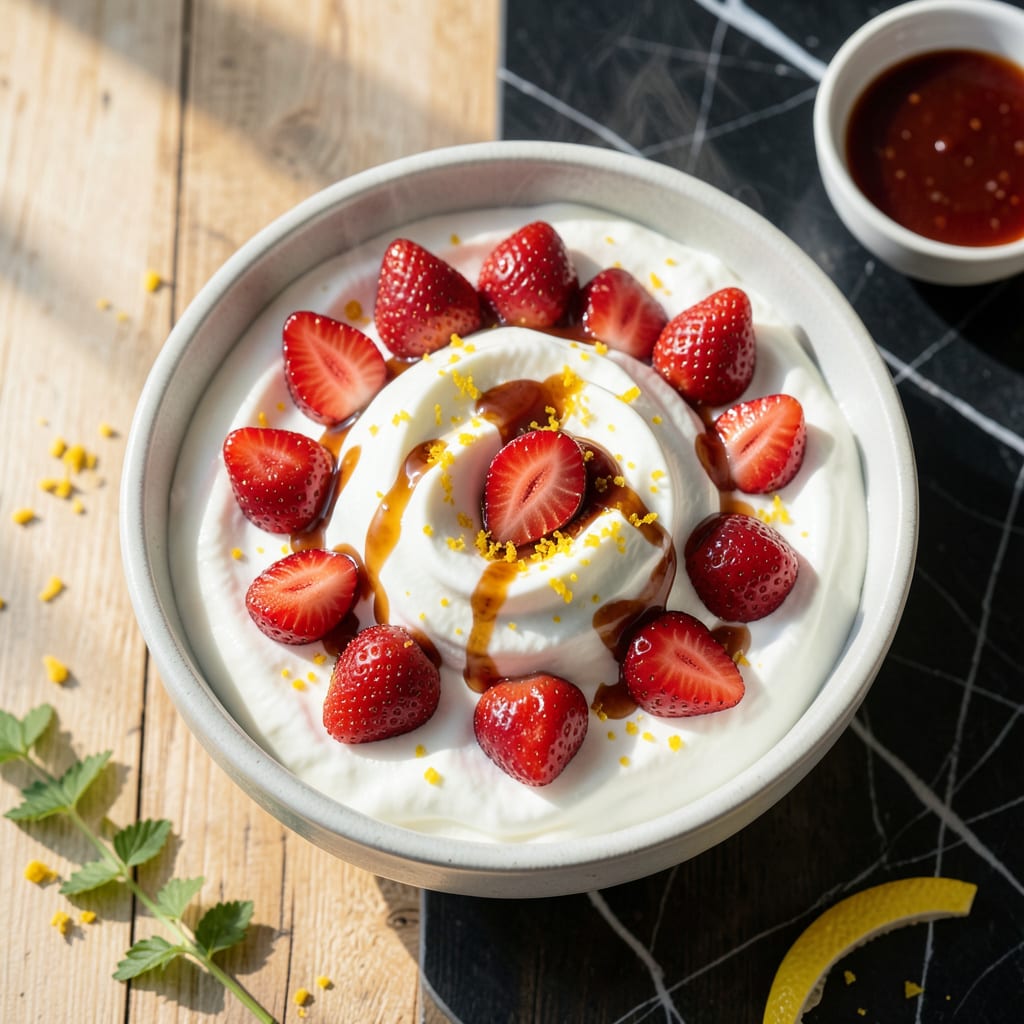
There’s nothing quite like the satisfaction of making your own frozen yogurt at home. This method delivers a tangy, creamy treat that’s completely fat free and easy to customize.
With just a few simple ingredients and an ice cream maker, you can create a dessert that’s as refreshing as it is guilt-free. The result is smooth, light, and bursting with flavor.
Ingredients for Homemade Fat Free Frozen Yogurt
A handful of simple ingredients transform into this light, tangy homemade treat.
| Ingredient | Amount | Notes |
|---|---|---|
| Non-Fat Greek Yogurt 🥛 | 4 cups | Plain, unsweetened preferred |
| Granulated Sugar 🍚 | ¾ cup | Adjust to taste preference |
| Pure Vanilla Extract 🌿 | 2 tsp | High-quality for best flavor |
| Fresh Lemon Juice 🍋 | 1 tbsp | Enhances tangy flavor profile |
| Lemon Zest 🍋 | 1 tsp | Finely grated for brightness |
| Fresh Strawberries 🍓 | 1 cup | Hulled and chopped (optional mix-in) |
| Fresh Blueberries 🫐 | 1 cup | Rinsed and dried (optional mix-in) |
| Honey 🍯 | 2 tbsp | Optional sweetener alternative |
| Pinch of Salt 🧂 | 1 pinch | Balances sweetness |
| Fresh Mint Leaves 🌿 | ¼ cup | Chopped (optional garnish) |
The Greek yogurt is non-negotiable here—Fage Total 0% or Chobani Non-Fat deliver the right texture. Avoid flavored varieties (stick to plain) and check labels for added fats. Most grocery stores carry these, but Whole Foods and Trader Joe’s have the freshest stock. For the sugar, Domino or C&H work perfectly—organic if you prefer.
Swapping the sugar? Agave syrup or maple syrup at a 1:1 ratio keeps it vegan-friendly. No fresh berries? Frozen works too (thaw and drain first). Skip the honey if strict vegetarian isn’t required, but it adds a lovely depth. The lemon is key—Meyer lemons if you can find them (sweeter, less acidic).
This freezes beautifully for up to 2 months. Portion into airtight containers—glass jars work great. Thaw on the counter for 10-15 minutes before scooping. The texture is best fresh, but it holds up well.
Why You’ll Love This Recipe
- 5-Minute Mix: I just stir the Greek yogurt, sugar, vanilla, and lemon zest together—no cooking, no fuss.
- Bright & Tangy: The lemon juice and zest cut through the sweetness with that zingy pop I crave.
- Freezer Stash: I make a big batch and keep it ready for spontaneous dessert nights or post-dinner cravings.
- Budget-Friendly Treat: Non-fat Greek yogurt is cheap, and this recipe turns it into something that feels totally indulgent.
Step-by-Step Instructions for Fat Free Frozen Yogurt
This method ensures a creamy, tangy base with perfectly incorporated mix-ins for professional results.
Step 1: Create the Sweetened Yogurt Base
In a large mixing bowl, whisk together the 4 cups Non-Fat Greek Yogurt, 0.75 cup Granulated Sugar, 2 tsp Pure Vanilla Extract, 1 tbsp Fresh Lemon Juice, 1 tsp Lemon Zest, and 1 pinch Pinch of Salt until fully combined and smooth. The sugar should dissolve completely—this may take 2-3 minutes of vigorous whisking.
The lemon juice and zest brighten the yogurt’s natural tang while the salt balances the sweetness. I recommend using plain, unsweetened yogurt for the cleanest flavor profile. This base must be perfectly smooth before proceeding to prevent icy textures in the final product.
Step 2: Prepare and Fold in Fruit Add-Ins
Hull and chop the 1 cup Fresh Strawberries into small, uniform pieces. Rinse and thoroughly dry the 1 cup Fresh Blueberries—any excess moisture will create ice crystals. If using the 2 tbsp Honey for additional sweetness, drizzle it over the fruit now.
Gently fold the prepared berries into the yogurt base using a silicone spatula. The fruit should be evenly distributed but not overmixed—you want visible swirls and chunks. For best texture, the fruit should be cold but not frozen when added. This prevents premature softening and maintains distinct fruit pieces in the finished yogurt.
Step 3: Chill the Mixture Thoroughly
Cover the bowl with plastic wrap and refrigerate for at least 4 hours, though overnight produces optimal results. This chilling step is critical—it allows the flavors to meld and the mixture to reach the ideal temperature for churning.
The base should be 40°F or below before processing. I check the temperature with an instant-read thermometer to be certain. Skipping or rushing this step often results in a grainy texture, as the freezing process won’t work properly with a warm base. Patience here ensures a silky-smooth final product.
Step 4: Churn in an Ice Cream Maker
Pour the chilled mixture into your ice cream maker and churn according to the manufacturer’s instructions, typically 20-25 minutes. The frozen yogurt is ready when it reaches the consistency of soft-serve—it should hold its shape but still be slightly pliable.
If you don’t have an ice cream maker, pour the mixture into a shallow freezer-safe container and freeze for 2-3 hours, stirring vigorously with a fork every 30 minutes to break up ice crystals. This manual method requires more attention but can produce excellent results with diligence.
Step 5: Freeze to Desired Consistency
Transfer the churned yogurt to a lidded freezer container. For a softer texture, serve immediately. For a firmer consistency, freeze for an additional 2-4 hours. The frozen yogurt should be scoopable but not rock-hard.
Just before serving, chop the 0.25 cup Fresh Mint Leaves and sprinkle as a garnish if desired. This adds a fresh, aromatic contrast to the creamy, tangy dessert. Always let the yogurt sit at room temperature for 5-10 minutes before scooping for the easiest serving and best texture.
Pro Tips For Making Homemade Fat Free Frozen Yogurt
- Chill the Yogurt: Always refrigerate your non-fat Greek yogurt for at least 2 hours before mixing. I learned this the hard way—room temperature yogurt makes the mixture too runny and it takes forever to freeze properly.
- Dissolve the Sugar: Whisk the granulated sugar into the yogurt until fully dissolved, about 2-3 minutes. Sounds tedious, but it prevents those annoying icy sugar crystals from forming in your frozen yogurt.
- Skip the Overmixing: Once you add the lemon juice and zest, stir just until combined. Overmixing can make the yogurt separate and give you a watery texture instead of that creamy consistency you want.
- Freeze in Batches: Spread the mixture in a shallow container rather than one deep tub. It freezes faster and more evenly, so you’re not waiting hours for the center to set—I was skeptical until I tried it.
Common Mistakes When Making Great homemade fat free frozen yogurt
Skipping the Chill
I’ve learned the hard way that chilling the yogurt base is non-negotiable. Without 4 hours in the fridge, your mixture won’t freeze properly in the machine, resulting in a soupy mess. 💡
Overmixing Fruit
When adding berries, fold gently with a spatula. Overmixing breaks down the fruit and releases excess moisture, creating unwanted ice crystals. Keep the fruit cold but not frozen before adding.
Using Warm Ingredients
All ingredients must be chilled, especially the yogurt. Warm components prevent proper freezing and lead to a grainy texture. I always check my base reaches 40°F before churning.
Overfilling the Machine
Most ice cream makers have a max fill line—usually 1-1.5 quarts. Exceeding this causes spillage and uneven freezing. Leave room for expansion as the mixture freezes.
Ignoring the Stall
If freezing manually, don’t walk away. Stirring every 30 minutes breaks up ice crystals. Skipping this creates rock-hard yogurt with poor texture. Consistency is key.
With the manual method, I set a timer to avoid forgetting. The effort pays off in smooth results.
Nutrition Facts
Frequently Asked Questions
Can I use regular yogurt instead of Greek?
Regular yogurt will work but produces a less creamy texture. Greek yogurt’s thickness is key for that rich, smooth consistency. For best results, stick with non-fat Greek.
How long does it keep in the freezer?
It stays fresh for up to 2 months in an airtight container. For best texture, let it sit at room temperature for 5-10 minutes before scooping.
Why did my yogurt turn icy?
An icy texture usually means the base wasn’t cold enough before churning. Make sure it reaches 40°F and avoid overfilling your machine.
Can I make this without an ice cream maker?
Yes! Freeze in a shallow container, stirring every 30 minutes for 2-3 hours. It requires more attention but works well.

- 8 Bean Soup Recipe Crock Pot: Hearty Vegetable Medley in One Pot - September 25, 2026
- 4C Bread Crumbs Meatballs Recipe: Crispy Crust and Juicy Centers - September 25, 2026
- 6 Oz Chocolate Chip Cookie Recipe: Perfectly Balanced Crispy Edges and Chewy Hearts - September 25, 2026