
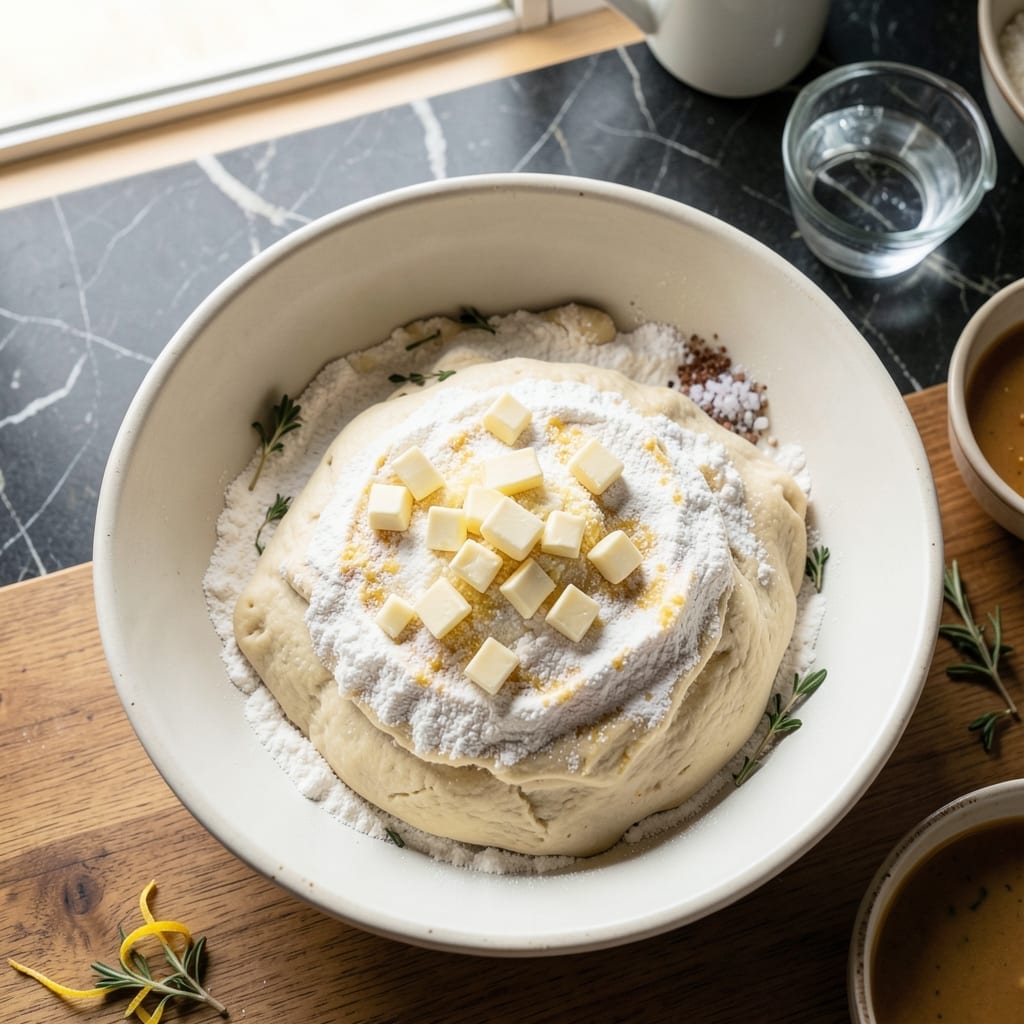
The secret to a showstopping pot pie lies in the dough—flaky, tender layers that form a perfect golden crust. This recipe delivers that homemade quality without the guesswork.
Cold ingredients and minimal handling are key to achieving those distinct layers that separate and crisp beautifully in the oven. The process requires patience but rewards with superior texture.
What emerges is a dough that bakes to a golden finish, with a tender bite that gives way to rich fillings. It’s the foundation of any great pot pie.
This method ensures consistent results every time. The layers will impress even the most discerning home cooks.
Ingredients for Homemade Pot Pie Dough
Cold butter, minimal handling, and a few pantry staples create that flaky, golden crust.
| Ingredient | Amount | Notes |
|---|---|---|
| All-Purpose Flour 🌾 | 2 ½ cups | Plus extra for dusting |
| Unsalted Butter 🧈 | 1 cup | Cold, cubed into small pieces |
| Ice Water 💧 | ¾ cup | Plus extra as needed |
| Salt 🧂 | 1 tsp | Fine sea salt preferred |
| Granulated Sugar 🍚 | 1 tsp | Optional for color |
| White Vinegar 🍯 | 1 tbsp | Or apple cider vinegar |
| Large Egg 🥚 | 1 whole | For egg wash (optional) |
The butter must stay cold—Land O’Lakes or Kerrygold are reliable choices. Use unsalted so you control the sodium. All-purpose flour from King Arthur or Gold Medal gives consistent results. Keep a bag of ice in your freezer for the water (cold is non-negotiable here). The vinegar tenderizes the gluten, but don’t overdo it—a tablespoon is plenty.
No unsalted butter? Use salted and omit the added salt. Out of vinegar? Lemon juice at the same amount works. If you’re avoiding eggs, milk or cream makes a fine wash. For extra flakiness, add 1 tablespoon of vodka (it evaporates, leaving the layers light). Work quickly to keep everything chilled.
Dough keeps wrapped in plastic for 2-3 days in the fridge or 1 month frozen. Thaw overnight before rolling. For best texture, rest the dough 30 minutes before shaping—this relaxes the gluten and prevents shrinking.
Why You’ll Love This Recipe
- 5-Ingredient Simplicity: I love that this dough comes together with just flour, butter, ice water, salt, and a touch of sugar—no fancy ingredients or extra steps.
- Buttery, Flaky Layers: The cold butter creates pockets of flakiness that make every bite irresistibly crisp and rich.
- Weeknight Hero: Honestly, it’s my go-to for quick dinners, potlucks, or even freezing extras for busy days ahead.
- Budget-Friendly Batch: A bag of flour and a stick of butter stretch into multiple pies, saving me money without sacrificing quality.
Step-by-Step Instructions for Homemade Pot Pie Dough
Master the technique for creating the flakiest, most tender crust that defines an exceptional pot pie.
Step 1: Combine Dry Ingredients and Cold Butter
In a large bowl, whisk together the 2.5 cups All-Purpose Flour, 1 tsp Salt, and 1 tsp Granulated Sugar until evenly distributed. The sugar adds subtle sweetness and promotes browning for that perfect golden finish.
Add the 1 cup Unsalted Butter (cold and cubed into small pieces) to the flour mixture. Using a pastry cutter or your fingertips, work the butter into the flour until the mixture resembles coarse crumbs with pea-sized butter pieces visible. This creates the layers that will flake when baked.
Step 2: Incorporate the Liquid Components
In a small bowl, combine the 0.75 cup Ice Water and 1 tbsp White Vinegar. The vinegar tenderizes the dough by inhibiting gluten development, ensuring a flakier texture. Drizzle this mixture over the flour-butter combination, one tablespoon at a time, while gently tossing with a fork.
Stop adding liquid when the dough just begins to come together. It should look shaggy with some dry bits remaining. Overworking the dough at this stage will make it tough, so handle it as little as possible.
Step 3: Knead and Shape the Dough
Turn the dough out onto a lightly floured surface. Gently knead it just until it forms a smooth ball, about 30 seconds. If the dough feels too dry, add ice water 1 teaspoon at a time until it comes together. The less you handle it, the flakier your final crust will be.
Divide the dough into two equal portions and shape each into a disk about 1-inch thick. Wrap each disk tightly in plastic wrap and refrigerate for at least 1 hour or up to 2 days. Chilling relaxes the gluten and firms the butter, both critical for achieving those distinct flaky layers.
Step 4: Roll and Prepare for Baking
Remove one disk from the refrigerator and let it sit at room temperature for 10 minutes to soften slightly. On a lightly floured surface, roll the dough into a circle about ⅛-inch thick and 12 inches in diameter, rotating the dough occasionally to prevent sticking.
For a top crust, use the second disk to roll another circle of the same size. If desired, brush the top crust with a beaten large egg for a glossy, golden finish. This egg wash adds both color and a subtle richness to the final product.
Pro Tips For Making Homemade Pot Pie Dough
- Chill the Butter: Cut the butter into small cubes and refrigerate for 15 minutes before mixing—cold butter creates flaky layers in your crust.
- Use Ice Water: Fill a glass with ice and water, then measure from that; the colder the water, the less it toughens the dough.
- Don’t Overmix: Stop mixing as soon as the dough comes together; overworking it makes the crust tough instead of tender.
- Rest Before Rolling: Let the dough rest in the fridge for at least 30 minutes before rolling—this relaxes the gluten and prevents shrinking.
Common Mistakes When Making Great homemade pot pie dough
Overworking the Dough
The moment you start mixing, remember that every touch develops gluten. I’ve found that kneading for more than 30 seconds transforms your flaky layers into a tough, chewy mess. Use your fork, not your hands, during initial mixing. 💪
Warm Ingredients
Your butter must stay cold—literally ice cold. If your kitchen is warm, I chill my mixing bowl and flour for 15 minutes beforehand. Even slight warmth in the butter will melt into the flour, ruining the flaky texture you’re working so hard to achieve.
Incorrect Liquid Amount
Adding all the water at once is a common mistake. Drizzle in the ice water mixture 1 tablespoon at a time, stopping as soon as the dough starts to clump. Too much liquid creates a sticky, difficult-to-handle dough that results in a dense crust.
Skipping the Rest
Rushing to roll out the dough without chilling is asking for trouble. I always rest my dough for at least 1 hour in the fridge. This critical step allows the gluten to relax and the butter to firm up, ensuring those beautiful, distinct layers.
Over-Flouring Surface
While rolling, use just enough flour to prevent sticking—about 1 tbsp at a time. Too much flour incorporates into the dough, making it dry and tough. I tap off excess flour before folding or shaping to maintain the perfect texture.
Uneven Rolling
An uneven crust leads to inconsistent baking. Always roll from the center outward, rotating the dough 90 degrees after each pass. This maintains even thickness throughout, ensuring uniform browning and texture. 🔥
Nutrition Facts
Frequently Asked Questions
Why does the butter need to stay cold?
Cold butter creates steam when baking, which makes those flaky layers. If it melts before baking, the crust becomes dense instead of light and airy.
Can I make this dough ahead of time?
Yes! Wrap it tightly and refrigerate for up to 2 days or freeze for 1 month. Thaw overnight in the fridge before using.
What if my dough cracks when rolling?
Let it rest for 5-10 minutes at room temperature. If still cracking, patch with extra dough and press gently.
Can I use a food processor?
Absolutely—pulse the butter and flour until pea-sized crumbs form. Be careful not to overmix, as this can toughen the dough.

- 4C Bread Crumbs Meatballs Recipe: Crispy Crust and Juicy Centers - September 25, 2026
- 6 Oz Chocolate Chip Cookie Recipe: Perfectly Balanced Crispy Edges and Chewy Hearts - September 25, 2026
- 6-Inch Coffee Cake Recipe: Vanilla Bean Swirls and Buttery Streusel Topping - September 25, 2026