
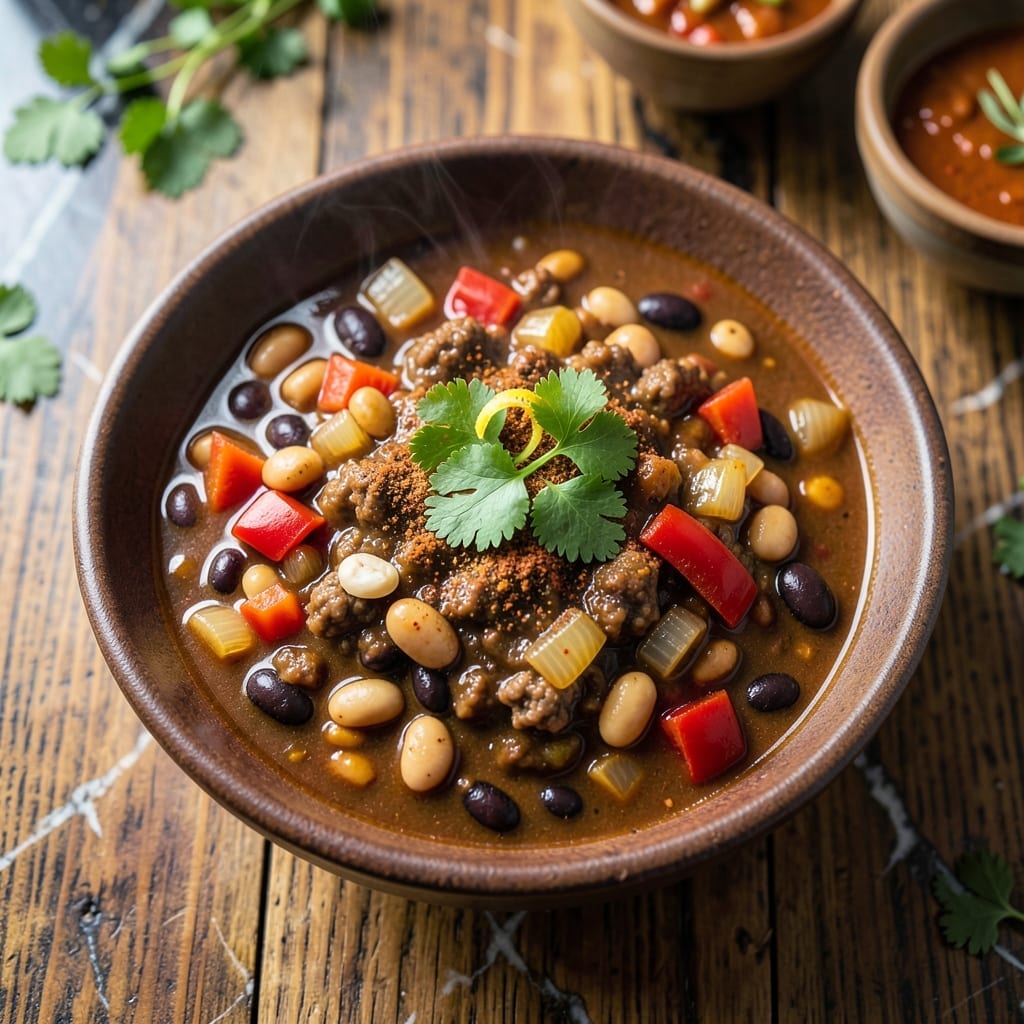
This hands-off chili delivers bold flavors without the fuss, proving that great taste doesn’t require constant attention. The pressure cooker transforms simple ingredients into a deeply savory dish with minimal effort from you.
What makes this method special is the way it intensifies spices and tenderizes meat in a fraction of the time. The sealed environment locks in moisture while building layers of flavor that taste like they’ve simmered all day.
You’ll end up with a thick, hearty chili packed with rich, complex flavors and perfectly tender meat. The best part? Cleanup is just as easy as the cooking process itself.
Ideal for busy weeknights or feeding a crowd. Here’s how to make it happen.
Ingredients for Insta Pot Chili
Pantry staples and fresh produce combine for a hearty, flavorful chili that cooks itself.
| Ingredient | Amount | Notes |
|---|---|---|
| Ground Beef 🥩 | 1 ½ lb | 80/20 lean-to-fat ratio |
| Yellow Onion 🧅 | 1 whole | Medium, finely diced |
| Garlic Cloves 🧄 | 4 cloves | Minced for maximum flavor |
| Red Bell Pepper 🌶️ | 1 whole | Diced, seeds removed |
| Canned Kidney Beans 🫘 | 2 cans | 15 oz each, drained and rinsed |
| Canned Black Beans 🫘 | 1 can | 15 oz, drained and rinsed |
| Diced Tomatoes 🍅 | 2 cans | 14.5 oz each, with juices |
| Tomato Paste 🍅 | 2 tbsp | For depth of flavor |
| Chili Powder 🌶️ | 2 tbsp | Mild or hot variety |
| Ground Cumin 🌿 | 1 tbsp | Toasted for extra aroma |
| Smoked Paprika 🌶️ | 1 tsp | Adds smoky depth |
| Dried Oregano 🍃 | 1 tsp | Dried works best here |
| Beef Broth 🥣 | 1 cup | Low-sodium preferred |
| Salt 🧂 | 1 tsp | Adjust to taste |
| Black Pepper 🌶️ | ½ tsp | Freshly ground preferred |
The beef is the foundation here. 80/20 ground chuck gives you the right fat content for flavor without being greasy. Costco or Sam’s Club are great for bulk purchases—just freeze what you don’t use. For the beans, Bush’s or Goya brands are consistent in quality. Always drain and rinse to remove excess sodium. The canned tomatoes should be San Marzano if possible—their sweetness balances the spices perfectly.
No ground beef? Ground turkey or plant-based crumbles work well. Out of fresh peppers? Frozen diced peppers (thawed and drained) save the day. If you don’t have smoked paprika, add half a teaspoon of liquid smoke instead. For extra heat, include a diced jalapeño or a pinch of cayenne pepper. The chili powder can be adjusted to taste—start with less and build up.
This chili tastes even better the next day after flavors meld. Store in an airtight container in the fridge for up to 5 days or freeze for 3 months. Leftovers reheat beautifully on the stove or in the microwave.
Why You’ll Love This Recipe
- Dump and Go: I just toss in the beef, onion, garlic, bell pepper, and beans—no pre-browning needed, and the Instapot does the rest.
- Rich and Smoky: The garlic and kidney beans soak up all the flavors, giving it that deep, hearty taste I crave.
- Meal Prep Hero: I make a double batch on Sunday, and it’s ready for lunches or quick dinners all week.
- Budget Stretcher: Ground beef and canned beans keep it affordable, and it feeds my family for days.
Step-by-Step Instructions for Insta Pot Chili
This hands-off method delivers rich, layered flavors with minimal active cooking time.
Step 1: Sauté Aromatics and Brown the Beef
Set your Insta Pot to the Sauté function on Normal heat. Add the 1.5 lb Ground Beef and cook, breaking it up with a wooden spoon, until it’s no longer pink and begins to brown, about 5-6 minutes.
Next, add the finely diced Yellow Onion, minced Garlic Cloves, and diced Red Bell Pepper. Cook for an additional 3-4 minutes until the onion becomes translucent and the mixture is fragrant. This builds the flavor foundation for your chili.
Step 2: Add Spices and Tomato Base
Stir in the 2 tbsp Chili Powder, 1 tbsp Ground Cumin, 1 tsp Smoked Paprika, 1 tsp Dried Oregano, 1 tsp Salt, and 0.5 tsp Black Pepper. Cook for 1 minute to toast the spices, which deepens their flavor.
Add the 2 tbsp Tomato Paste and stir to coat the beef and aromatics. Cook for another 1-2 minutes until the tomato paste darkens slightly. Then pour in the 1 cup Beef Broth and use a wooden spoon to scrape up any browned bits from the bottom of the pot.
Step 3: Incorporate Beans and Tomatoes
Add the 2 cans Diced Tomatoes (with juices), 2 cans Canned Kidney Beans (drained and rinsed), and 1 can Canned Black Beans (drained and rinsed). Stir everything together to combine thoroughly.
Make sure all ingredients are submerged in the liquid. The beans should be fully immersed to ensure even cooking and maximum flavor absorption. This is the point where the chili starts to come together.
Step 4: Pressure Cook and Finish
Secure the lid on your Insta Pot and set the valve to Sealing. Cook on High Pressure for 10 minutes. The pot will take about 10-15 minutes to come to pressure before the cooking time begins.
Once the cooking cycle is complete, allow the pressure to release naturally for 10 minutes, then switch the valve to Venting to release any remaining pressure. Open the lid carefully, stir the chili, and let it sit for 5 minutes to allow the flavors to meld together before serving.
Pro Tips For Making Insta Pot Chili
- Brown the Beef Well: Don’t just dump it in—sauté the ground beef in batches until deeply browned, about 5-7 minutes. I learned this the hard way: pale beef makes bland chili.
- Drain the Beans: Rinse and drain the kidney beans thoroughly to remove the canning liquid. It prevents a metallic taste and keeps the chili from getting watery.
- Skip the Pre-Softening: Resist the urge to pre-cook the bell peppers or onions. The Instant Pot handles the texture perfectly when everything goes in raw.
- Deglaze Properly: After browning the beef, add a splash of broth or water and scrape the bottom hard to lift any stuck bits. Sounds tedious, but it prevents the “burn” error and adds flavor.
Dietary Considerations for This Dish
Gluten-Free Friendly
This dish is naturally gluten-free as long as you use certified gluten-free chili powder and broth. I always check labels on McCormick or Badia spices to be safe. The beans and tomatoes don’t contain gluten, so you’re good to go. 💪
Low-Carb Option
To reduce carbs, simply omit the beans and double the meat to 3 lbs. This keeps the dish hearty while cutting net carbs significantly. You can also add diced zucchini or cauliflower rice for bulk without the carbs.
Vegetarian Adaptation
Swap the beef for 1.5 lbs plant-based crumbles like Beyond Meat or Impossible. Use vegetable broth instead of beef broth. The cooking time and method remain exactly the same—I promise the flavors still shine.
Dairy-Free Note
This recipe contains no dairy by default. If you’re serving with toppings, stick to avocado, green onions, or dairy-free cheese. Violife brand melts beautifully for those who want that cheesy texture without dairy.
Lower Sodium Version
Use low-sodium beans and broth, and reduce added salt to ½ tsp. I find the natural flavors still come through beautifully. Taste before serving and adjust with a pinch of salt if needed. 🌱
Allergen Information
The primary allergens here are beans (legumes). For nut allergies, this is a safe choice. Always check spice blend labels for hidden allergens if you have severe sensitivities.
Nutrition Facts
Frequently Asked Questions
Can I use ground turkey instead?
Yes! Swap 1.5 lb ground turkey for beef with no other changes. Turkey works well but may need an extra 1 tsp of oil to prevent sticking.
Why do I need to toast the spices?
Toasting for 1 minute wakes up the flavors in chili powder and cumin. This small step makes a big difference in depth and aroma.
What if my chili is too thin?
Simmer uncovered for 5-10 minutes after pressure cooking. Or mash some beans to thicken naturally. Never add flour directly.

- 4C Bread Crumbs Meatballs Recipe: Crispy Crust and Juicy Centers - September 25, 2026
- 6 Oz Chocolate Chip Cookie Recipe: Perfectly Balanced Crispy Edges and Chewy Hearts - September 25, 2026
- 6-Inch Coffee Cake Recipe: Vanilla Bean Swirls and Buttery Streusel Topping - September 25, 2026