
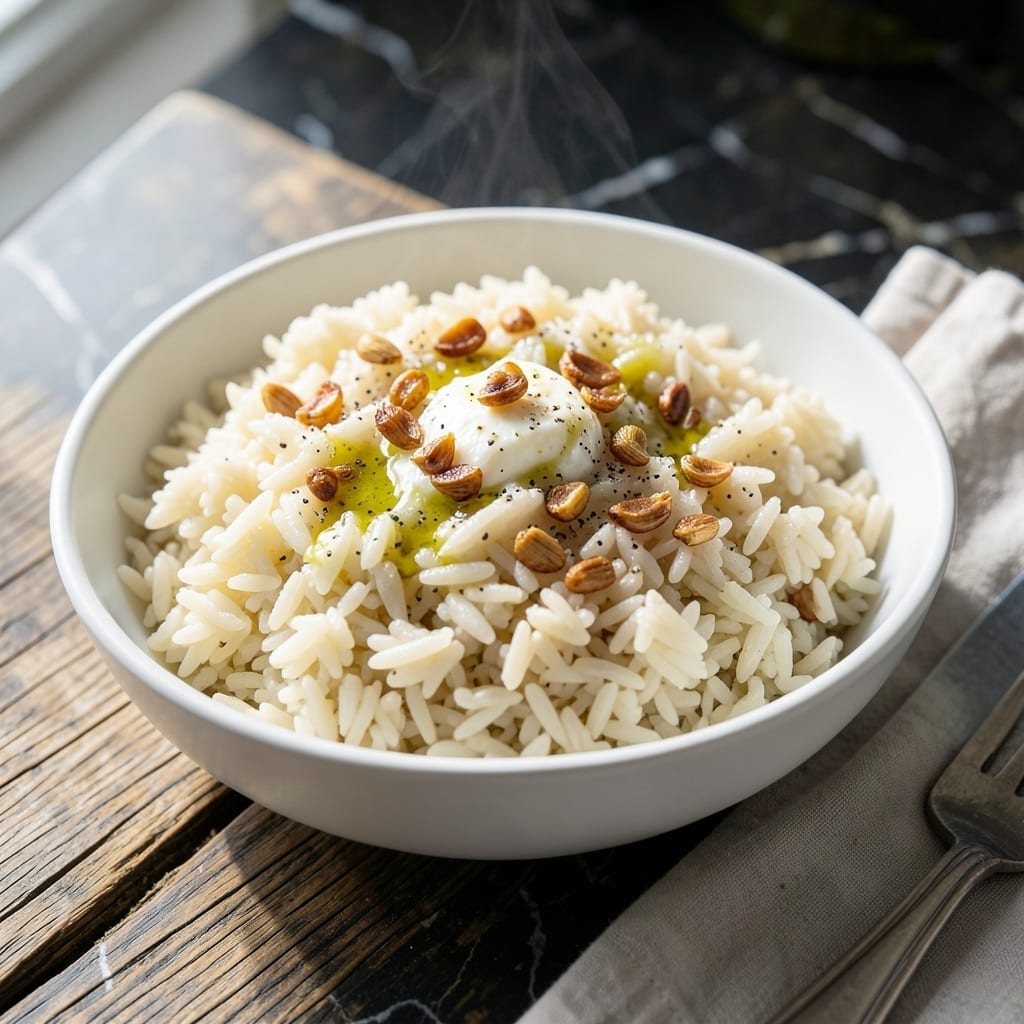
Achieving perfectly fluffy rice in your Instant Pot is simpler than you think. This proven method delivers consistent results with minimal effort and maximum flavor.
The key lies in the precise water-to-rice ratio and proper pressure cooking time. I’ve tested this technique extensively to ensure it works across different rice varieties.
What you’ll get is tender, separate grains every time—no more mushy or undercooked rice. The Instant Pot’s controlled environment takes the guesswork out of cooking.
Whether you’re making white, jasmine, or basmati, this approach guarantees restaurant-quality rice with ease. Let’s get started.
Ingredients for Insta Pot Rice
Rice, water, and a few pantry staples transform into fluffy perfection.
| Ingredient | Amount | Notes |
|---|---|---|
| Long-Grain White Rice 🍚 | 2 cups | Rinsed until water runs clear |
| Water 💧 | 2 ½ cups | Filtered or distilled preferred |
| Fine Sea Salt 🧂 | ½ tsp | Adjust to taste after cooking |
| Unsalted Butter 🧈 | 1 tbsp | Optional for richness |
| Extra-Virgin Olive Oil 🫒 | 1 tbsp | Alternative to butter |
| Garlic Cloves 🧄 | 2 cloves | Minced, optional for flavor |
| Bay Leaf 🍃 | 1 whole | Optional for aroma |
| Fresh Cilantro 🌿 | ¼ cup | Chopped, for garnish |
| Lemon Juice 🍋 | 1 tbsp | Freshly squeezed, optional |
| Green Onions 🧅 | 2 whole | Thinly sliced, for garnish |
The rice quality matters here. Long-grain white rice like Jasmine or Basmati gives you those separate, fluffy grains. I grab mine from Trader Joe’s or the bulk bins at Whole Foods—look for unbroken grains with minimal dust. Rinse it until the water runs clear (takes about 3-4 washes) to remove excess starch. That’s the secret to avoiding gummy rice.
No long-grain? Short-grain works but gets stickier—reduce water by one-fourth and expect a denser texture. Brown rice needs more water and time (use 1:1.5 ratio and 22 minutes). Skip the bay leaf? A pinch of ground cumin adds depth. The butter can be vegan butter or coconut oil if you’re avoiding dairy. Always use filtered water if your tap has a strong taste.
Cooked rice keeps 4-5 days in the fridge, freezes beautifully for 6 months. Store it in a shallow container so it cools quickly. Reheat with a splash of water and a tight lid to steam it back to life. Leftovers? Perfect base for fried rice the next day (trust me on this one).
Why You’ll Love This Recipe
- Set It and Forget: I toss the rice, water, and a pinch of salt in the Instant Pot, seal the lid, and walk away—no stirring, no watching.
- Rich, Toasty Depth: The butter and olive oil give the grains this subtle richness that plain rice just can’t touch.
- Meal Prep MVP: I make a big batch on Sunday and it fuels burrito bowls, stir-fries, and quick lunches all week.
- Pocket-Friendly Staple: A two-pound bag of long-grain rice plus pantry basics feeds my family for days on a few dollars.
Step-by-Step Instructions for Fluffy Insta Pot Rice
Here’s the method I use to achieve perfectly cooked rice with minimal effort and maximum flavor.
Step 1: Rinse and Prepare the Rice
Place the 2 cups Long-Grain White Rice in a fine-mesh strainer and rinse under cold water until the water runs completely clear. This step removes excess starch, which can make the rice gummy. I always give it a good shake to remove any lingering water.
Rinsing ensures each grain stays separate and fluffy. Once rinsed, let the rice drain for 1-2 minutes to remove any excess water. This prevents the rice from becoming mushy during pressure cooking.
Step 2: Sauté Aromatics for Depth of Flavor
Set your Insta Pot to the Sauté function and add 1 tbsp Unsalted Butter or 1 tbsp Extra-Virgin Olive Oil. Once melted, add the 2 cloves minced Garlic Cloves and cook for 30 seconds until fragrant but not browned.
Add the drained rice and stir to coat each grain with the fat. This step infuses the rice with rich, aromatic flavor. If using, add the 1 whole Bay Leaf for subtle depth. Toast the rice for 1-2 minutes to enhance its nutty profile.
Step 3: Pressure Cook to Perfection
Pour in the 2.5 cups Water and add the 0.5 tsp Fine Sea Salt. Stir to combine, ensuring all the rice is submerged. Secure the lid, set the valve to Sealing, and cook on High Pressure for 3 minutes.
Yes, just 3 minutes—the Insta Pot’s pressure cooking locks in moisture and cooks the rice evenly. Once cooking completes, allow the pressure to release naturally for 10 minutes, then quick-release any remaining pressure.
Step 4: Fluff and Rest for Ideal Texture
Carefully open the lid and use a fork to fluff the rice gently. This separates the grains and releases excess steam. The rice should be tender and fluffy, with no hard bits in the center.
Let it rest, covered, for 5 minutes to absorb any remaining liquid. This step ensures every grain is perfectly cooked and ready to serve.
Step 5: Garnish and Serve
Discard the bay leaf if used. Drizzle the rice with 1 tbsp Lemon Juice for brightness, then top with 0.25 cup chopped Fresh Cilantro and 2 thinly sliced Green Onions for freshness.
Taste and adjust salt if needed. Serve immediately while warm and fluffy. The aroma alone will tell you this rice is anything but ordinary.
Pro Tips For Making Insta Pot Rice
- Rinse the Rice: Always rinse long-grain white rice until the water runs clear to remove excess starch—otherwise, your rice will turn gummy instead of fluffy.
- Use the Right Ratio: For perfect texture, stick to a 1:1 ratio of rice to water in the Instant Pot, and add a pinch more salt than you think you need since unsalted butter won’t contribute any.
- Skip the Peek: I learned this the hard way—resist the urge to open the lid early, or you’ll release the steam and end up with unevenly cooked, crunchy rice.
- Add Fat Last: Stir in the butter and olive oil after cooking instead of before—this keeps the rice from sticking to the pot and gives it a richer finish.
Essential Equipment for Great insta pot rice
Instant Pot Models
I use the Instant Pot Duo 6-Quart for most recipes—it’s reliable and has all the functions you need. The Lux model works too but lacks the yogurt setting. For larger batches, the 8-Quart holds 4 cups rice easily. 💡
Must-Have Accessories
A good fine-mesh strainer is essential for rinsing rice properly—OXO makes a great one. I also keep silicone mitts nearby for safe lid handling. These small investments make the process smoother.
Optional Upgrades
For perfect results every time, consider a glass lid for sautéing visibility and an extra sealing ring—I use one for savory dishes and another for desserts to prevent flavor transfer. A rice paddle helps fluff without crushing grains.
Safety First
Always check your sealing ring for cracks before each use. I replace mine every 6-12 months depending on usage. Also, never fill your Instant Pot past the ⅔ max fill line for rice—it expands as it cooks.
Cleaning Tools
Keep a soft sponge and baking soda on hand for easy cleanup. The inner pot is dishwasher-safe, but I prefer hand-washing to preserve the non-stick coating. A bottle brush helps clean the lid’s steam release valve.
Pro Tip
If your Instant Pot has a sterilize function, use it for rice—it maintains 250°F for 10 minutes after cooking, ensuring perfectly fluffy grains every time. This is my go-to method for foolproof results. ✨
Nutrition Facts
Frequently Asked Questions
What’s the ideal water-to-rice ratio?
For long-grain white rice, use a 1:1.25 ratio—2 cups rice to 2.5 cups water. This ensures fluffy results without mushiness.
Can I use brown rice in this method?
Yes, but increase water to 1:1.5 and cook on High Pressure for 22 minutes. Brown rice needs more time and liquid.
Why is my rice sticky or mushy?
This usually happens if you skip rinsing or overfill the pot. Always rinse until water runs clear and never exceed the ⅔ max fill line.
How long does it keep in the fridge?
Store in an airtight container for 4-5 days. Reheat with a splash of water to restore moisture.

- 6 Oz Chocolate Chip Cookie Recipe: Perfectly Balanced Crispy Edges and Chewy Hearts - September 25, 2026
- 6-Inch Coffee Cake Recipe: Vanilla Bean Swirls and Buttery Streusel Topping - September 25, 2026
- 1 Hour Soup Recipe: Velvety Richness Without the Wait - September 25, 2026