
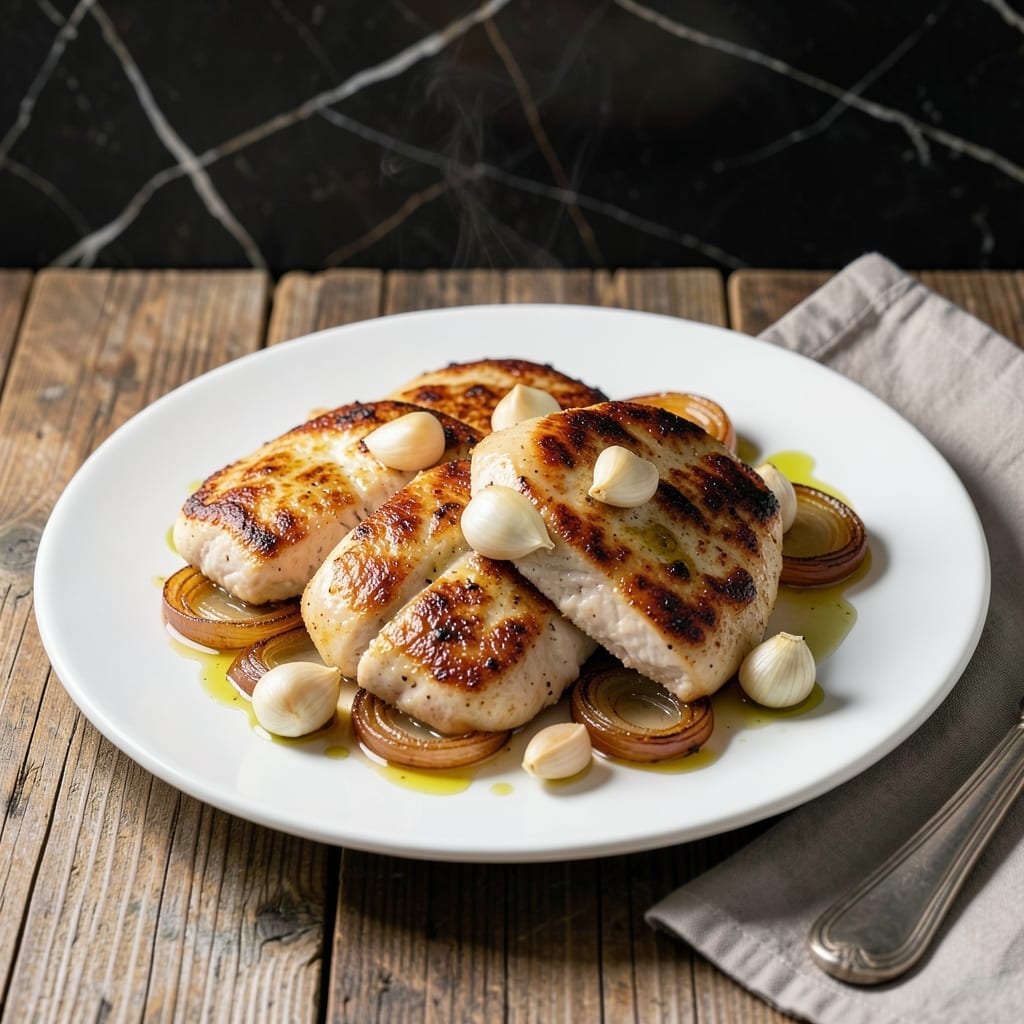
Achieving moist chicken breast in an Instant Pot is simpler than you think. This method guarantees tender, juicy results every time with almost no effort.
The secret lies in proper timing and liquid ratios. Cooking under pressure locks in natural juices, preventing the dry, rubbery texture that plagues many home-cooked chicken breasts.
You’ll end up with perfectly cooked chicken that shreds effortlessly or stays intact for sliced servings. The best part? It’s ready in under 30 minutes from start to finish.
Serve with rice, roasted vegetables, or in salads for a complete meal that never disappoints.
Ingredients for Instant Pot Boneless Chicken Breast
Simple ingredients, maximum flavor. Pantry staples plus chicken do the heavy lifting here.
| Ingredient | Amount | Notes |
|---|---|---|
| Boneless Skinless Chicken Breasts 🍗 | 1 ½ lb | Uniform thickness for even cooking |
| Chicken Broth 🥣 | 1 cup | Low-sodium preferred for control |
| Olive Oil 🫒 | 1 tbsp | Extra-virgin for depth of flavor |
| Garlic Cloves 🧄 | 3 cloves | Minced for maximum flavor infusion |
| Onion 🧅 | ½ whole | Diced finely for even distribution |
| Dried Thyme 🌿 | 1 tsp | Rubbed between fingers to release oils |
| Dried Rosemary 🍃 | 1 tsp | Crushed to enhance aroma |
| Kosher Salt 🧂 | 1 tsp | Diamond Crystal for consistent seasoning |
| Black Pepper 🌶️ | ½ tsp | Freshly ground for best flavor |
| Bay Leaf 🌿 | 1 whole | Whole leaf, removed before serving |
| Lemon Juice 🍋 | 1 tbsp | Freshly squeezed for brightness |
| Dijon Mustard 🟡 | 1 tsp | Smooth variety for emulsifying |
The chicken is everything. Uniform thickness means even cooking—no dry spots. I grab mine from Costco (the individually frozen breasts thaw fast and stay moist). Look for air-chilled if your store carries it; it holds up better under pressure. The broth matters too—low-sodium lets you control the seasoning without overdoing it.
No fresh herbs? Dried work perfectly—just crush them to wake up the flavors. Missing Dijon? Whole-grain mustard adds a nice texture, or skip it and bump the lemon juice to 2 tbsp. The onion can be yellow or white (whatever’s in your bin). Out of thyme? Poultry seasoning at half the amount covers all the bases.
Leftovers keep 4-5 days in the fridge, or freeze for 3 months (shredded chicken freezes best). The cooked chicken soaks up flavors as it rests—don’t skip the 5-minute natural release. That’s when the magic happens.
Why You’ll Love This Recipe
- Set and Forget: I toss everything in the Instant Pot, press a button, and walk away—no babysitting required.
- Garlicky Perfection: The garlic and onions infuse the chicken with a rich, savory depth that’s anything but boring.
- Meal Prep Hero: I make a big batch on Sunday and use it in salads, wraps, or pasta all week long.
- Budget Stretcher: A few affordable ingredients turn into multiple meals, and the leftovers taste even better the next day.
Step-by-Step Instructions for Instant Pot Boneless Chicken Breast
Here’s my no-fail method for tender, flavorful chicken every single time.
Step 1: Sear the Chicken Breasts
Set your Instant Pot to the Sauté function with Normal heat. Add the 1 tbsp Olive Oil and let it heat until shimmering. While it warms, pat the 1.5 lb Boneless Skinless Chicken Breasts dry with paper towels—this ensures a good sear.
Season both sides with 1 tsp Kosher Salt and 0.5 tsp Black Pepper. Sear the chicken for 3-4 minutes per side until golden brown. Don’t skip this step—it builds layers of flavor and locks in juices. Transfer the chicken to a plate and set aside.
Step 2: Sauté the Aromatics
In the same pot, add the diced 0.5 whole Onion and cook for 2-3 minutes until softened. Stir in the minced 3 cloves Garlic Cloves, 1 tsp Dried Thyme, and 1 tsp Dried Rosemary (rubbed between your fingers to release their oils), and cook for another 30 seconds until fragrant.
Pour in 1 cup Chicken Broth, using a wooden spoon to scrape up any browned bits from the bottom—this prevents burning and adds depth to the sauce. Stir in the 1 whole Bay Leaf, 1 tbsp Lemon Juice, and 1 tsp Dijon Mustard to combine all the flavors.
Step 3: Pressure Cook to Perfection
Return the seared chicken to the pot, along with any juices that accumulated on the plate. Secure the lid and set the valve to Sealing. Cook on High Pressure for 8 minutes—this timing is key for moist, tender chicken without drying it out.
Let the pressure release naturally for 5 minutes, then quick-release any remaining pressure. This gradual release helps the chicken retain its juices. Open the lid carefully once the float valve drops.
Step 4: Rest and Serve
Remove the chicken from the pot and let it rest on a cutting board for 5 minutes before slicing. This step ensures the juices redistribute throughout the meat for maximum tenderness. Discard the Bay Leaf from the cooking liquid.
Slice the chicken against the grain for the most tender bites. Serve with the flavorful broth spooned over the top, or shred it for sandwiches or salads. The result is always juicy, never dry, with herbs and aromatics infused in every bite.
Pro Tips For Making Instant Pot Boneless Chicken Breast
- Pound Even Thickness: Use a meat mallet to pound the chicken breasts to 1-inch thickness—I learned this the hard way after pulling out dry, uneven pieces from the Instant Pot. —
- Sear First, Pressure Later: Sear the chicken in olive oil for 2-3 minutes per side on saute mode before pressure cooking; it locks in juices and adds depth to the broth. —
- Skip the Cold Broth: Use room temperature or warm chicken broth instead of cold to reduce the time it takes for the Instant Pot to come to pressure. —
- Natural Release Only: Resist the urge to quick-release the pressure; letting it release naturally for 10 minutes keeps the chicken moist and tender.
Pro Cooking Tips for Great instant pot boneless chicken breast
Liquid Matters
Always use at least 1 cup Chicken Broth for 1.5 lb Boneless Skinless Chicken Breasts—this creates enough steam for proper pressure cooking. I prefer low-sodium broth to control seasoning. 💡
Sear for Flavor
Don’t rush the searing step on Sauté mode. Let the chicken develop a golden brown crust for 3-4 minutes per side. This builds a flavor foundation that pressure cooking can’t achieve alone.
Timing Precision
Cook on High Pressure for exactly 8 minutes. Any longer risks dryness, while shorter may leave it undercooked. This timing works perfectly for 1.5 lb of uniform-thickness breasts.
Natural Release
Let the pressure release naturally for 5 minutes before quick-releasing. This prevents the sudden temperature drop that can tighten muscle fibers and squeeze out precious juices.
Rest Before Serving
After cooking, rest the chicken for 5 minutes before slicing. This allows juices to redistribute. I always tent my chicken loosely with foil during this rest period.
Thickness Check
If your breasts vary in thickness, fold the thinner ends under before cooking. This ensures even cooking throughout. Uniform thickness is key to preventing dry spots in your chicken. 🔥
Nutrition Facts
Frequently Asked Questions
Can I use frozen chicken breasts?
Yes, but add 3-4 minutes to the cook time. Ensure they’re fully thawed first for even cooking.
Why sear the chicken first?
Searing locks in juices and adds depth of flavor. Skip it only if short on time, but expect less rich results.
What if my chicken turns out dry?
Overcooking is the likely culprit. Stick to 8 minutes on high pressure and always use a natural release.
Can I double the recipe?
Yes, but keep the cook time the same. Use at least 1.5 cups broth for 3 lb of chicken to maintain pressure.

- 6 Oz Chocolate Chip Cookie Recipe: Perfectly Balanced Crispy Edges and Chewy Hearts - September 25, 2026
- 6-Inch Coffee Cake Recipe: Vanilla Bean Swirls and Buttery Streusel Topping - September 25, 2026
- 1 Hour Soup Recipe: Velvety Richness Without the Wait - September 25, 2026