
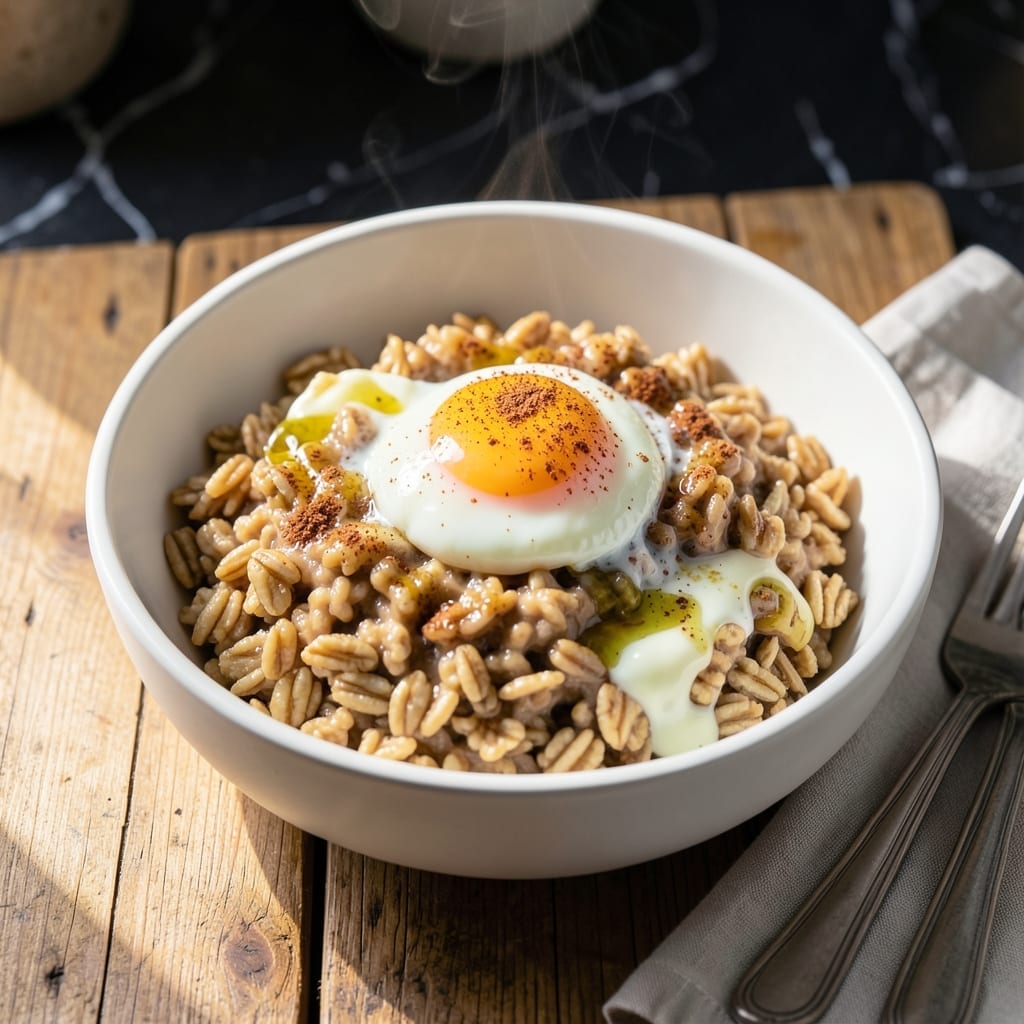
Mornings just got easier with this fast breakfast solution that does the work while you get ready. No more rushing or skipping the most important meal of the day.
This method transforms simple ingredients into a hot, satisfying breakfast with minimal effort. The Instant Pot handles everything from cooking to keeping food warm until you’re ready to eat.
You’ll have perfectly cooked breakfast dishes—whether it’s oatmeal, eggs, or a hearty casserole—ready in minutes. The hands-off approach means no standing over a stove.
Ideal for busy mornings, this approach delivers consistent results every time. Set it up the night before for an even smoother start to your day.
Ingredients for Instant Pot Breakfast
A handful of pantry staples and fresh additions make this breakfast effortless and delicious.
| Ingredient | Amount | Notes |
|---|---|---|
| Rolled Oats 🌾 | 2 cups | Old-fashioned, not quick oats |
| Whole Milk 🥛 | 4 cups | Or plant-based alternative |
| Large Eggs 🥚 | 4 whole | Beaten for even cooking |
| Unsalted Butter 🧈 | 2 tbsp | For richness and flavor |
| Pure Vanilla Extract 🌿 | 1 tsp | High-quality for best flavor |
| Ground Cinnamon 🌶️ | 1 tsp | Freshly ground preferred |
| Light Brown Sugar 🍚 | 2 tbsp | Packed for sweetness |
| Kosher Salt 🧂 | ½ tsp | Diamond Crystal preferred |
| Fresh Blueberries 🫐 | 1 cup | Or frozen, unthawed |
| Chopped Walnuts 🌰 | ½ cup | Toasted for crunch |
| Baking Powder 🧂 | 1 tsp | For fluffy texture |
| Pure Maple Syrup 🍁 | ¼ cup | For serving drizzle |
The oats are the backbone here—old-fashioned rolled oats give that perfect creamy texture. Whole Foods or Trader Joe’s have great organic options. For the milk, I use whole for richness, but oat milk works if you’re avoiding dairy. The blueberries? Fresh is ideal, but frozen (don’t thaw them first) work just as well in a pinch.
No blueberries? Diced apples or banana slices add great texture. Swap walnuts for pecans or almonds if that’s what you’ve got. Brown sugar can be replaced with coconut sugar at a 1:1 ratio. Out of vanilla extract? A pinch of vanilla bean paste adds even more depth (use half the amount).
Store oats and nuts in airtight containers to keep them fresh for up to 6 months. The cooked breakfast keeps 4-5 days in the fridge, though it’s best fresh. Reheat with a splash of milk to loosen it up.
Why You’ll Love This Recipe
- Set and Forget: I toss everything in the Instant Pot, press a button, and walk away—breakfast practically makes itself while I shower.
- Warm Vanilla Comfort: The whole milk and vanilla create this creamy, cozy oatmeal base that feels like a hug in a bowl.
- Meal Prep Hero: I make a big batch Sunday night and portion it out for grab-and-go breakfasts all week.
- Budget Breakfast: Rolled oats, eggs, and a splash of milk stretch further than any drive-thru meal I’ve ever bought.
Step-by-Step Instructions for Hands-Free Morning Fuel
Here’s how I make this breakfast effortlessly while the Instant Pot does all the work.
Step 1: Prepare the Oatmeal Base in the Pot
Add the 2 cups Rolled Oats, 4 cups Whole Milk, 2 tbsp Light Brown Sugar, 1 tsp Ground Cinnamon, and 0.5 tsp Kosher Salt directly to the Instant Pot insert. Stir well to combine, making sure the oats are fully submerged in the milk.
I always use old-fashioned rolled oats for this—they hold their texture better than quick oats during pressure cooking. The mixture should look slightly thick but pourable. This base will transform into a creamy, spiced oatmeal that’s the perfect foundation for your toppings.
Step 2: Pressure Cook to Creamy Perfection
Secure the lid and set the valve to sealing. Cook on high pressure for 3 minutes. Yes, just 3 minutes—this is where the Instant Pot shines. The pressure cooking process softens the oats quickly while infusing them with the cinnamon and brown sugar flavors.
Once the cooking cycle completes, let the pressure release naturally for 5 minutes, then quick-release any remaining pressure. Open the lid carefully—the oatmeal will be hot and slightly expanded. Stir it well; it should be thick and creamy, with the oats fully tender but still holding their shape.
Step 3: Add Butter and Vanilla for Depth
Stir in the 2 tbsp Unsalted Butter and 1 tsp Pure Vanilla Extract until the butter is fully melted and incorporated. The butter adds a rich, velvety texture, while the vanilla enhances the sweetness of the brown sugar and cinnamon.
This is the moment that matters: taste and adjust seasoning if needed. If it’s too thick, stir in a splash of milk to reach your desired consistency. The oatmeal should be creamy but not soupy, with a balanced sweetness that’s not overpowering.
Step 4: Top with Blueberries, Walnuts, and Syrup
Divide the oatmeal into bowls and top each serving with Fresh Blueberries and Chopped Walnuts. The blueberries add a burst of freshness and slight tartness, while the toasted walnuts provide a satisfying crunch.
Drizzle each bowl with Pure Maple Syrup—about 1 tablespoon per serving—for a final touch of natural sweetness. Serve immediately while warm. The contrast of warm, creamy oatmeal with cool, fresh toppings is what makes this dish special.
Pro Tips For Making Instant Pot Breakfast
- Pre-toast the Oats: Toss the rolled oats in the Instant Pot on “Sauté” for 2-3 minutes until nutty and fragrant—I learned this the hard way after my first few batches tasted bland.
- Use Room-Temp Eggs: Crack the eggs into a separate bowl first and let them sit for 10 minutes before adding. Cold eggs straight from the fridge can seize up in the hot milk.
- Skip the Quick Release: Let the pressure release naturally for 5 minutes after cooking, or you’ll risk curdled eggs and a milky mess splattering out the valve.
- Add Vanilla Last: Stir in the vanilla extract only after turning off the heat—adding it earlier can make the oats taste bitter, and nobody wants bitter breakfast.
Essential Equipment for This Dish
Instant Pot Basics
You need a 6-quart Instant Pot or larger for this recipe. I use my Instant Pot Duo Crisp for its versatility, but any model with pressure cooking function works perfectly. 💡
Inner Pot Essentials
The non-stick inner pot that comes with most models is ideal. If yours is stainless steel, just degrease it well after cooking. A second inner pot is helpful for making back-to-back batches.
Wooden Spoon
Use a wooden spoon to stir your oatmeal—it won’t scratch the non-stick surface. I keep a dedicated spoon with my Instant Pot for this very reason. Avoid metal utensils to protect the coating.
Measuring Tools
Accurate measurements matter for perfect texture. I use OXO Good Grips measuring cups for dry ingredients and a Pyrex glass measuring cup for liquids. These give consistent results every time.
Sealing Ring
Ensure your silicone sealing ring is clean and properly seated. I replace mine every 6-12 months or if it develops any odors. A well-sealed pot is crucial for proper pressure cooking. ⚡
Trivet for Eggs
If making egg dishes, a stainless steel trivet keeps them elevated. The one that comes with your Instant Pot works, but I prefer a collapsible silicone trivet for easier storage.
Nutrition Facts
Frequently Asked Questions
Can I make this the night before?
Yes! Prepare all ingredients and store in the fridge. In the morning, add everything to the pot and cook as directed. The oats may thicken slightly overnight, so add an extra splash of milk if needed.
What if my oatmeal turns out too thick?
Simply stir in warm milk, 1 tablespoon at a time, until it reaches your desired consistency. The oats will absorb liquid as they sit, so adjust right before serving.
Can I use steel-cut oats instead?
Steel-cut oats need 10 minutes on high pressure with a 1:3 oat-to-liquid ratio. They’ll have a chewier texture but work well if you prefer more bite.
How do I prevent a burn notice?
Deglaze the pot after sautéing and ensure oats are fully submerged in liquid. Avoid using too much sugar or thickeners, which can cause sticking.

- 4C Bread Crumbs Meatballs Recipe: Crispy Crust and Juicy Centers - September 25, 2026
- 6 Oz Chocolate Chip Cookie Recipe: Perfectly Balanced Crispy Edges and Chewy Hearts - September 25, 2026
- 6-Inch Coffee Cake Recipe: Vanilla Bean Swirls and Buttery Streusel Topping - September 25, 2026