
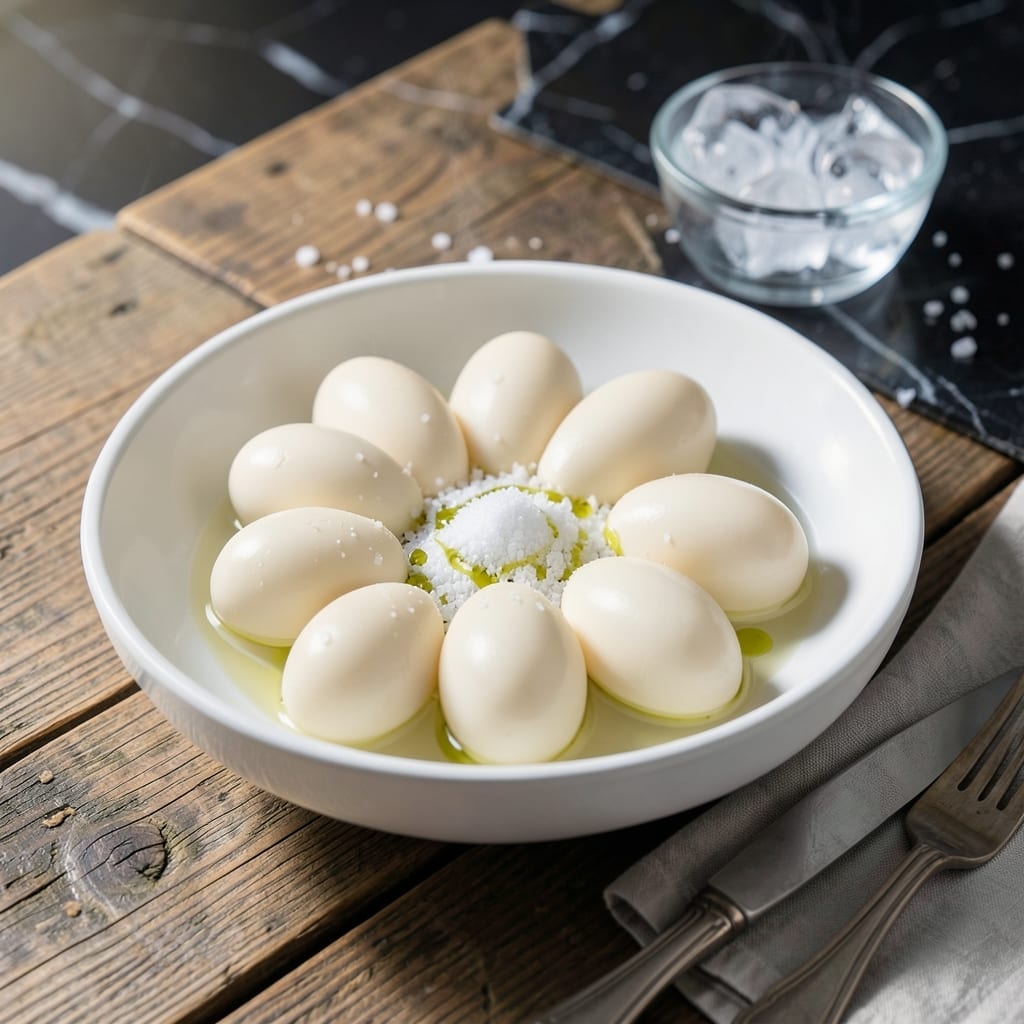
Breakfast just got easier with this hands-off method for cooking eggs. No more hovering over a hot stove or worrying about uneven doneness.
This fast technique uses the Instant Pot to deliver consistent results every time. Whether you prefer soft-boiled, hard-boiled, or somewhere in between, the process couldn’t be simpler.
You’ll love how the pressure cooker locks in moisture and flavor, producing perfectly cooked eggs with minimal effort. No special skills required.
Set it, forget it, and enjoy reliable breakfast eggs in minutes. The easiest way to start your day right.
Ingredients for Instant Pot Eggs
Six ingredients. Perfect eggs. Breakfast solved with minimal effort.
| Ingredient | Amount | Notes |
|---|---|---|
| Large Eggs 🥚 | 8 whole | Cold from refrigerator |
| Water 💧 | 1 cup | For pressure cooking |
| White Vinegar 🧪 | 1 tbsp | Helps prevent cracking |
| Kosher Salt 🧂 | 1 tsp | For seasoning water |
| Ice Cubes ❄️ | 2 cups | For ice bath cooling |
| Cold Water 💧 | 4 cups | For ice bath |
The eggs must be cold straight from the fridge—room temperature ones crack. I always use large eggs for consistent timing. The vinegar isn’t just for show; it helps the whites set faster if a crack does happen. Any Instant Pot model works, but the 6-quart is my go-to. Don’t skip the trivet that came with it; eggs need to sit above the water.
No vinegar? Lemon juice works the same. Want to infuse flavor? Toss in a bay leaf or garlic clove with the water. The salt is optional but adds depth. If you’re making a big batch, stack eggs in a single layer on the trivet—don’t overcrowd. For softer yolks, reduce cook time by 1-2 minutes.
Peel under running water for easiest results. Store unpeeled in the fridge for up to 1 week. These keep beautifully for meal prep—perfect for salads, sandwiches, or snacking straight from the fridge.
Why You’ll Love This Recipe
- Set and Forget: I just toss the eggs in with water and vinegar, press a button, and walk away—no babysitting the stove.
- Foolproof Texture: The vinegar keeps the whites tender while the salt brings out that rich, eggy flavor I crave.
- Meal Prep Hero: I hard-boil a dozen on Sunday and they peel effortlessly for salads, snacks, or deviled eggs all week.
- Budget Winner: Honestly, six perfect eggs for pennies beats any drive-thru breakfast by a mile.
Step-by-Step Instructions for Instant Pot Eggs
This hands-off method delivers perfect eggs with minimal effort and maximum consistency.
Step 1: Prepare the Pressure Cooker and Eggs
Add the 1 cup Water, 1 tbsp White Vinegar, and 1 tsp Kosher Salt to the Instant Pot insert. The vinegar helps prevent the eggs from cracking during cooking, while the salt seasons the cooking water subtly. I always use cold water straight from the tap to maintain temperature consistency.
Place the trivet that comes with your Instant Pot into the insert. This elevates the eggs above the water, ensuring even cooking without direct contact. Arrange the 8 whole Large Eggs carefully on the trivet in a single layer. Make sure they’re not touching each other—this prevents potential cracking during the cooking process.
Step 2: Pressure Cook for Perfect Texture
Secure the lid on your Instant Pot and set the valve to the sealing position. Select the “Pressure Cook” or “Manual” function and set the timer for 5 minutes on high pressure. The cooker will take about 10 minutes to come to pressure before the timer actually starts counting down.
Once the cooking cycle completes, immediately switch the valve to the venting position to perform a quick release. You’ll hear the steam escaping, and the float valve will drop when it’s safe to open. This quick release prevents overcooking, which is crucial for achieving that perfect hard-boiled texture without the dreaded green ring around the yolks.
Step 3: Cool the Eggs in an Ice Bath
While the eggs are cooking, prepare an ice bath in a large bowl by combining the 2 cups Ice Cubes with the 4 cups Cold Water. The ice bath should be large enough to accommodate all the eggs in a single layer. I like to have this ready before the cooking cycle finishes so I can transfer the eggs immediately.
Using tongs, carefully remove the eggs from the Instant Pot and place them directly into the ice bath. Let them cool for at least 5 minutes—you’ll notice the shells start to firm up almost immediately. This rapid cooling stops the cooking process completely and makes peeling significantly easier later on.
Step 4: Peel and Serve Your Perfect Eggs
After the eggs have cooled completely in the ice bath (about 10-15 minutes total), remove them with tongs and place them on a clean kitchen towel. Gently tap each egg on the counter to crack the shell all over, then roll it between your hands to loosen the shell before peeling under a thin stream of running water.
The eggs should peel effortlessly, revealing smooth, perfectly cooked whites and creamy, fully set yolks. This method produces consistent results every time, whether you’re making eggs for immediate use or prepping a batch for the week. Serve warm or store in the refrigerator for up to 5 days in an airtight container.
Pro Tips For Making Instant Pot Eggs
- Use Room-Temp Eggs: Take your eggs out of the fridge 15 minutes before cooking—cold eggs straight from the fridge are more likely to crack under pressure.
- Add Vinegar to Water: Mix 1 tablespoon of white vinegar into the water—it helps the whites coagulate faster if a crack does happen.
- Don’t Overfill the Pot: I learned this the hard way—keep the water level at or below the 1-cup mark to avoid uneven cooking or pressure issues.
- Shock Immediately: Transfer eggs straight to an ice bath after cooking—this stops the carryover heat so the yolks stay creamy, not chalky.
Best Sauces and Condiments for This Recipe
Classic Deviled Twist
Transform your eggs into creamy deviled classics by mixing yolks with 2 tbsp mayonnaise, 1 tsp Dijon mustard, and ½ tsp white vinegar. The Instant Pot’s even cooking makes yolks especially rich and smooth for this. 💛
Spicy Sriracha Mayo
For a kick, blend 3 tbsp mayo with 1 tbsp sriracha and 1 tsp honey. Drizzle over halved eggs or use as a dipping sauce. The heat cuts through the egg’s richness beautifully.
Everything Bagel Seasoning
Sprinkle 1 tsp everything bagel seasoning over peeled eggs while still warm. The sesame, poppy, and garlic flavors add an addictive crunch. I keep a shaker on hand for this exact purpose.
Avocado Lime Crema
Mash ½ ripe avocado with 2 tbsp sour cream, 1 tbsp lime juice, and salt. This creamy, tangy topping pairs perfectly with the eggs’ mild flavor. Best made fresh.
Soy-Ginger Drizzle
Whisk 2 tbsp soy sauce, 1 tbsp rice vinegar, 1 tsp honey, and ½ tsp grated ginger. Drizzle over eggs for an Asian-inspired twist that’s surprisingly addictive.
Herb Butter Coating
Melt 2 tbsp butter with 1 tbsp chopped chives and 1 tsp parsley. Brush over warm eggs for a simple but elegant finish. This works especially well for breakfast sandwiches. 🔥
Nutrition Facts
Frequently Asked Questions
How long does it take to cook eggs in an Instant Pot?
Total time is about 15 minutes from start to finish. This includes 10 minutes for the pot to reach pressure and 5 minutes of actual cooking time.
Can I make soft-boiled eggs this way?
Yes! For soft-boiled, reduce the cook time to 3-4 minutes and use a quick release. The yolks will be creamy while whites are fully set.
Why do my eggs crack in the pressure cooker?
Eggs crack if they’re not cold or if they touch each other. Always start with chilled eggs and arrange them in a single layer on the trivet.
How do I store cooked eggs?
Store unpeeled in the fridge in an airtight container for up to 5 days. Peel just before eating for best texture.

- 4C Bread Crumbs Meatballs Recipe: Crispy Crust and Juicy Centers - September 25, 2026
- 6 Oz Chocolate Chip Cookie Recipe: Perfectly Balanced Crispy Edges and Chewy Hearts - September 25, 2026
- 6-Inch Coffee Cake Recipe: Vanilla Bean Swirls and Buttery Streusel Topping - September 25, 2026