
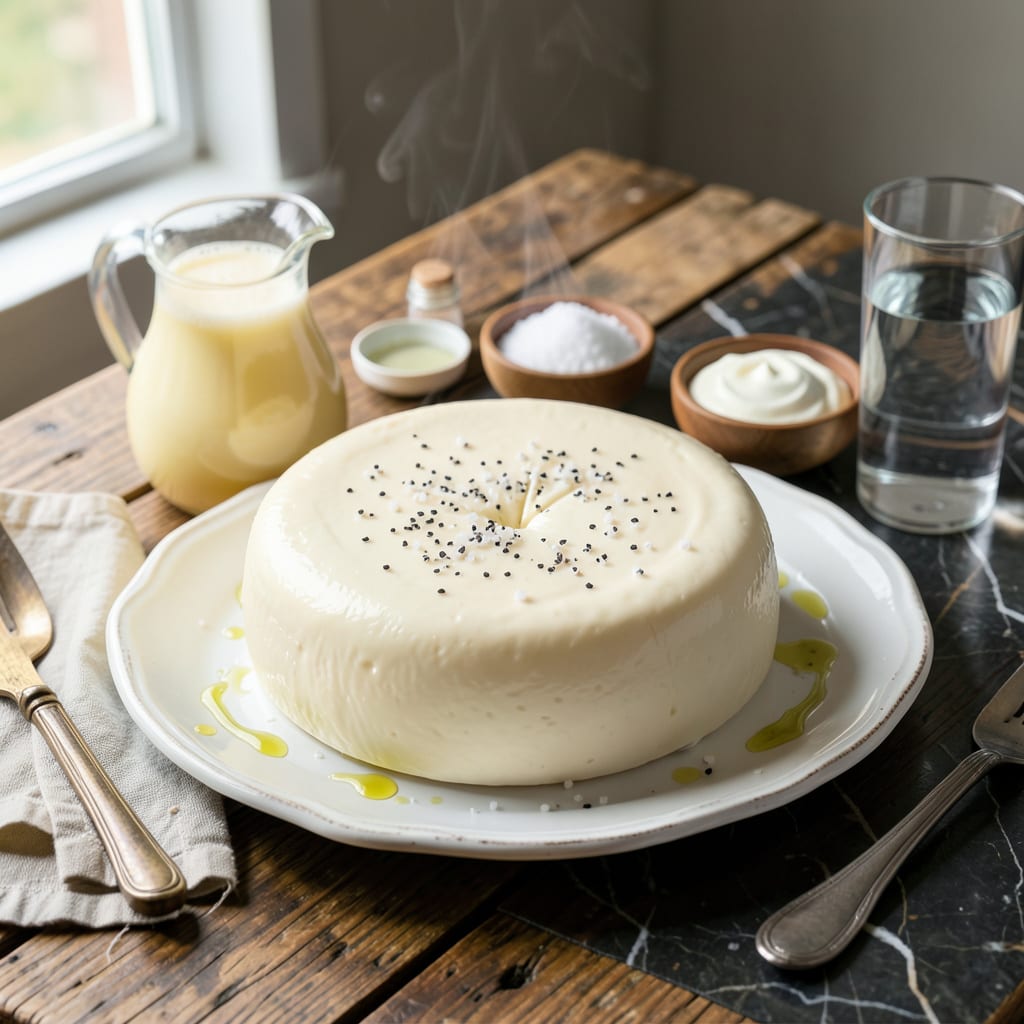
Making cheese at home has never been simpler than with this Instant Pot method. The precise heat control creates perfect curds every time.
This technique transforms milk into fresh, creamy cheese with minimal effort. You’ll have melty results ready in under an hour.
Ingredients for Instant Pot Cheese
Transform simple milk into creamy homemade cheese with these precise ingredients and your Instant Pot.
| Ingredient | Amount | Notes |
|---|---|---|
| Whole Milk 🥛 | 1 gallon | Full-fat for best curd formation |
| White Vinegar 🍋 | ¼ cup | Or use lemon juice |
| Salt 🧂 | 1 ½ tsp | Kosher or sea salt preferred |
| Heavy Cream 🥛 | ½ cup | Optional for creamier texture |
| Citric Acid 🧪 | 1 tsp | For acidifying milk |
| Rennet Tablets 💊 | 1 piece | Vegetarian rennet required |
| Water 💧 | ½ cup | For dissolving rennet |
| Butter 🧈 | 2 tbsp | Unsalted for melting |
| Ice ❄️ | 2 cups | For cooling curds |
| Cheesecloth 🧻 | 1 sheet | For straining curds |
The milk quality is paramount here. Whole milk from a trusted dairy produces the richest curds—avoid ultra-pasteurized as it won’t set properly. Organic Valley or local farm milk are excellent choices. For rennet, ensure you’re using vegetarian rennet (derived from fungal or bacterial sources) rather than animal-based to maintain dietary compliance. Most health food stores carry vegetarian rennet tablets.
No white vinegar? Lemon juice works at a 1:1 ratio. Citric acid can be found at brewing supply stores or in the canning section of well-stocked supermarkets. Heavy cream is optional but adds a luxurious mouthfeel—skip it for a lighter texture. If you can’t find cheesecloth, a clean cotton pillowcase or coffee filter works in a pinch.
Fresh cheese is best enjoyed immediately but keeps in the refrigerator for 5-7 days. Store submerged in whey or lightly salted water to preserve texture. For longer storage, freeze for up to 3 months—though the texture may become slightly grainy upon thawing.
Why You’ll Love This Recipe
- Set It and Forget: I toss in the milk, vinegar, and citric acid, press a button, and walk away—no stirring, no watching the pot.
- Creamy Dream: The heavy cream gives it this rich, smooth finish that melts in your mouth.
- Endless Uses: I shred it over pasta, melt it in grilled cheese, or cube it for charcuterie boards.
Step-by-Step Instructions for Instant Pot Cheese
This method transforms simple ingredients into smooth, meltable cheese with precision and efficiency.
Step 1: Acidify and Heat the Milk
Pour the 1 gallon Whole Milk into the Instant Pot insert. Stir in the 1 tsp Citric Acid until fully dissolved. Secure the lid, set the valve to sealing, and select the yogurt function on normal for 20 minutes.
The milk should reach 185°F and begin separating into curds and whey. You’ll notice the whey turning a pale yellow-green as the acid works. This acidification step is crucial for creating the proper curd structure for cheese.
Step 2: Add Rennet and Form Curds
While the milk heats, dissolve the 1 piece Rennet Tablets in the 0.5 cup Water. Once the milk reaches temperature, turn off the Instant Pot and stir in the rennet solution using an up-and-down motion for 30 seconds.
Cover and let sit undisturbed for 10 minutes. The milk should set into a firm, custard-like gel. When you insert a clean knife, it should come out clean with a distinct break—this indicates proper curd formation.
Step 3: Cut and Cook the Curds
Using a long knife, cut the curd into ½-inch cubes. Turn the Instant Pot to sauté on low and cook for 30-40 minutes, stirring gently every 5 minutes to prevent sticking.
You’ll see the curds shrink and the whey become clearer. The target temperature is 105°F—use an instant-read thermometer to monitor. The curds should be firm and springy when pressed between your fingers, with whey that’s nearly transparent.
Step 4: Drain and Press the Curds
Line a colander with the 1 sheet Cheesecloth and place it over a large bowl. Carefully ladle the curds into the colander, allowing the whey to drain completely. Gather the edges of the cheesecloth and tie them into a bundle.
Place the bundle in a clean bowl and top with a plate weighted down with something heavy (like a can). Press for 15 minutes. Meanwhile, prepare an ice bath with the 2 cups Ice and cold water to cool the cheese quickly after pressing.
Step 5: Season and Finish
After pressing, unwrap the cheese and place it in the ice bath for 5 minutes to halt the cooking process. Remove and pat dry with paper towels. In a small bowl, mix the 1.5 tsp Salt with the 0.25 cup White Vinegar and brush this mixture over all surfaces of the cheese.
For a creamier texture, warm the 0.5 cup Heavy Cream and 2 tbsp Butter together until melted, then pour over the cheese. Let it absorb for 10 minutes before slicing or melting into your favorite dishes. The cheese should be firm yet pliable, with a mild, slightly tangy flavor.
Pro Tips For Making Instant Pot Cheese
- Use Full-Fat Milk: Skip the low-fat versions—whole milk’s fat content is crucial for that rich, creamy cheese texture. I learned this the hard way after a few grainy, sad batches.
- Heat Slowly First: Start on sauté mode to gently warm the milk to 90°F before adding citric acid, or it won’t set properly. Rushing this step leads to curdles that never fully form.
- Strain With Cheesecloth: Line your strainer with damp cheesecloth to catch every last curd—paper towels tear and let the good stuff slip through. Sounds tedious, but it saves time later.
- Add Cream Last: Stir heavy cream into the drained curds only after pressing, or you’ll end up with a greasy mess instead of smooth, meltable cheese. My first attempt looked like a science experiment gone wrong.
Common Mistakes When Making Perfect Results
Overheating Milk
Never let your milk exceed 185°F during acidification. I learned this the hard way—boiling milk ruins curd formation and leaves you with a grainy texture. Use a reliable thermometer like ThermoWorks for precision. 🌡️
Skipping the Rest
Rushing the 10-minute rennet setting time results in weak curds that won’t hold shape. I set a timer and resist the urge to peek. The gel needs full time to develop proper structure.
Improper Cutting
Curd size matters—cutting larger than ½-inch cubes traps too much whey. I use a long serrated knife to slice cleanly through the gel. Uneven cubes lead to inconsistent texture.
Insufficient Pressing
Pressing for less than 15 minutes leaves excess moisture. I weight my bundle with a 28-ounce can for even pressure. Too-short pressing yields crumbly cheese.
Cold Water Shock
Plunging warm curds directly into ice water causes thermal shock. I always let them cool slightly first, then transfer to the ice bath for 5 minutes. This prevents cracking.
Over-Salting
Using more than 1.5 tsp Salt can make your cheese unpleasantly salty. I mix salt with white vinegar for even distribution. Taste as you go—it’s easier to add than remove. 💡
Nutrition Facts
Frequently Asked Questions
What kind of milk works best?
Use whole milk for richest results. Avoid ultra-pasteurized as it won’t set properly. Organic Valley or local farm milk are excellent choices.
Can I make this without rennet?
Yes! Substitute with 1/4 cup lemon juice or white vinegar. The texture will be slightly softer but still delicious.
How do I store leftover cheese?
Keep it submerged in whey or lightly salted water in the fridge for 5-7 days. For longer storage, freeze for up to 3 months.
Why did my curds turn grainy?
This happens if milk overheats above 185°F or if you rush the pressing step. Use a thermometer and press for the full 15 minutes.

- 4C Bread Crumbs Meatballs Recipe: Crispy Crust and Juicy Centers - September 25, 2026
- 6 Oz Chocolate Chip Cookie Recipe: Perfectly Balanced Crispy Edges and Chewy Hearts - September 25, 2026
- 6-Inch Coffee Cake Recipe: Vanilla Bean Swirls and Buttery Streusel Topping - September 25, 2026