
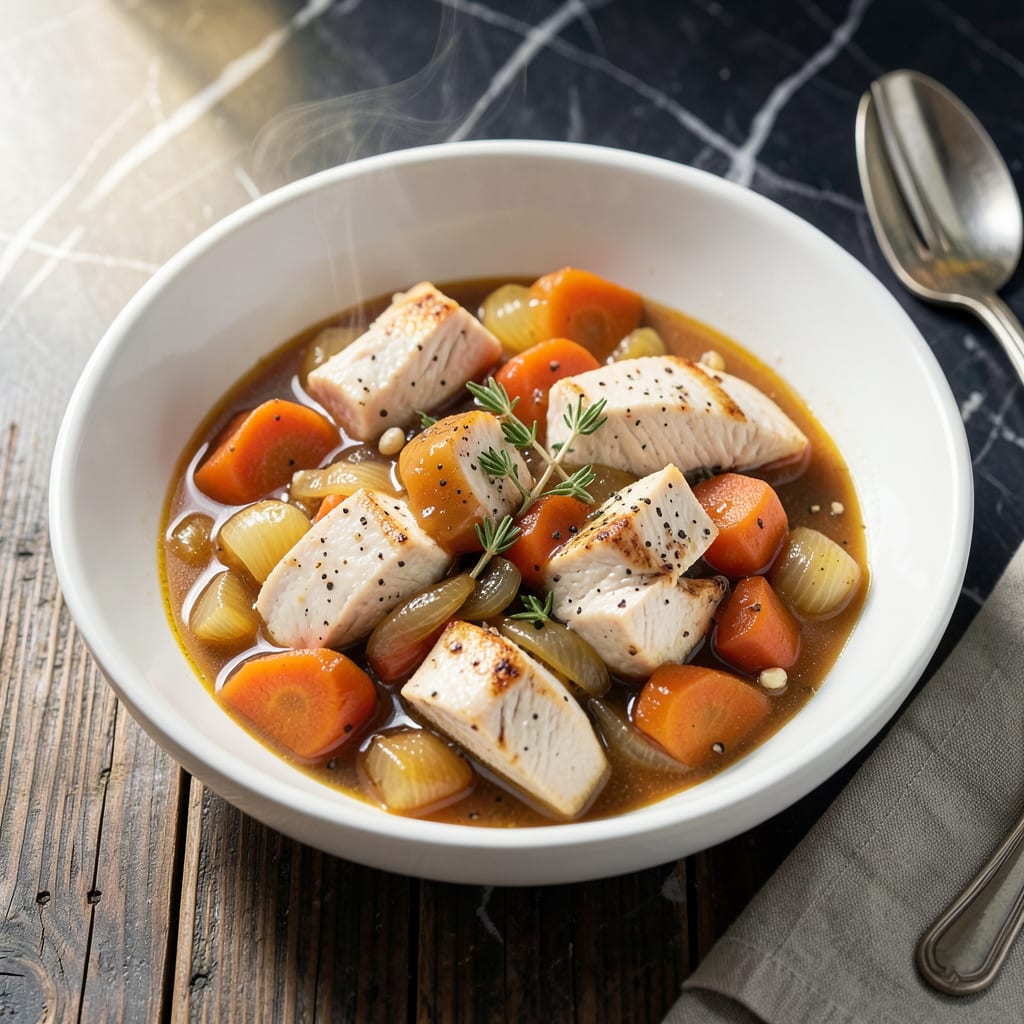
This Instant Pot method delivers creamy, vegetable-packed chicken pot pie filling in a fraction of the traditional time. The pressure cooker tenderizes the chicken and infuses the vegetables with rich, savory flavor without sacrificing texture.
What results is a comfort food classic with perfectly cooked chicken, tender mixed vegetables, and a velvety sauce that clings to every bite. Ready to fill your pie crust or enjoy as a hearty stew.
Ingredients for Instant Pot Chicken Pot Pie Filling
Pantry staples plus a few fresh picks create this luscious, creamy filling packed with comfort.
| Ingredient | Amount | Notes |
|---|---|---|
| Boneless, Skinless Chicken Breasts 🍗 | 1 ½ lb | Cut into bite-sized pieces |
| Unsalted Butter 🧈 | ½ cup | Divided for cooking and sauce |
| All-Purpose Flour 🌾 | ½ cup | For thickening the sauce |
| Yellow Onion 🧅 | 1 whole | Medium, finely diced |
| Garlic Cloves 🧄 | 3 cloves | Minced for depth of flavor |
| Carrots 🥕 | 2 whole | Peeled and sliced into coins |
| Celery Stalks 🌿 | 2 whole | Sliced thin for texture |
| Frozen Green Peas 🌱 | 1 cup | No need to thaw first |
| Chicken Broth 🥣 | 2 cups | Low-sodium preferred for balance |
| Whole Milk 🥛 | 1 cup | Full-fat for creaminess |
| Heavy Cream 🥛 | ½ cup | For extra richness in sauce |
| Dried Thyme 🍃 | 1 tsp | Crushed between fingers to release flavor |
| Dried Rosemary 🍃 | 1 tsp | Finely chopped for even distribution |
| Salt 🧂 | 1 tsp | Diamond Crystal kosher salt preferred |
| Black Pepper 🌶️ | ½ tsp | Freshly ground for best results |
The chicken is the foundation here. Boneless, skinless breasts stay tender under pressure, but thighs work too (just trim excess fat). I grab mine from Costco for bulk savings, but any supermarket brand is fine. Look for even thickness so pieces cook uniformly. The veggies—carrots, celery, and onion—are non-negotiable for that classic pot pie flavor. Fresh is best, but frozen works in a pinch for the peas.
No heavy cream? Whole milk plus a pat of butter gets you close to the same richness. Swap fresh thyme and rosemary if you’ve got them (use one-third the amount since dried is more concentrated). Vegetable broth instead of chicken works for a lighter touch. The frozen peas can be swapped for corn or green beans—whatever you’ve got in the freezer. Just don’t skip the butter in the sauce (trust me on the full-fat version).
This filling keeps beautifully—actually tastes better the next day. Store in an airtight container for up to 4 days in the fridge or freeze for 3 months. Reheat gently to keep that creamy texture intact (don’t boil or it might separate).
Why You’ll Love This Recipe
- Set It and Forget: I toss everything in the Instant Pot and walk away—no babysitting the stove.
- Rich Garlic Butter: The butter and garlic create a sauce so good I could drink it with a spoon.
- Meal Prep Hero: I make a double batch and freeze half for those nights I just can’t.
- Budget Friendly: Chicken breasts and pantry staples keep my wallet and my family happy.
Step-by-Step Instructions for Chicken Pot Pie Filling
Here’s how I get that creamy, comforting filling every time with minimal effort.
Step 1: Sauté Aromatics and Chicken in the Instant Pot
Set your Instant Pot to Sauté mode and add 2 tablespoons of the unsalted butter. Once melted, add the finely diced yellow onion, minced garlic cloves, sliced carrots, and sliced celery stalks. Cook for 3-4 minutes until the onion becomes translucent.
Push the vegetables to the sides and add the 1.5 lb boneless, skinless chicken breasts (cut into bite-sized pieces) to the center. Sear for 2-3 minutes until the chicken turns white on all sides. This builds flavor that makes the dish taste like it simmered for hours.
Step 2: Pressure Cook the Chicken and Vegetables
Add the 2 cups chicken broth, 1 tsp dried thyme, 1 tsp dried rosemary, 1 tsp salt, and 0.5 tsp black pepper to the Instant Pot. Stir to combine, scraping up any browned bits from the bottom. Secure the lid and set the valve to Sealing.
Cook on High Pressure for 5 minutes. The chicken will finish cooking and the vegetables will soften perfectly. Once done, let the pressure release naturally for 5 minutes, then quick-release any remaining pressure.
Step 3: Shred Chicken and Thicken the Sauce
Remove the boneless, skinless chicken breasts and shred using two forks. Return the shredded chicken to the Instant Pot. Switch back to Sauté mode and add the remaining 0.5 cup unsalted butter (minus the 2 tablespoons used earlier).
Once melted, sprinkle in the 0.5 cup all-purpose flour and stir constantly for 1-2 minutes until the mixture thickens. This creates a roux that will turn your broth into a velvety sauce.
Step 4: Finish with Creamy Richness
Slowly pour in the 1 cup whole milk and 0.5 cup heavy cream, stirring continuously to prevent lumps. Add the 1 cup frozen green peas—no need to thaw first. Cook for another 2-3 minutes until the sauce reaches your desired consistency.
You’ll know it’s ready when the sauce coats the back of a spoon and the peas are heated through. The mixture should be thick but still pourable, perfect for filling a crust or serving over biscuits. Taste and adjust seasoning if needed.
Pro Tips For Making Instant Pot Chicken Pot Pie Filling
- Sear the Chicken First: I learned this the hard way—browning the chicken breasts in the Instant Pot before pressure cooking adds depth to the filling. Use 1 tablespoon of butter and sear for 3 minutes per side on high.
- Use Cold Butter: For the roux, cut the unsalted butter into small cubes and keep it cold until mixing with flour. This prevents clumping and makes a smoother, lump-free sauce.
- Don’t Overfill the Pot: After burning a batch, I finally figured out the Instant Pot needs at least 1/3 empty space for proper pressure. Stick to 2 lbs of chicken max for this recipe.
- Deglaze Thoroughly: Sounds weird, but it works: After searing, pour in 1/2 cup broth and scrape every browned bit off the bottom. This stops the “burn” notice and packs flavor into the filling.
Essential Equipment for instant pot chicken pot pie filling
Instant Pot Essentials
You need a 6-quart Instant Pot or larger for this recipe—I use my Duo Crisp model. The pressure cooking function is non-negotiable for achieving that fall-apart chicken texture in record time. 💡
Sauté Function
A good Instant Pot must have a reliable Sauté feature. This lets you brown the chicken and vegetables properly before pressure cooking, building those deep flavors that make this dish taste like it simmered all day.
Wooden Spoon
Use a wooden spoon for stirring and scraping the bottom. It won’t scratch your pot’s interior and helps deglaze all those flavorful browned bits. I keep mine right in my utensil crock next to the stove.
Shredding Tools
Two forks work perfectly for shredding the chicken, but I prefer my OXO Good Grips shredding claws. They make quick work of the chicken and save your hands from the heat. Plus, they’re dishwasher safe for easy cleanup.
Measuring Cups
Accurate measurements matter for the sauce consistency. I use my Pyrex glass measuring cups for the broth, milk, and cream. The clear markings make it easy to get the exact 2 cups broth and 1.5 cups dairy this recipe needs.
Ladle for Serving
A stainless steel ladle is perfect for serving this creamy filling. It handles the thick sauce better than a spoon and makes portioning into your pie crust or bowls effortless. I’ve had mine for years and it’s still going strong. ✨
Nutrition Facts
Frequently Asked Questions
Can I use chicken thighs instead of breasts?
Thighs stay even more tender in the pressure cooker. Just trim excess fat first. They may release more liquid, so reduce broth by 1/4 cup for perfect consistency.
How do I prevent a burnt notice on my Instant Pot?
Always deglaze the pot after sautéing. Add a splash of broth to scrape up browned bits before pressure cooking. Also, ensure the valve is set to Sealing before starting.
Can I make this ahead and reheat?
The filling keeps well for 4 days in the fridge. Reheat gently on the stove with a splash of milk to restore creaminess. Avoid microwaving as it can separate the sauce.
What if my sauce is too thin?
Switch to Sauté mode and simmer uncovered for 3-5 minutes. If still thin, mix 1 tablespoon cornstarch with cold water and stir in. It will thicken as it cools.

- 4C Bread Crumbs Meatballs Recipe: Crispy Crust and Juicy Centers - September 25, 2026
- 6 Oz Chocolate Chip Cookie Recipe: Perfectly Balanced Crispy Edges and Chewy Hearts - September 25, 2026
- 6-Inch Coffee Cake Recipe: Vanilla Bean Swirls and Buttery Streusel Topping - September 25, 2026