
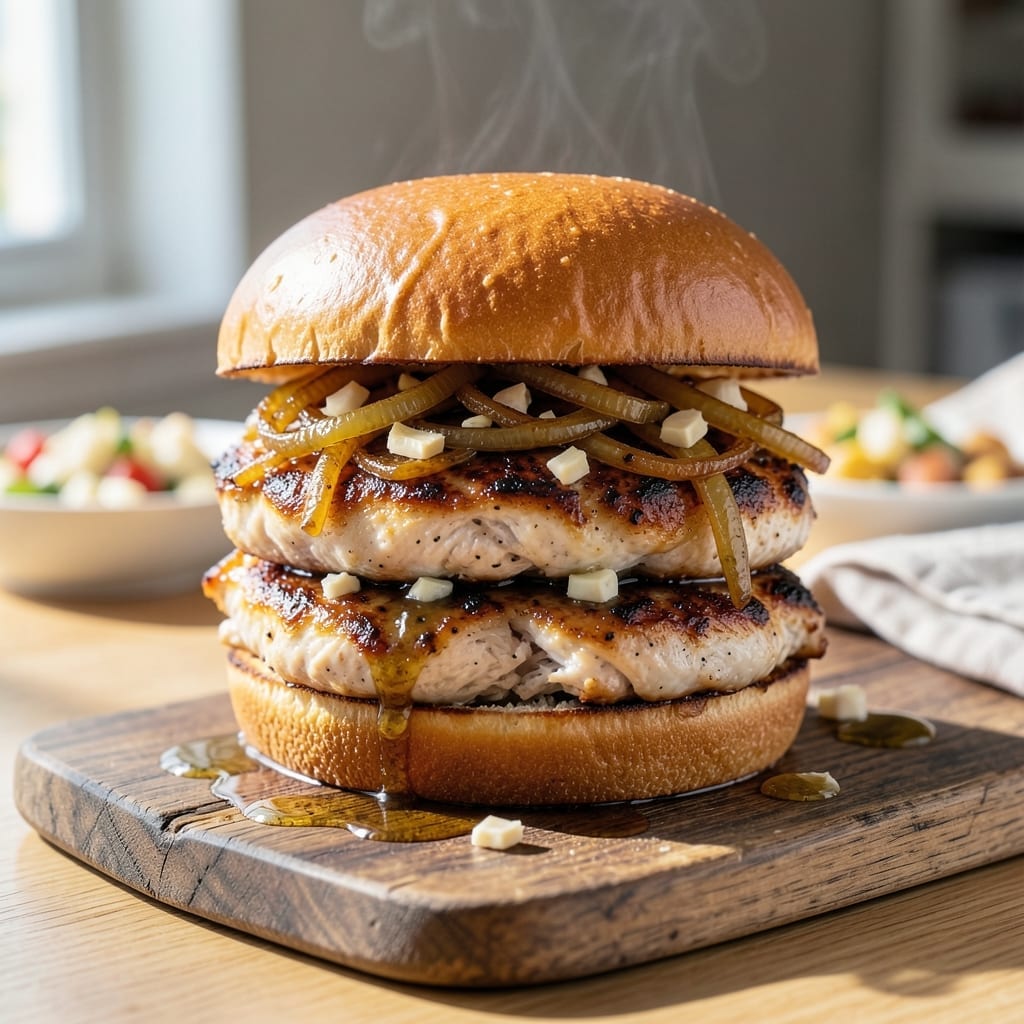
This Instant Pot method delivers perfectly shredded chicken every time with almost no hands-on effort. The pressure cooker locks in moisture while breaking down the meat into tender, juicy strands ideal for sandwiches.
What makes this technique special is its reliability. In under 30 minutes, you’ll have chicken that’s consistently tender, flavorful, and ready to be piled onto buns with your favorite toppings.
The beauty lies in the simplicity: just season, pressure cook, and shred. No babysitting the stove, no uneven cooking—just foolproof results that taste like they came from a deli.
Use this chicken for classic sandwiches, wraps, or salads. It reheats beautifully, making it ideal for meal prep.
Ingredients for Instant Pot Chicken Sandwich
Simple ingredients, deli-quality chicken for sandwiches and more.
| Ingredient | Amount | Notes |
|---|---|---|
| Boneless, Skinless Chicken Breasts 🍗 | 1 ½ lb | Pounded to even thickness |
| Chicken Broth 💧 | 1 cup | Low-sodium preferred |
| Olive Oil 🫒 | 1 tbsp | For sautéing aromatics |
| Yellow Onion 🧅 | ½ whole | Diced, about 1 cup |
| Garlic Cloves 🧄 | 3 cloves | Minced for depth |
| Kosher Salt 🧂 | 1 tsp | Diamond Crystal preferred |
| Ground Black Pepper 🌶️ | ½ tsp | Freshly ground for best flavor |
| Dried Oregano 🌿 | 1 tsp | Mediterranean variety ideal |
| Dried Thyme 🍃 | ½ tsp | Rubbed between fingers |
| Bay Leaf 🌿 | 1 whole | Removed after cooking |
| Lemon Juice 🍋 | 1 tbsp | Freshly squeezed for brightness |
| Worcestershire Sauce 🫒 | 1 tbsp | Adds umami depth |
The chicken is the star here. Boneless, skinless breasts work best—thighs get too soft for shredding. Look for uniform thickness or pound them yourself (worth the extra minute). Costco has great quality in bulk, but any supermarket will do. The broth? Low-sodium lets you control the seasoning. Don’t skip the aromatics—they build flavor fast in the pressure cooker.
No chicken breasts? Thighs work in a pinch but shred differently. Short on time? Pre-diced onion saves a few minutes. Want more herb complexity? Fresh rosemary or sage can join the party. The Worcestershire adds that deli tang—soy sauce at half the amount gets you close if you’re out. Always taste before adding extra salt since broths vary.
Cooked chicken keeps 4 days in the fridge, freezes for 3 months. Store in its juices to prevent drying. Perfect for sandwiches, tacos, or salads—reheats beautifully (that’s the Instant Pot magic).
Why You’ll Love This Recipe
- One-Pot Wonder: I love that everything—chicken, broth, onions, garlic—cooks together in the Instant Pot with almost no cleanup.
- Garlic-Infused Bite: The garlic cloves and onion simmering in the broth give the chicken a rich, savory depth that shines in every sandwich.
- Weeknight Lifesaver: This is my go-to when I need something fast, filling, and kid-approved for a busy evening.
- Budget-Friendly Batch: A few chicken breasts and pantry staples stretch into multiple meals, saving me money and time.
Step-by-Step Instructions for Instant Pot Chicken Sandwich
Here’s how I make perfectly tender, shreddable chicken every single time with minimal effort.
Step 1: Sauté Aromatics to Build Flavor Base
Set your Instant Pot to the Sauté function on normal heat. Add the 1 tbsp Olive Oil and let it get shimmering. Toss in the 0.5 whole Yellow Onion, diced, and cook for 3-4 minutes until it starts to soften and become translucent around the edges.
Add the 3 cloves Garlic Cloves, minced, and cook for another 30 seconds until fragrant. You’ll smell when it’s ready—garlic burns quickly, so watch closely. This aromatic base creates the foundation for all the flavor that will infuse into the chicken.
Step 2: Pressure Cook Chicken with Herbs and Broth
Add the 1.5 lb Boneless, Skinless Chicken Breasts to the pot, placing them in a single layer if possible. Pour in the 1 cup Chicken Broth, then sprinkle with 1 tsp Kosher Salt, 0.5 tsp Ground Black Pepper, 1 tsp Dried Oregano, and 0.5 tsp Dried Thyme. Rub the dried herbs between your fingers as you sprinkle to release their oils.
Add the 1 whole Bay Leaf, 1 tbsp Lemon Juice, and 1 tbsp Worcestershire Sauce. Secure the lid, set the valve to sealing, and cook on high pressure for 8 minutes. The chicken should reach 165°F internally and shred easily when done.
Step 3: Natural Release and Shred the Chicken
Let the pressure release naturally for 10 minutes, then quick-release any remaining pressure. Remove the bay leaf and discard it. The chicken should be fall-apart tender—this is non-negotiable for the perfect sandwich texture.
Transfer the boneless, skinless chicken breasts to a cutting board and shred using two forks. I pull the chicken apart in large chunks first, then work through each piece to get uniform shreds. The broth left in the pot is liquid gold for moisture.
Step 4: Moisten and Season for Maximum Flavor
Return the shredded chicken to the Instant Pot and stir to coat it in the cooking liquid. This step ensures every bite is juicy and flavorful. Let it sit for 5 minutes to absorb all that deliciousness.
Taste and adjust seasoning if needed. I often find it needs a touch more kosher salt or ground black pepper after shredding. The chicken should be moist but not soupy—perfect for piling onto buns with your favorite sandwich toppings.
Pro Tips For Making Instant Pot Chicken Sandwich
- Use Thick Chicken Breasts: Slice thicker pieces or fold thinner ones in half—uniform thickness guarantees even cooking in the Instant Pot. I learned this the hard way after pulling out dry, overcooked edges while the centers were still raw.
- Sauté the Onions First: Take the extra 3 minutes to sauté the diced yellow onion in olive oil before pressure cooking. It builds a depth of flavor that raw onions just can’t deliver, and it’s worth the minimal effort.
- Don’t Overfill Broth: Stick to 1 cup of chicken broth max—enough for pressure cooking but not so much that your chicken boils instead of steams. Too much liquid dilutes the flavor and leaves you with a watery mess.
- Shred While Hot: Transfer the chicken to a bowl and shred it immediately with two forks—it absorbs the juices better when warm and saves you from struggling with cold, rubbery meat later. Sounds weird, but it works.
Best Sauces and Condiments for These Flavors
Classic Creamy Options
For a traditional deli-style sandwich, mix ½ cup mayonnaise with 2 tbsp Dijon mustard for a tangy spread. I love Hellmann’s mayo for its rich texture. Add 1 tbsp sweet pickle relish for that classic chicken salad vibe.
Spicy Kick Sauces
Blend ¼ cup sriracha with ¼ cup mayo for a creamy heat. For more depth, stir in 1 tsp honey to balance the spice. This combo works especially well with pepper jack cheese on your sandwich. 🌶️
Fresh Herb sauces
Combine ½ cup Greek yogurt with 1 tbsp fresh dill and 1 tbsp lemon zest for a bright, herby sauce. I use Fage 2% for the perfect tang. This pairs wonderfully with lettuce and tomato on your bun.
BBQ and Tangy
Use ⅓ cup BBQ sauce (I prefer Sweet Baby Ray’s) mixed with 1 tbsp apple cider vinegar for a smoky-sweet glaze. Brush it on the bun before assembling to prevent sogginess.
For a vinegar-based option, mix ¼ cup apple cider vinegar with 1 tbsp sugar and a pinch of red pepper flakes. This Carolina-style sauce cuts through the richness beautifully.
Specialty Condiments
Try 2 tbsp pesto (homemade or Barilla brand) for an Italian twist. Or spread 2 tbsp hummus on the bun for a Mediterranean flair. Both add unexpected but delicious dimensions. 💫
Nutrition Facts
Frequently Asked Questions
Can I use frozen chicken breasts?
Yes, but add 5 minutes to the cook time. Place frozen breasts in the pot with an extra ½ cup broth to ensure proper pressure. Always check internal temp reaches 165°F
How do I prevent dry chicken?
Don’t overcook—stick to 8 minutes high pressure. Let it naturally release for 10 minutes before quick-releasing. Shredding in the cooking liquid adds moisture back.
What if my chicken doesn’t shred easily?
It likely needs more time. Return it to the pot with extra broth, seal, and cook another 3-5 minutes. Test again—properly cooked chicken will pull apart effortlessly.
Can I double the recipe?
Yes, but don’t exceed 2 lbs in a 6-quart pot. Increase broth to 1½ cups and keep cook time the same. Overfilling can prevent proper pressuring.

- 4C Bread Crumbs Meatballs Recipe: Crispy Crust and Juicy Centers - September 25, 2026
- 6 Oz Chocolate Chip Cookie Recipe: Perfectly Balanced Crispy Edges and Chewy Hearts - September 25, 2026
- 6-Inch Coffee Cake Recipe: Vanilla Bean Swirls and Buttery Streusel Topping - September 25, 2026