
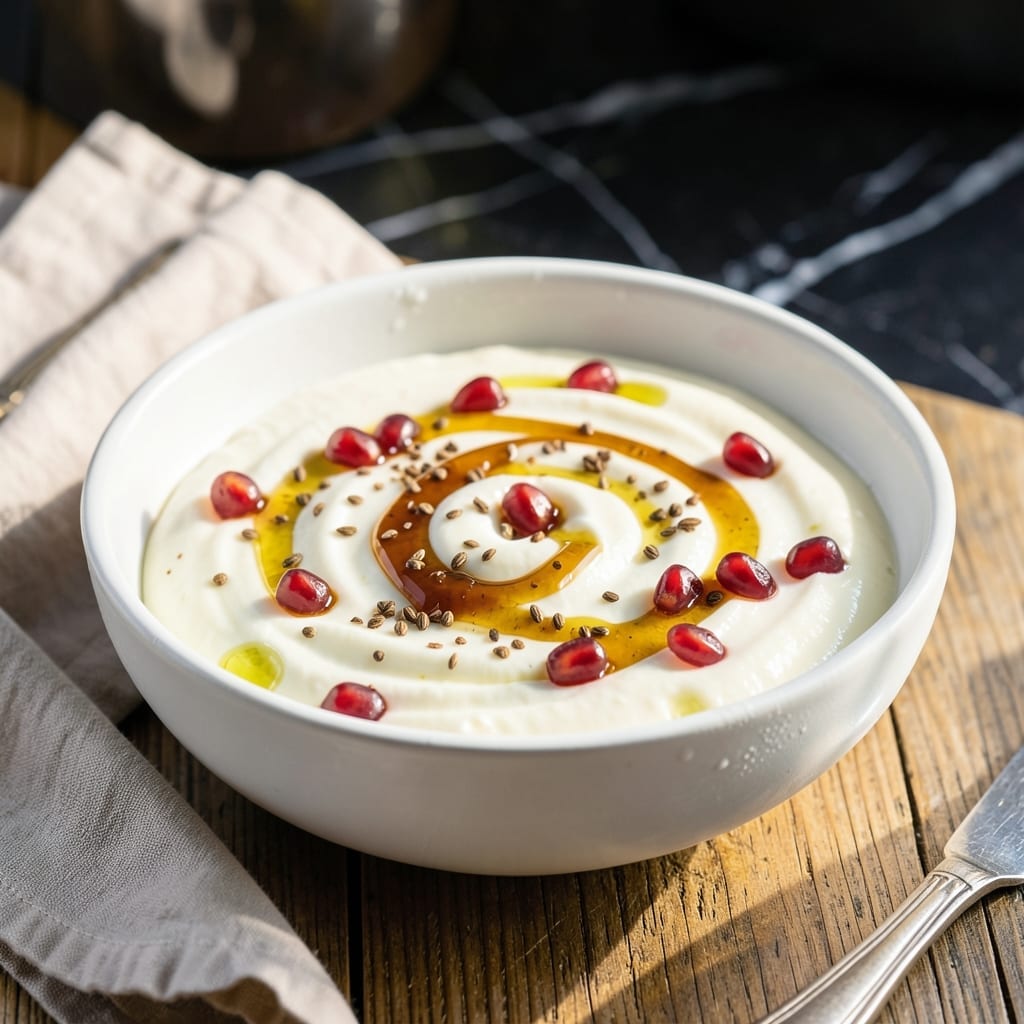
Achieving perfectly creamy homemade yogurt has never been easier than with this Instant Pot method. The controlled environment ensures consistent results every time, eliminating the guesswork of traditional stovetop techniques.
This approach uses the yogurt function to maintain the ideal temperature for fermentation, producing thick, tangy dahi without special equipment. The process requires just two ingredients and a few hours of hands-off time.
You’ll end up with smooth, rich yogurt that rivals any store-bought version. The texture is naturally thick, with that signature tang that makes dahi so satisfying.
Serve it plain, with fruit, or as a base for raitas and sauces. This method delivers reliable results with minimal effort.
Ingredients for Instant Pot Dahi
Just milk and starter create this rich, tangy homemade yogurt in your Instant Pot.
| Ingredient | Amount | Notes |
|---|---|---|
| Whole Milk 🥛 | 8 cups | Full-fat for creaminess, ultra-pasteurized recommended |
| Plain Yogurt Starter 🥣 | 2 tbsp | Active cultures, store-bought or previous batch |
The milk quality is critical here. Whole milk from a trusted brand like Organic Valley or Darigold yields the creamiest texture. Ultra-pasteurized works best as it heats more evenly, but regular pasteurized is fine too (just boil it first). Avoid raw milk unless you’re experienced with home pasteurization. The higher the fat content, the thicker your final product will be.
No yogurt starter? Use 2 tbsp of plain store-bought yogurt with live active cultures—Fage or Nancy’s are reliable choices. For a completely fresh start, yogurt starter packets from Cultures for Health give consistent results. Make sure your starter is fresh (within 2-3 weeks of opening) for the best bacterial activity.
Fresh yogurt keeps for 2 weeks refrigerated. Use a clean spoon every time to prevent contamination. Save 2 tbsp as starter for your next batch (valid for 7 days). The texture thickens further after chilling for 4-6 hours.
Why You’ll Love This Recipe
- Set and Forget: Almost zero effort with the Instant Pot—just warm the milk, add the yogurt starter, and let it do its magic while I do mine.
- Creamy Perfection: Whole milk turns into the richest, smoothest dahi that’s way better than store-bought.
- Meal Prep Hero: I make a big batch on Sunday and it lasts all week for curries, smoothies, or just a cool snack.
- Budget Friendly: A gallon of milk and a spoonful of starter is all it takes to stock my fridge with fresh yogurt for pennies.
Step-by-Step Instructions for Instant Pot Dahi
Here is the precise method I use to achieve consistently creamy and tangy results every time.
Step 1: Sanitize and Prepare the Equipment
Begin by thoroughly sanitizing your Instant Pot liner, lid, and any utensils you’ll use. I run them through a hot water cycle in the dishwasher or wash with hot, soapy water and rinse with boiling water. This step eliminates competing bacteria that could interfere with the fermentation process.
Ensure the liner is completely dry before proceeding. Residual moisture or soap can inhibit the starter culture, so I take the extra minute to wipe everything down with a clean towel. This preparation is non-negotiable for achieving the creamy texture promised.
Step 2: Heat the Whole Milk
Pour the 8 cups Whole Milk into the Instant Pot liner. Secure the lid, set the valve to Venting, and select the “Sauté” function on Normal heat. Stir the milk occasionally with a clean, sanitized spoon to prevent scorching and ensure even heating.
Heat the milk until it reaches 180°F on an instant-read thermometer. You’ll notice tiny bubbles forming around the edges and steam rising from the surface—this is your visual cue that the milk is at the correct temperature. This step pasteurizes the milk, creating an ideal environment for the cultures in the starter to thrive.
Step 3: Cool the Milk and Add Starter
Once the milk reaches 180°F, turn off the Instant Pot and allow the milk to cool to 110°F. This cooling process typically takes 30-45 minutes at room temperature. I speed this up by placing the liner in a sink filled with cold water, stirring gently to distribute the heat.
When the milk reaches 110°F, whisk in the 2 tbsp Plain Yogurt Starter until fully dissolved. The temperature is critical here—too hot and you’ll kill the cultures; too cold and they won’t activate. Use a clean thermometer to confirm the temperature is just right before adding the starter.
Step 4: Incubate for Thick, Creamy Dahi
Secure the lid on the Instant Pot, set the valve to Venting, and select the “Yogurt” function for 8-10 hours. The longer incubation time yields a tangier, thicker yogurt, which is essential for that perfect, creamy texture. I’ve found that 9 hours strikes the ideal balance between tang and thickness for this recipe.
During incubation, avoid moving or jostling the Instant Pot. The cultures need a stable environment to work their magic. You’ll know it’s working when the milk begins to set and thicken slightly—this is your visual confirmation that the fermentation process is underway.
Step 5: Chill and Set the Final Texture
After fermentation, transfer the liner to the refrigerator and let the dahi chill for at least 4 hours. This chilling step halts the fermentation process and allows the yogurt to thicken fully. The result should be a smooth, creamy dahi with a slight tang and no separation.
Once chilled, give it a gentle stir. The texture should be uniformly thick and velvety. If there’s any whey separation, simply stir it back in. Your dahi is now ready to serve, delivering on the promise of creamy, perfect yogurt every time.
Pro Tips For Making Instant Pot Dahi
- Boil Milk First: Heat the whole milk to 180°F in the Instant Pot using the sauté function—this kills unwanted bacteria and ensures a clean base for fermentation. I learned this the hard way after a batch turned out thin and sour.
- Cool to Lukewarm: Let the milk cool to about 110°F before adding the yogurt starter. Too hot, and you’ll kill the cultures; too cold, and it won’t set properly. A kitchen thermometer is non-negotiable here.
- Use Fresh Starter: Always use plain yogurt with live cultures as your starter, and make sure it’s fresh—old or weak starter leads to runny dahi. Sounds obvious, but I’ve ruined two batches by using expired yogurt.
- Skip the Stirring: After adding the starter, gently mix just 2-3 times with a clean spoon, then leave it undisturbed. Over-stirring or moving the pot breaks the forming curds—your dahi will stay liquidy instead of thick and creamy.
Pro Cooking Tips for Perfect Results
Precision Temperature Control
I can’t stress enough how critical exact temperatures are for this. Heat the milk to precisely 180°F on your thermometer—no higher, no lower. This pasteurization step kills unwanted bacteria while preserving the milk’s natural proteins for thickness. 🌡️
The Cooling Trick
Cooling from 180°F to 110°F is where most people struggle. I place my liner in a sink of cold water and stir constantly. This cuts the cooling time to 15-20 minutes instead of waiting 45 minutes at room temperature.
Starter Temperature
Your starter must be at room temperature before adding. Cold starter can shock the milk and prevent proper fermentation. I take mine out of the fridge 30 minutes before starting and let it warm up naturally.
Undisturbed Fermentation
Once you start the yogurt function, resist the urge to peek. Even a small vibration can disrupt the culture formation. I set my Instant Pot on a stable counter away from foot traffic and let it work undisturbed for the full 8-10 hours. 💡
Chilling for Perfection
After fermentation, don’t skip the chilling step. I transfer the liner directly to the fridge and let it set for at least 4 hours. This is when the magic happens—the texture transforms from liquid to that perfect creamy consistency.
Cleanliness Matters
Sanitize everything that touches the milk or yogurt. I use boiling water on all utensils and the pot itself. Even a tiny bit of soap residue or old food particles can ruin your entire batch by introducing competing bacteria.
Nutrition Facts
Frequently Asked Questions
Can I use skim milk instead of whole milk?
Skim milk will make thinner dahi. For creamy results, use whole milk or add 1-2 tbsp powdered milk to boost thickness. The fat content is key for that rich texture.
How do I know when fermentation is complete?
After 8-10 hours, the milk should resemble soft custard. Give it a gentle tilt—if it moves as a single mass, it’s ready. Don’t stir until fully chilled.
Why did my dahi turn out runny?
Common causes: milk too cool when adding starter, insufficient incubation time, or using low-fat milk. Ensure your milk reaches 110°F before adding cultures.

- 6 Oz Chocolate Chip Cookie Recipe: Perfectly Balanced Crispy Edges and Chewy Hearts - September 25, 2026
- 6-Inch Coffee Cake Recipe: Vanilla Bean Swirls and Buttery Streusel Topping - September 25, 2026
- 1 Hour Soup Recipe: Velvety Richness Without the Wait - September 25, 2026