
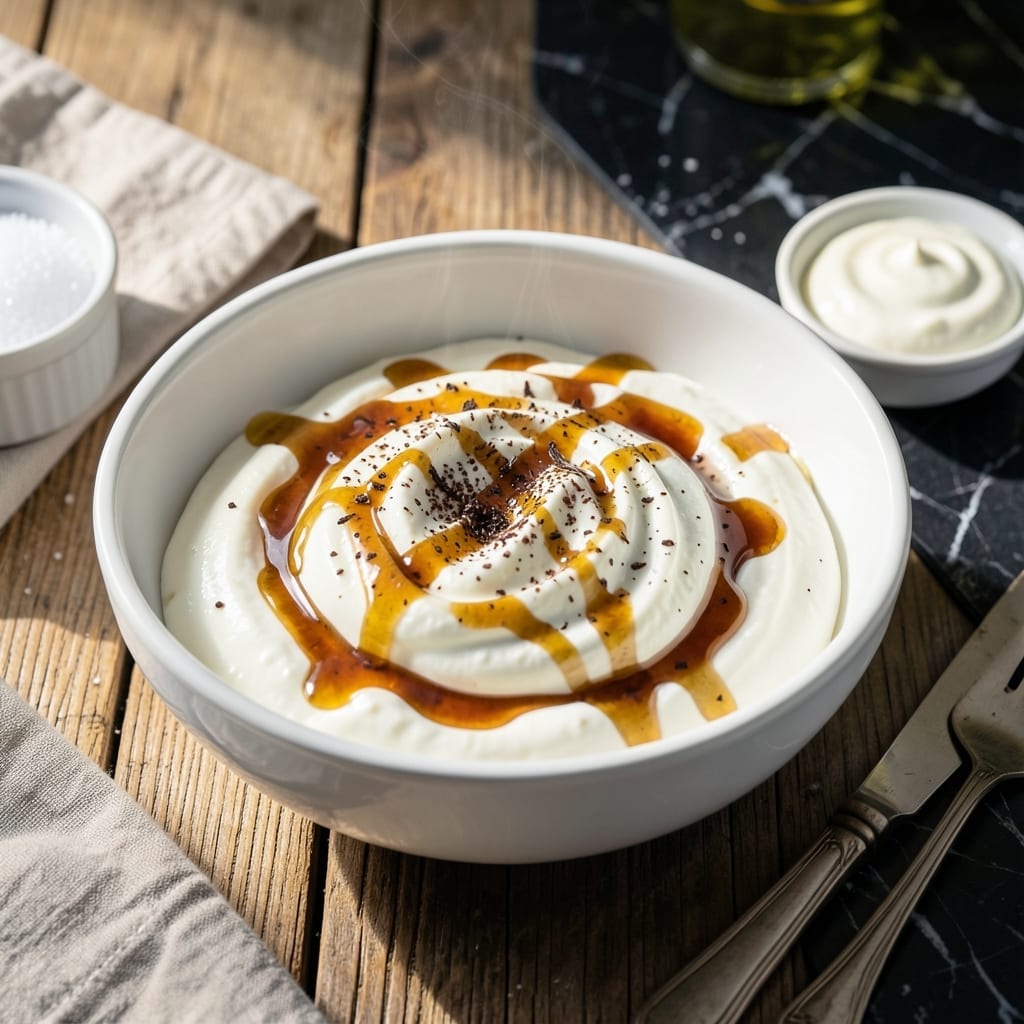
Crafting homemade yogurt in an Instant Pot brings French dairy tradition into your kitchen with minimal effort and maximum reward. The process transforms simple milk into thick, tangy yogurt through precision temperature control and fermentation.
This method adapts classic techniques for modern convenience, using your Instant Pot’s yogurt setting to maintain the perfect environment for cultures to thrive. The result is consistently creamy yogurt with that signature French texture.
You’ll achieve professional-quality yogurt without special equipment, just patience and the right temperature sequence. The hands-off approach makes it ideal for busy kitchens.
The final product delivers rich, velvety yogurt that rivals artisanal brands. It’s the kind of homemade staple that elevates breakfasts and snacks alike.
Ingredients for Instant Pot French Yogurt
Just a handful of ingredients for creamy, tangy homemade yogurt with French flair.
| Ingredient | Amount | Notes |
|---|---|---|
| Whole Milk 🥛 | 8 cups | Ultra-pasteurized for best results |
| Plain Yogurt with Live Cultures 🥣 | 2 tbsp | Store-bought or previous batch |
| Granulated Sugar 🍚 | 1 tbsp | Optional, for sweetness |
| Vanilla Extract 🌿 | 1 tsp | Pure extract for best flavor |
| Honey 🍯 | 2 tbsp | Optional, for sweetening |
| Gelatin 💊 | 1 tsp | Unflavored, optional for thickness |
The milk is everything here. Ultra-pasteurized whole milk gives that thick, rich texture French yogurt is known for. I grab mine from Whole Foods or Trader Joe’s—they always have fresh stock. The live cultures in your starter yogurt are the magic ingredient (use a high-quality brand like Fage or Siggi’s). Skip the ultra-filtered milk—it’s too thin for this.
No plain yogurt for a starter? A small container of buttermilk works in a pinch. Want it sweeter? Maple syrup or agave instead of honey or sugar. The vanilla is optional but adds that classic touch—use the real stuff, not imitation. For thicker yogurt, strain it through cheesecloth for 30 minutes (Greek-style).
Homemade yogurt keeps for 10-14 days in the fridge. The flavor deepens as it sits. Freeze extras in ice cube trays for up to 3 months—perfect for smoothies. Always save some as a starter for your next batch.
Why You’ll Love This Recipe
- Set and Forget: I just mix milk and a bit of store-bought yogurt, press a button, and walk away—the Instant Pot does the rest.
- Creamy Vanilla Bliss: The whole milk turns silky, and the vanilla plus honey give it this sweet, tangy depth that’s way better than store brands.
- Breakfast for Days: One batch makes a week’s worth of parfaits, smoothies, or just spoon-straight-from-the-jar snacks.
- Penny-Pincher Win: A gallon of milk and a tiny cup of starter cost less than a single tub of fancy French yogurt at the grocery store.
Step-by-Step Instructions for Instant Pot French Yogurt
Here’s the method I use for consistently thick and tangy results every time.
Step 1: Heat and Temper the Milk
Pour the 8 cups Whole Milk into your Instant Pot and secure the lid. Set to “Yogurt” mode and adjust until you see “Boil” or 180°F. This heating step is crucial—it pasteurizes the milk and creates the perfect environment for fermentation.
Once it reaches temperature, remove the inner pot and let the milk cool to 110°F. I speed this up by placing the pot in a sink of ice water, stirring occasionally. You’ll feel the sides of the pot warm but not hot to the touch at the right temperature.
Step 2: Activate the Gelatin and Starter Culture
While the milk cools, sprinkle the 1 tsp Gelatin over 2 tablespoons of the cooled milk in a small bowl. Let it bloom for 5 minutes—you’ll see it thicken slightly and become translucent. This ensures even distribution and prevents clumping in your final product.
In a separate bowl, whisk together the 2 tbsp Plain Yogurt with Live Cultures, 1 tbsp Granulated Sugar, 1 tsp Vanilla Extract, and 2 tbsp Honey. The sugar and honey feed the bacteria, while the vanilla adds depth. Mix until the sugar dissolves completely and the mixture is smooth.
Step 3: Combine and Incubate
Pour the bloomed gelatin mixture into the cooled milk and stir gently but thoroughly. Then add your yogurt starter mixture and whisk until fully incorporated. The milk should look slightly frothy with no visible streaks—this even distribution guarantees consistent texture.
Return the mixture to your Instant Pot, secure the lid, and set to “Yogurt” mode for 8 hours. The longer incubation time develops that signature French-style tang. Make sure your Instant Pot is in a warm, draft-free spot—temperature fluctuations can affect the final texture.
Step 4: Chill and Thicken
After incubation, you’ll notice the yogurt has set but is still slightly warm and runny. Transfer the inner pot to the refrigerator and let it chill for at least 4 hours (I prefer overnight). The cold temperature halts fermentation and allows the gelatin to fully set.
As it chills, the yogurt will thicken significantly. The final texture should be rich and creamy, with a slight jiggle when you move the container. If it’s too thin, don’t worry—straining through cheesecloth for 1-2 hours will give you an even thicker, Greek-style consistency.
Pro Tips For Making Instant Pot French Yogurt
- Boil Milk First: I learned this the hard way—skipping the boil can leave your yogurt thin. Heat whole milk to 180°F in the Instant Pot first to kill unwanted bacteria and guarantee a thicker set.
- Use Fresh Starter: Sounds weird, but it works: always use plain yogurt with live cultures that’s less than 2 weeks old. Older starters lose potency and can make your batch fail.
- Skip the Sugar Early: Resist the urge to add granulated sugar or honey before incubation—sweeteners can interfere with the cultures. Stir them in after the yogurt sets, along with vanilla extract.
- Warm Your Jars: After burning a batch to the pot, I finally figured out to pour the heated milk into pre-warmed jars before adding the starter. Cold jars shock the milk and can cause separation.
Storing and Reheating Leftovers
Fridge Storage
Transfer your yogurt to clean glass jars with tight lids once fully chilled. It keeps beautifully for 10-14 days at 40°F or below. I use Ball Mason jars—they’re durable and easy to clean. The tang actually intensifies over time. ❄️
Freezer Method
For longer storage, freeze in ice cube trays for 1-2 hours, then transfer to freezer bags. This preserves portions for up to 3 months. Thaw overnight in the fridge before using. I freeze in 1-cup portions for smoothie convenience.
Thawing Tips
Move frozen yogurt to the fridge 12 hours before use. Avoid microwaving—it can separate the texture. Once thawed, stir well to restore creaminess. The texture may be slightly grainier after freezing, but it works perfectly in baked goods.
Reviving Separation
If your yogurt separates in storage, simply whisk vigorously to recombine. A hand mixer works wonders for larger batches. The liquid (whey) is natural and packed with protein—don’t pour it out! Stirring restores the smooth consistency. 💡
Starter for Next Batch
Always reserve 2 tbsp of your fresh yogurt as a starter for the next batch. Use within 7 days for best results. The cultures weaken over time, so I refresh my starter every 3-4 batches with store-bought yogurt.
Nutrition Facts
Frequently Asked Questions
Why use whole milk for this recipe?
Whole milk creates that signature rich, creamy texture French yogurt is known for. Ultra-pasteurized works best because it’s heated to a higher temperature during processing, which helps achieve the perfect consistency.
Can I skip the gelatin?
Yes, but your yogurt may be thinner. For a natural thickener, strain the finished yogurt through cheesecloth for 1-2 hours to achieve Greek-style thickness. The gelatin just guarantees a firm set.
What if my yogurt doesn’t set?
This usually happens if the milk was too hot or cold when adding the starter. Ensure it’s exactly 110°F before mixing. Also check that your starter yogurt contains live, active cultures.
How do I know when it’s done?
After 8 hours of incubation, it should look set but still jiggly. The true test is after chilling for 4 hours—it will thicken significantly in the fridge.

- 6 Oz Chocolate Chip Cookie Recipe: Perfectly Balanced Crispy Edges and Chewy Hearts - September 25, 2026
- 6-Inch Coffee Cake Recipe: Vanilla Bean Swirls and Buttery Streusel Topping - September 25, 2026
- 1 Hour Soup Recipe: Velvety Richness Without the Wait - September 25, 2026